Map Generation

Texture Maps
A Texture Map is an image that is displayed on your model. There are several different kinds; in ZBrush, Texture Maps generally mean Diffuse maps – the main coloring of the object.
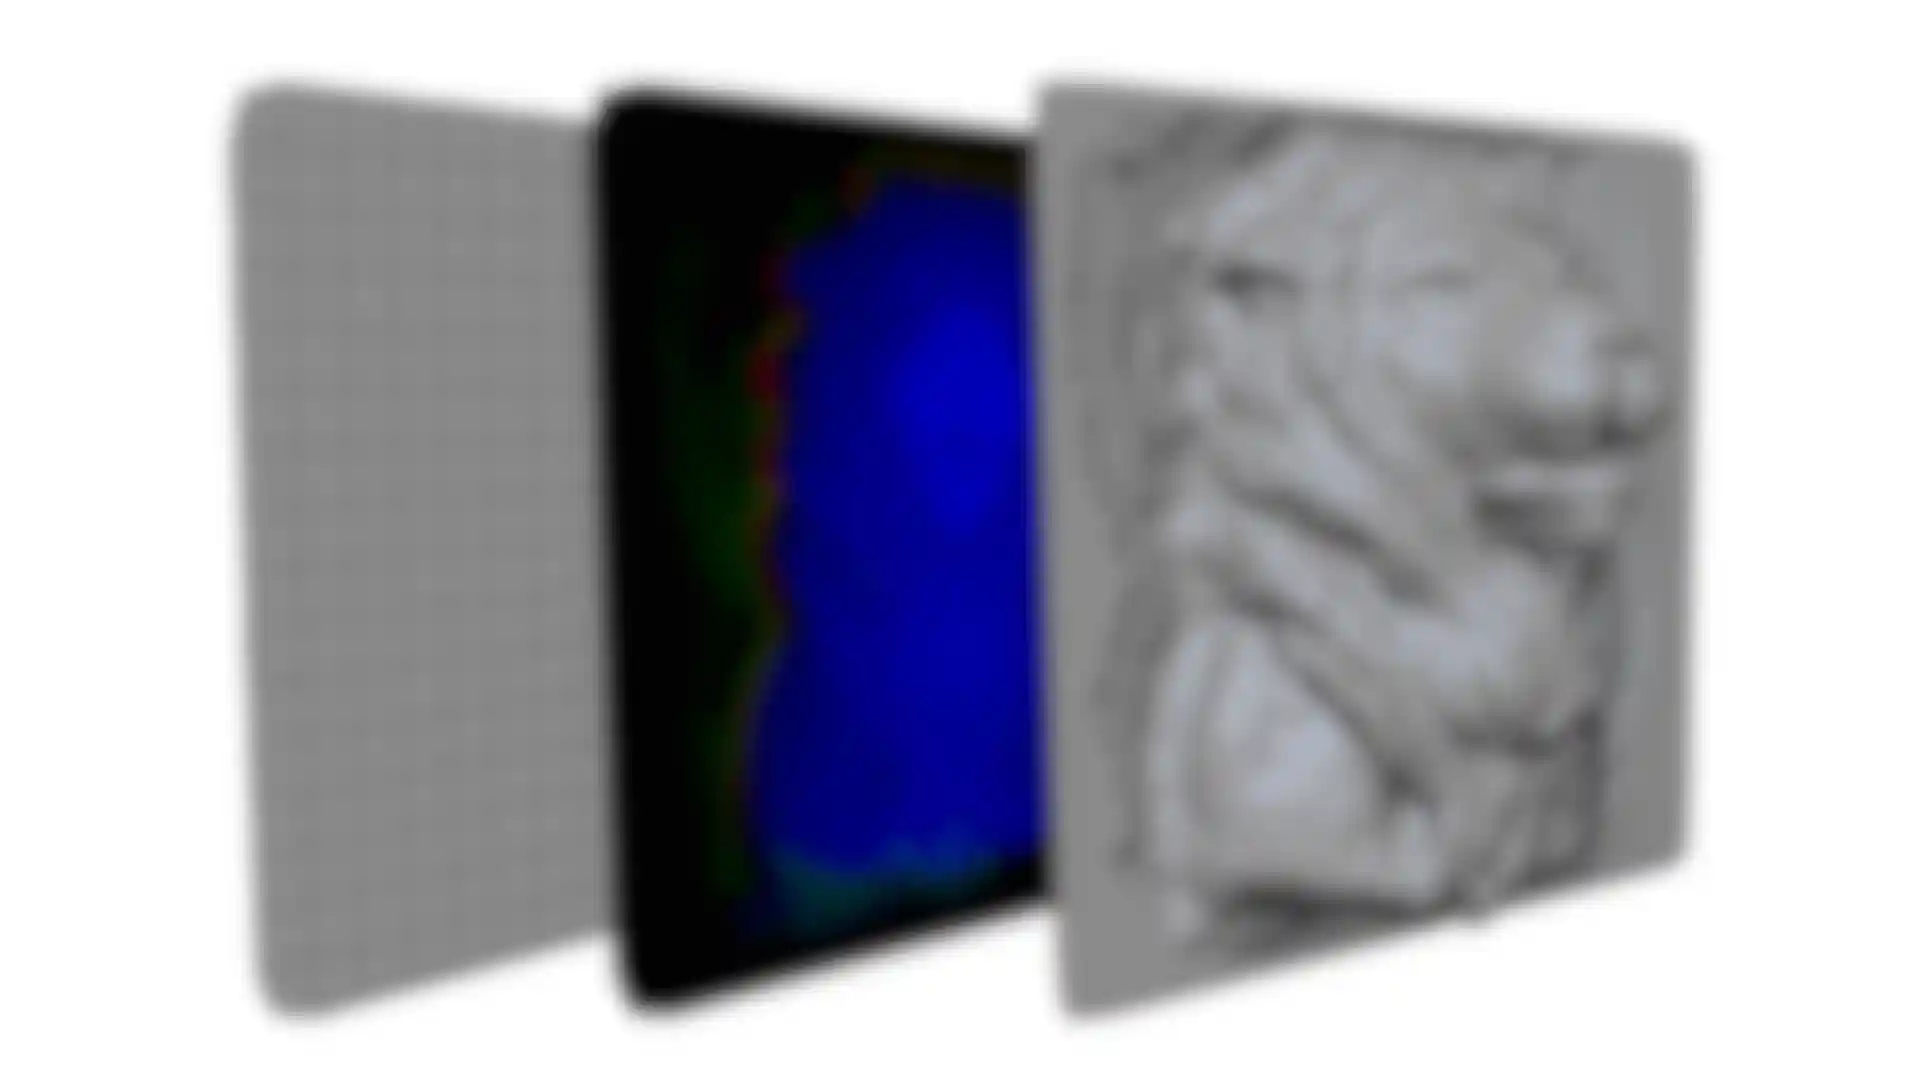
Displacement Maps
Displacement maps can be thought of as extended bump maps. Like bump maps, they are grayscale images, with the intensity of a pixel indicating height above the polygon surface. Other things being equal, a single grayscale image used as either a bump or a displacement map while building a model will probably produce very similar images when viewed using a “real time” renderer.
The result is different when a final render is done. At this stage, the displacement map is used to actually change the geometry of the model. Conceptually, new polygons or pixels are produced where the displacement map indicates height deviations from the polygon surface, and then this new geometry is pushed up to reflect the height of the bump map. This new, higher-resolution model is then rendered. As a result, displacement mapping can produce renders which show both correct silhouettes and shadowing of displaced geometry, something which cannot be done by bump maps. Displacement mapping is well suited for surfaces containing complex detail that would be difficult and expensive to model with polygons, but where the displacement is large enough that bump maps would obviously appear fake.
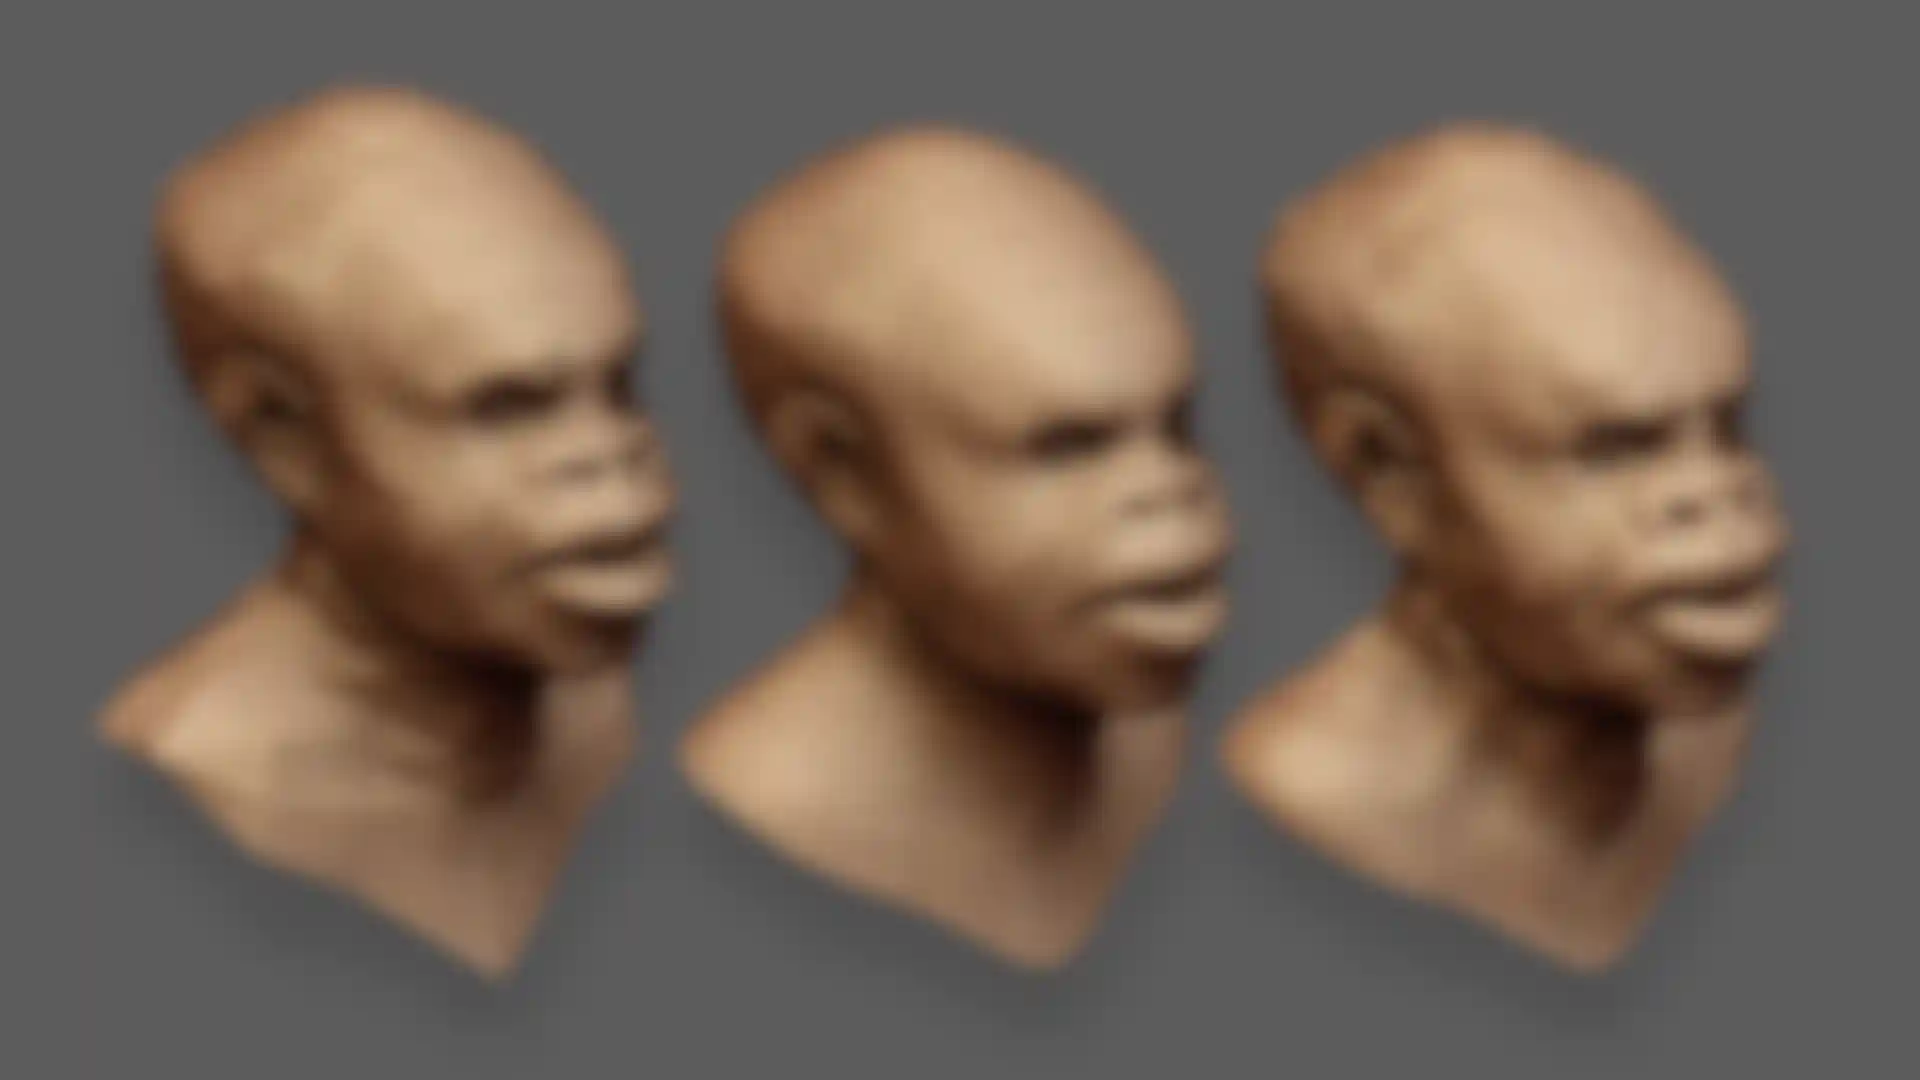
Vector Displacement Maps
Take rendering even further using the power of ZBrush with Vector Displacement Maps. You’ll benefit from the ability to displace the surface in any direction, including undercuts. That’s just the start. You can export sculpted details from your ZBrush models to other 3rd party applications and make use of file types like, .tiff (16-32bit) and .exr (32bit). ZBrush comes fully equipped to handle both 16bit and 32bit displacement map output. It’s just another way that ZBrush works to fit your needs.
Normal Maps
A normal map is just a map (texture) where the values given are the surface normals at each point, rather than the bump height value. We’re taking out the middleman, so to speak. Instead of having graphics software or hardware calculate surface normals from the bump map, these normals are pre-calculated and stored into the normal map, and then used directly by the processor.
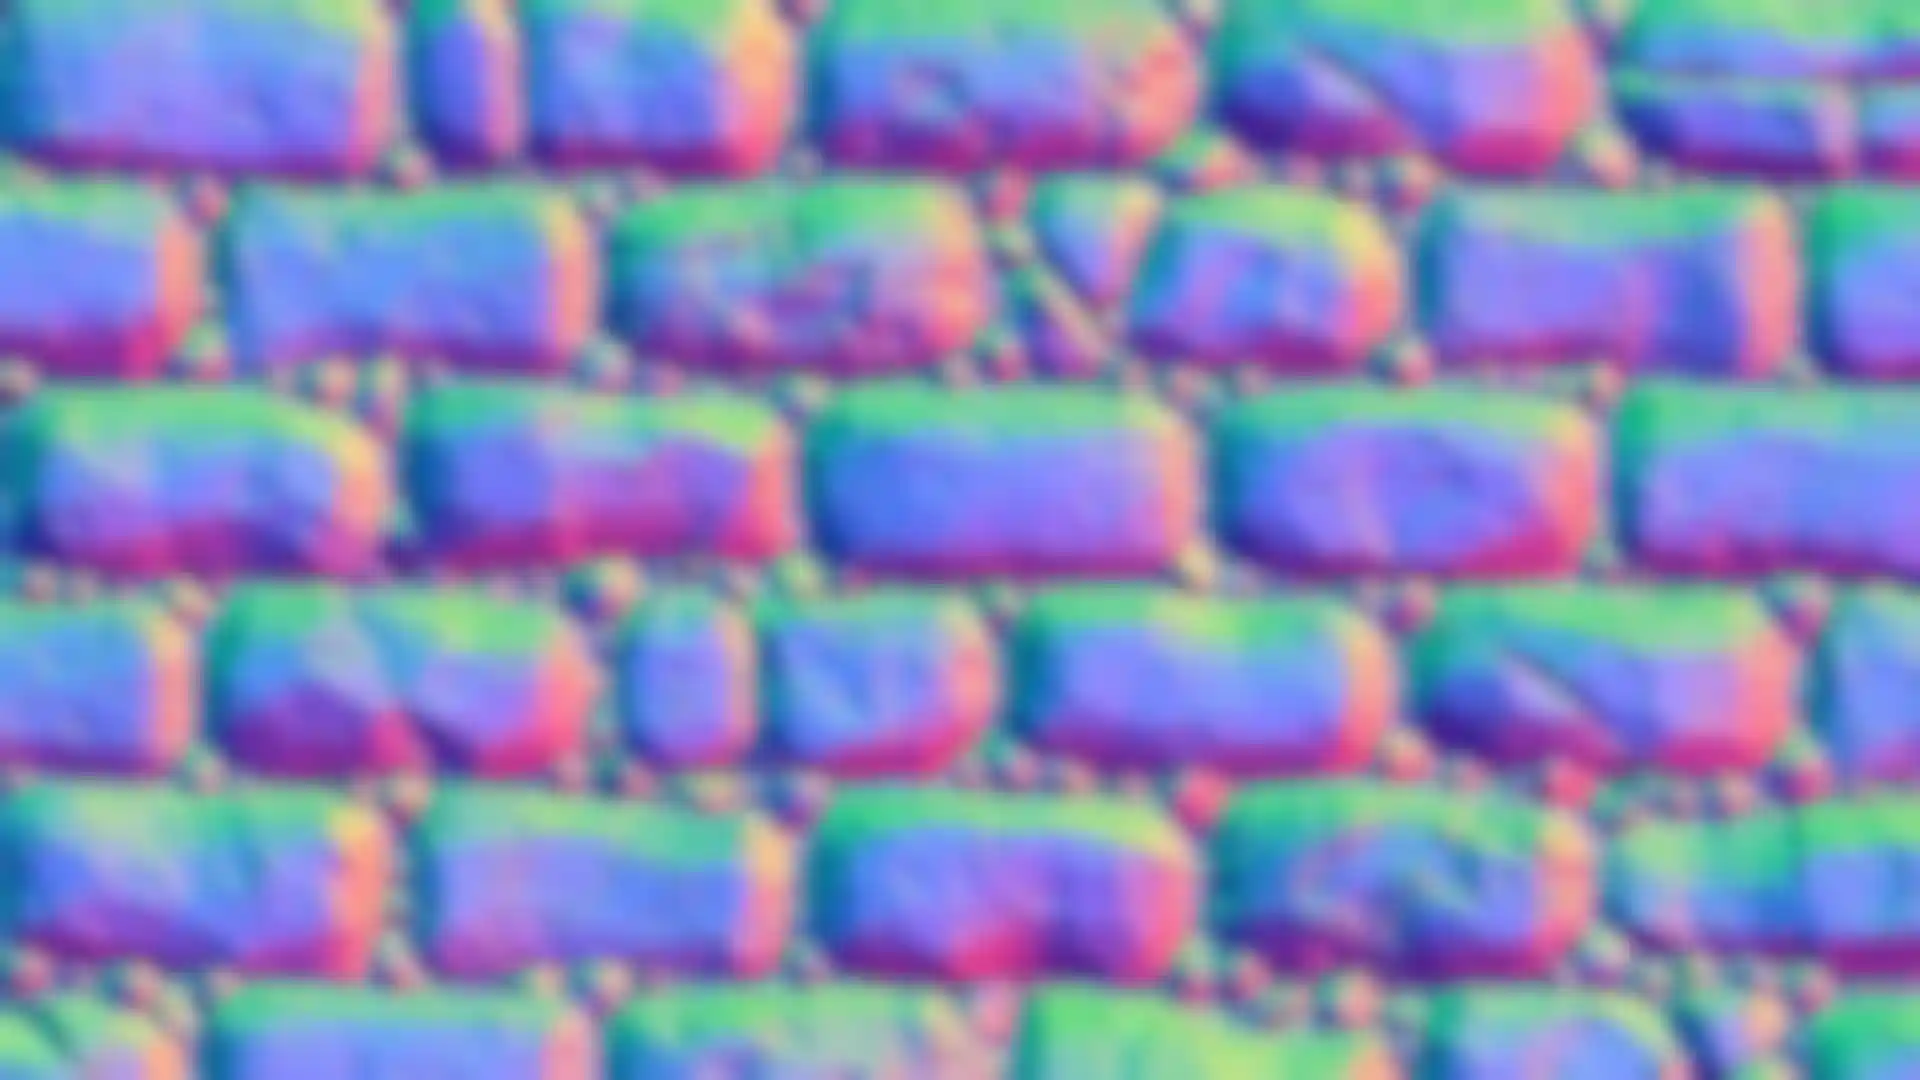
Because the normal at each pixel in a normal map is completely independent from its neighboring normals, normal maps can produce effects not possible with bump maps, while still being able to do everything that can be done with bump maps.
On the other hand, bump maps can be created (somewhat) easily by hand using a 2D paint application, which is not the case with normal maps. You will find each useful in your creations, depending on requirements.