Brush System
Dynamic Sculpting Brush System
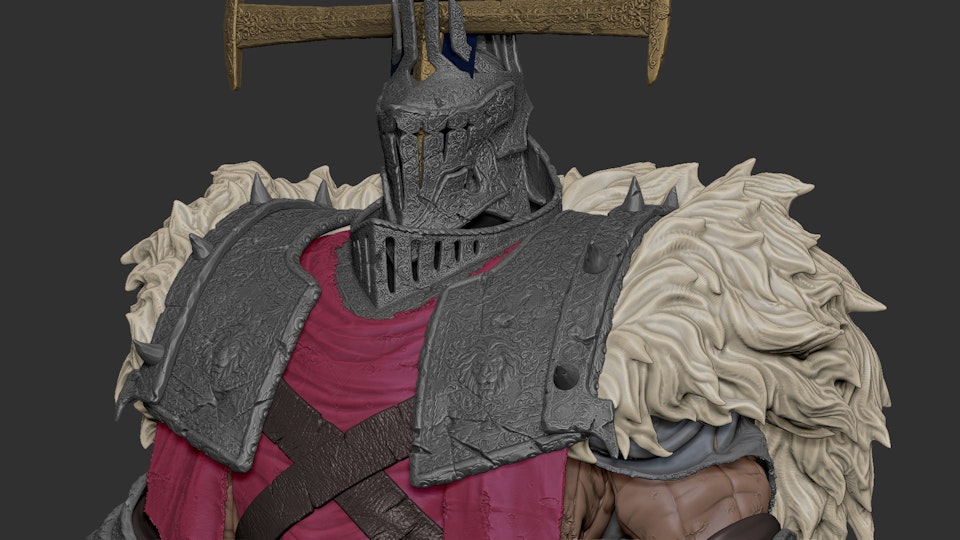
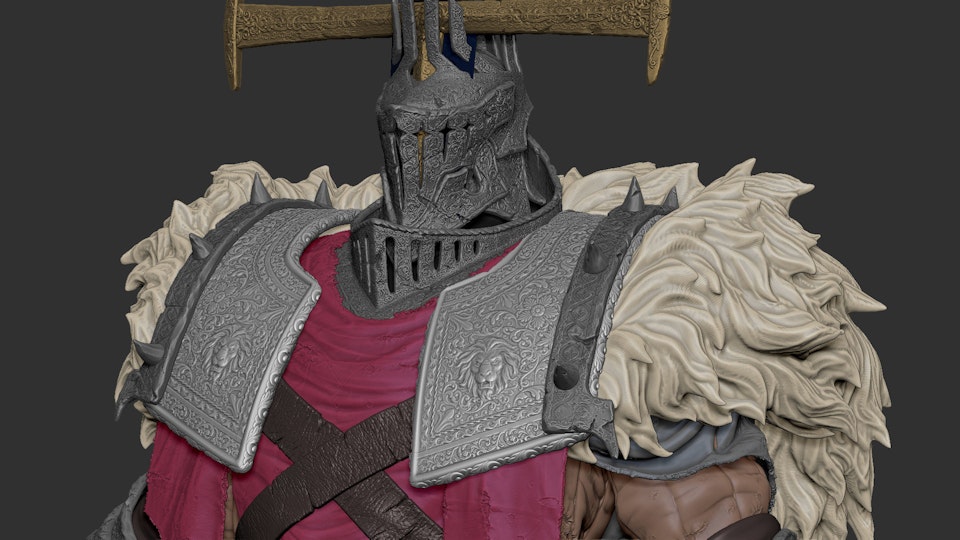
The main workflow for creating with ZBrush is based on a system of brushes which can also be modulated using pen pressure from a graphics tablet. ZBrush will reproduce the natural feeling of a real paint brush or sculpting tool, using the pressure applied to the pen tip to transform your digital stroke in a variety of ways. There are brushes to pinch, move, build up the surface, chisel into it, slice through the model and much more. You can even use other 3D models as brushes, inserting their geometry into your surface.
Cloth Brushes
Enhance your sculpting with a Dynamics system that allows any surface to be contracted, expanded, inflated or draped with gravity. Use masking to pin a portion of the mesh to create a point of interest or use a mask to create a unique interaction that can allow the surface to be rolled on itself. Create realistic cloth folds - even on a low resolution plane. Place your mesh, turn on the collision volume and any desired controls, then watch as ZBrush drapes the cloth mesh over any other visible meshes.
Special brushes have been introduced which use the Dynamics engine to give unique capabilities for interacting with the cloth surface. As examples, you can choose where folds will lay or simply grab the geometry to move it freely in the work space and create folds in real-time. The ClothTwister brush simulates twisted cloth. ClothWind allows directional movement. ClothPinchTrails will create a seam with pinched cloth wherever your brush stroke takes place on the surface.

Insert Mesh Brushes
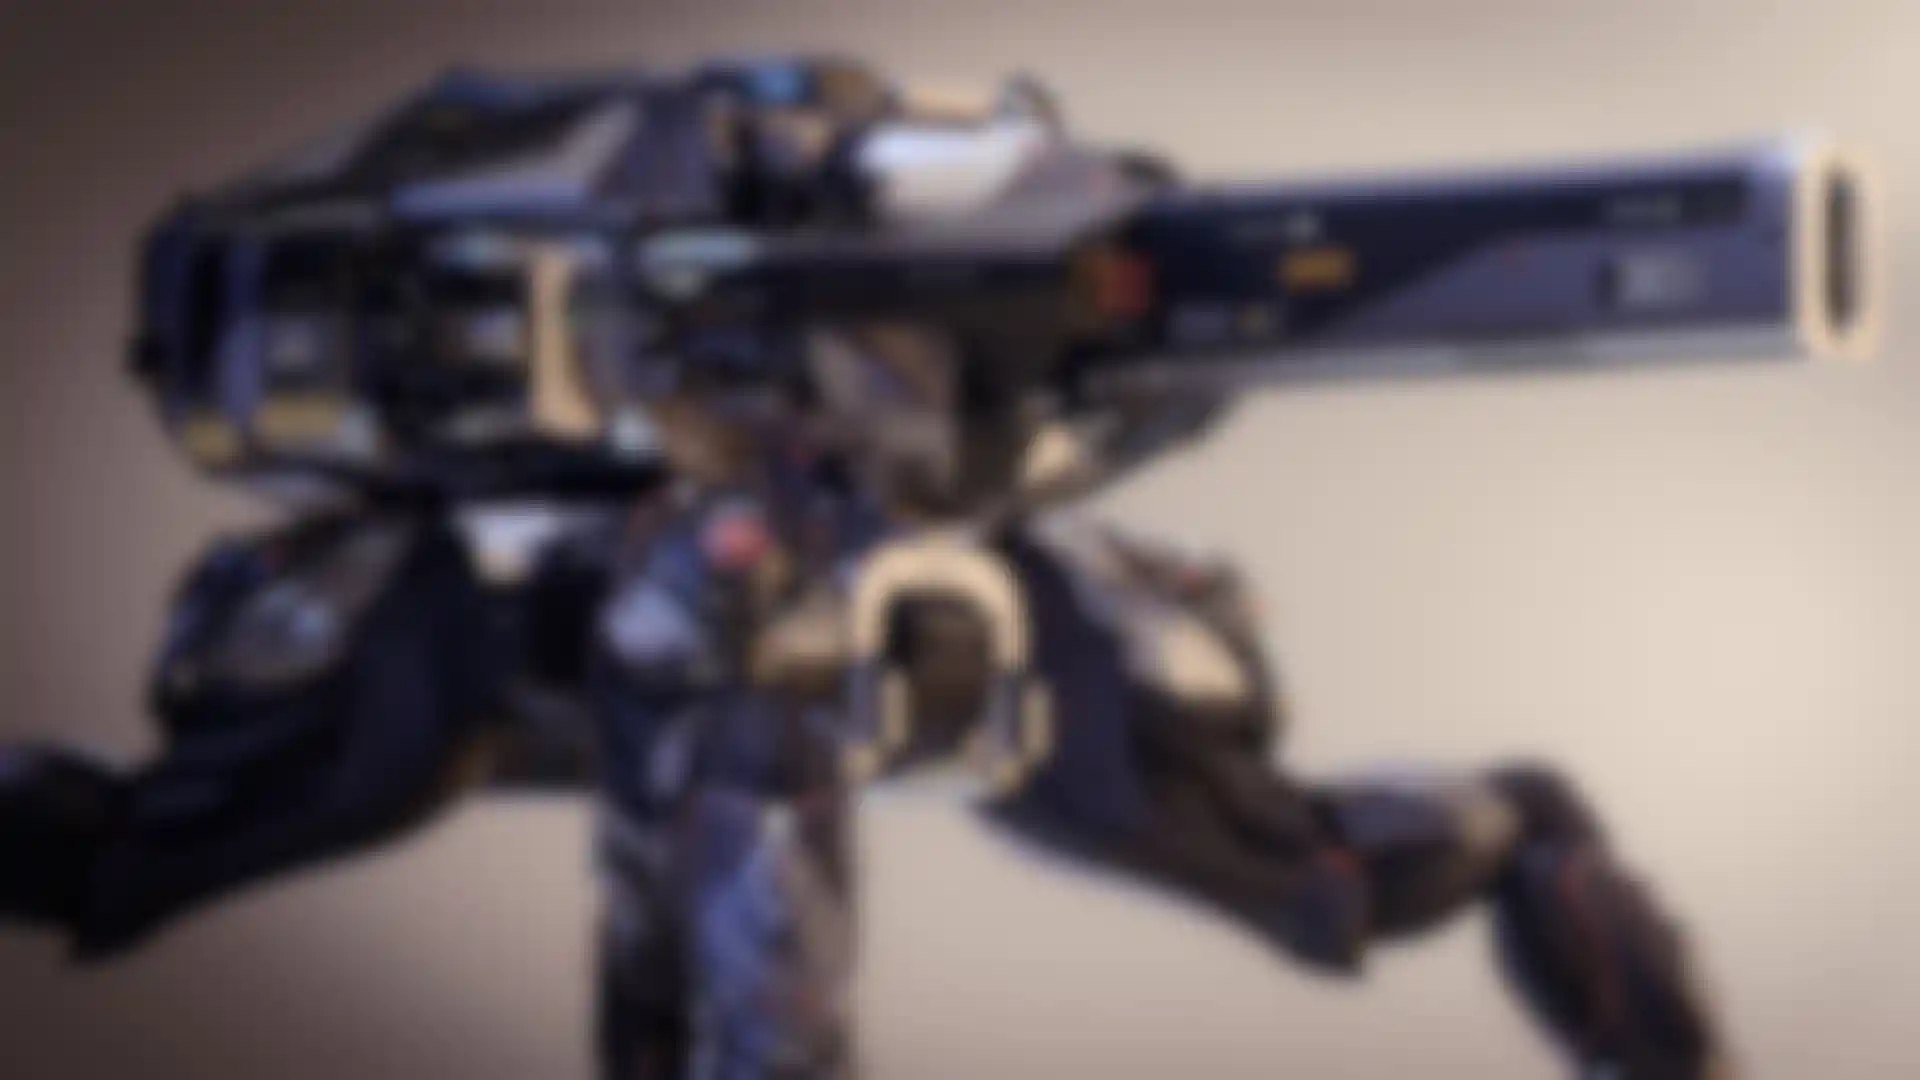
Insert Mesh brushes allow you to use or create small, repeatable mesh objects that can then be inserted, applied along a curve, or used as boolean geometry. Imagine screws on a robot, buttons on a shirt, or segments of pipe. Rather than sculpt each of these items individually, you can create or use an Insert Mesh brush to place them on your model. Because of the DynaMesh process, Insert Mesh brush can become a major player in your ZBrush arsenal of features.
Insert Mesh Brushes with Stroke Capacity
Insert Mesh Brushes or IMM Brushes work to provide a rapid way forward in the areas of mesh construction, ideation and concept sculpting. The addition of Stroke capacity takes this already powerful brush system further.
Knife Brush Split to Parts
Split to Parts expands Knife Brush capabilities to allow for increased control over asset manipulation. Create complex component parts from existing parts while keeping sliced parts active.
Retopo Brush
Stay in control when creating low-polygon topology with the Retopo Brush. Conveniently modify or recreate an object’s polygonal mesh for a cleaner layout while maintaining nearly the same physical shape. Easily export low-polygon models to other applications like Cinema 4D for animation or rendering, ensuring an uninterrupted workflow.

History Brush
Have you ever wished you could undo just a portion of your sculpting without losing everything else that has been done on the model? Now you can! This brush uses your model's Undo History but restricts the effect to the area where the brush is used. It can also be used in the other direction, projecting Redo History from part of one model to another regardless of any topology differences.
Artist: Poligone
XTractor Brushes
These three brushes convert detail from your model into a new alpha or texture for future reuse. Simply drag your stroke across the surface of any model to capture the details of your sculpt. The captured details can then be used elsewhere on the same model, or on any other model in the future.
VDM Brushes
Expand your Alpha arsenal with a new library of Vector Displacement Meshes (VDM). These are 3D sculpts used as brush building blocks that will allow undercutting when drawing on a model’s surface. As an example, you can draw a nose complete with nostrils in a single brush stroke. Or an ear with complete front and back sides. Or a bent finger, scales with a raised angle or even an open mouth. All of this without lost depth or detail.
Vector Displacement Mesh creates real overhangs as you sculpt. Push the details of your model with precise placement on sculpts with millions of polygons.