Creating Dynamic Archviz with the Perfect Vibe How Kutuko Studio brought Philips lighting to life in dynamic bathroom spaces.
Project Workflow and Outcome
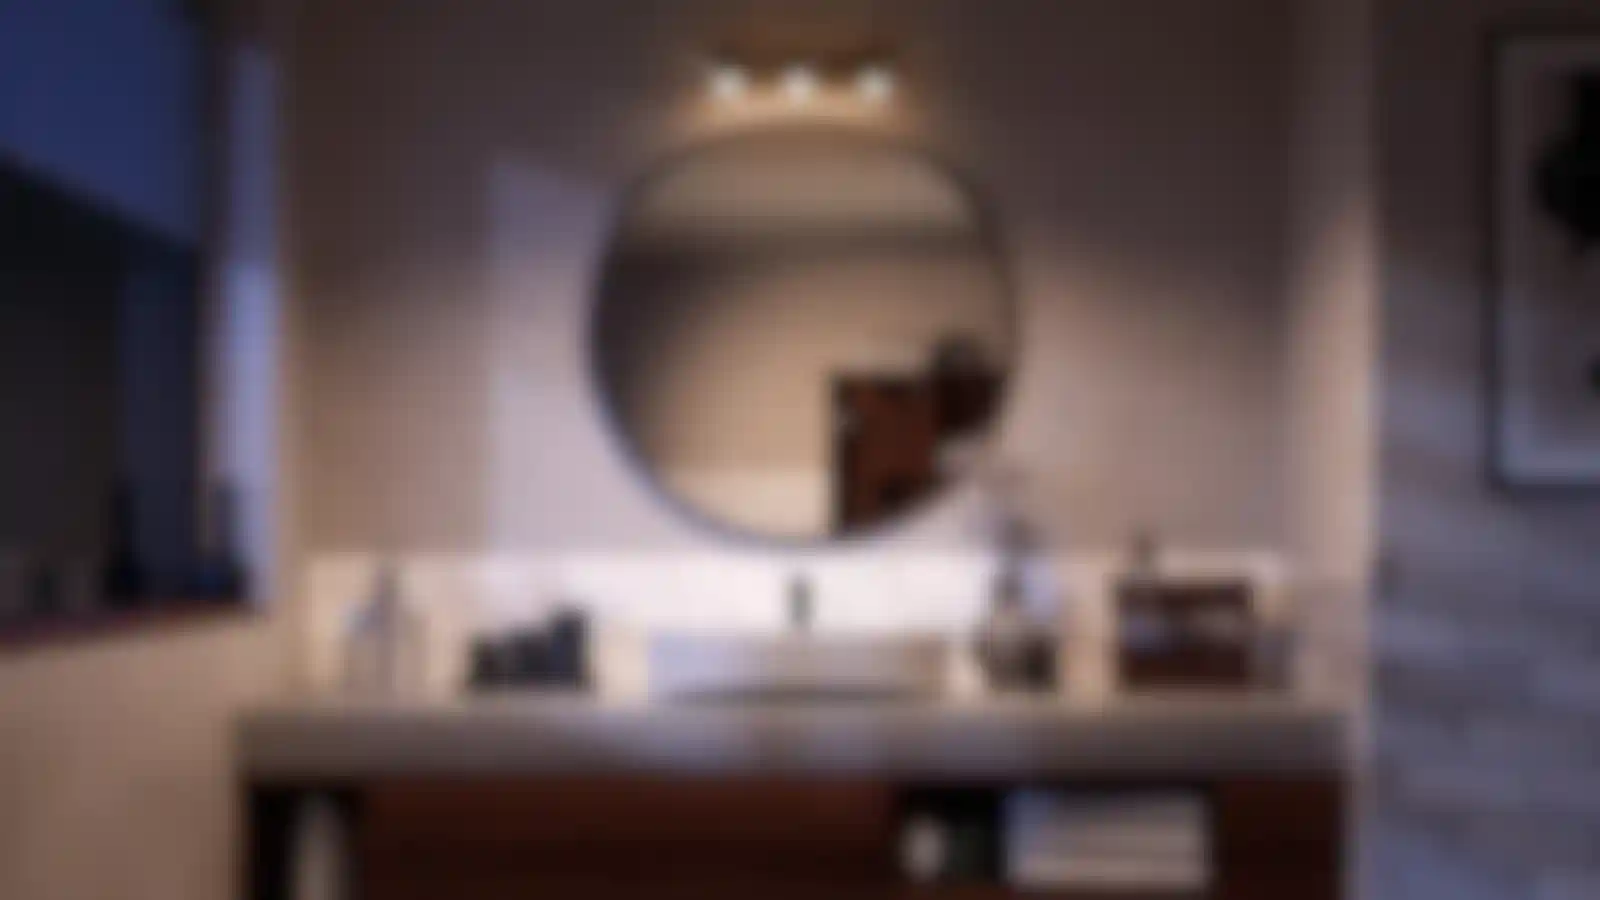
Kutuko Studio created a sleek bathroom lighting project for Philips using Cinema 4D and Redshift to showcase how lighting options can be tailored to a design space.
When it comes to living spaces, lighting can change the entire essence of a room. Translating functional products like modular light fixtures into an architectural visualization project requires special skill and innovative vision. Kutuko Studio has demonstrated these qualities in its latest project for Philips bathroom lighting.
Kutuko is a creative and art direction studio based in Madrid, led by Carlos Cabrera Olayo. The studio creates visual content for brands, focusing on crafting meticulous art direction and engaging storytelling that connects with audiences. Their work spans multiple media, from digital campaigns and social content to immersive experiences and motion graphics. They have collaborated with renowned clients such as Philips, Hamilton, Real Madrid, Xiaomi, and Bullpadel.
We caught up with Gerard Jáuregui, creative director and lead 3D artist on the Philips bathroom lighting project, to hear about how Kutuko crafted the perfect scenes and lighting.
Can you tell us about the scope of the Philips bathroom lighting project?
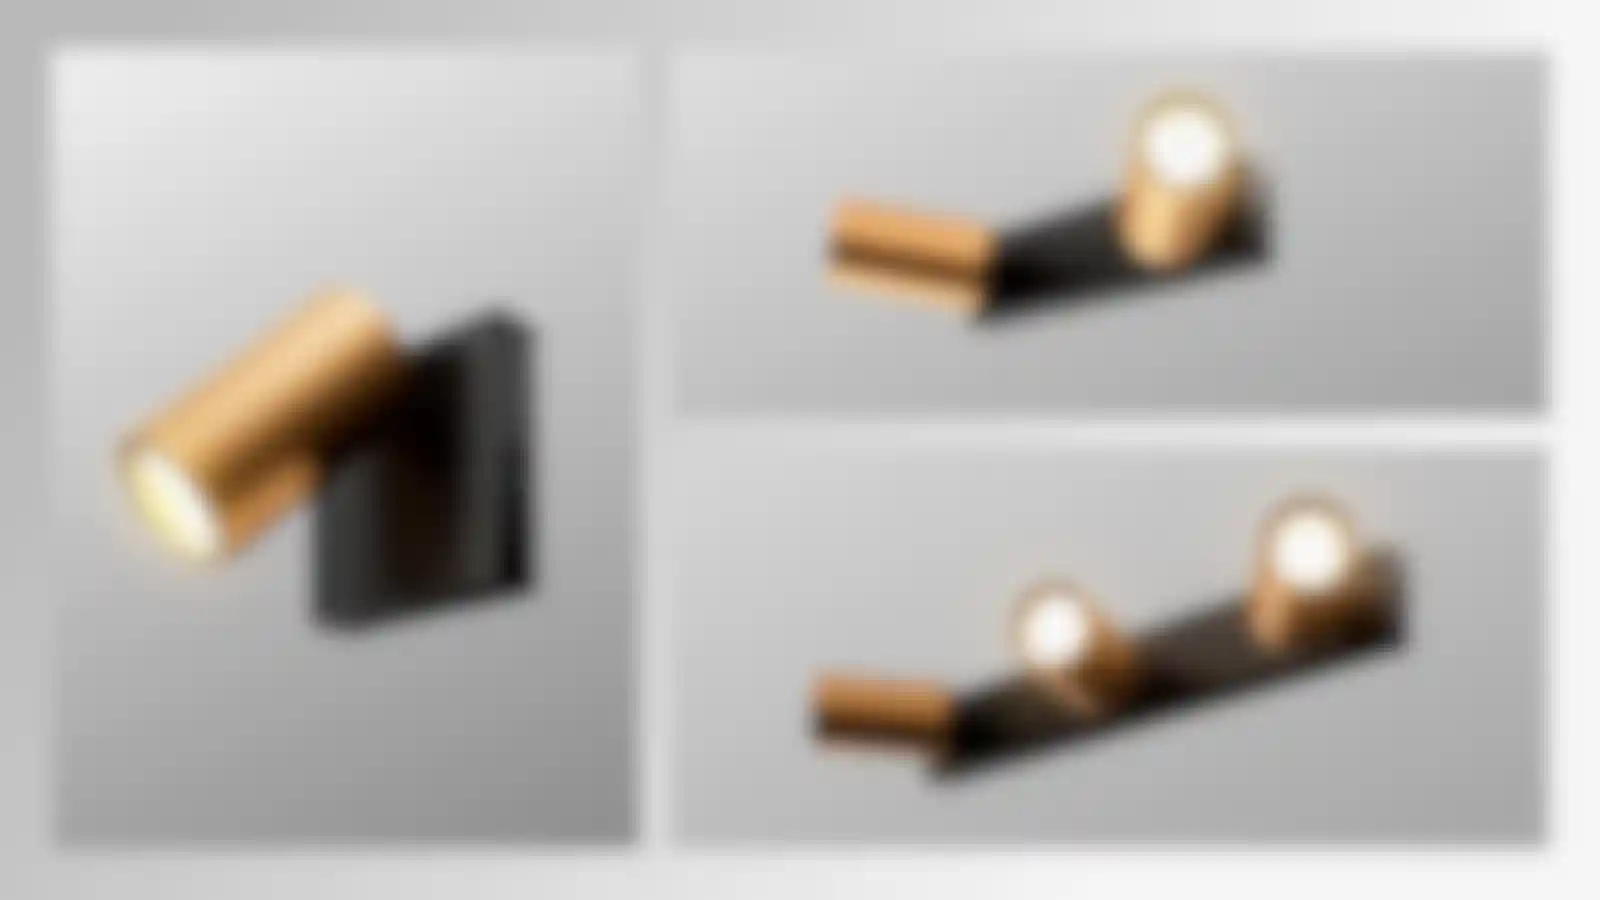
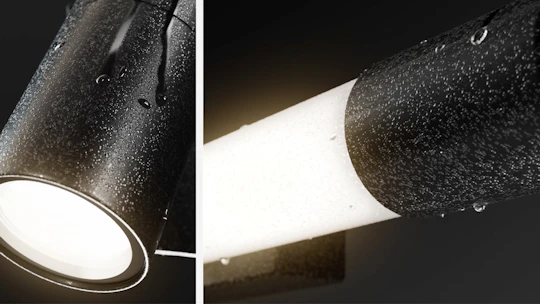
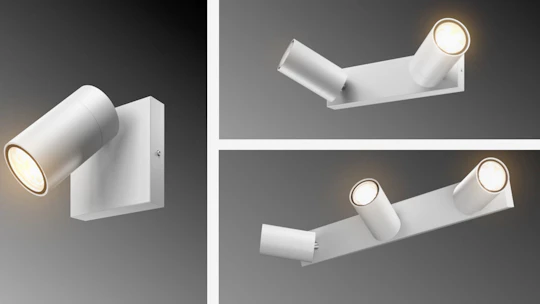
Jáuregui: The goal was to present Philips’ new bathroom lamps, highlighting the different models and colors. Our challenge was to find the ideal way to showcase the products in an appealing and clear manner, ensuring that every design detail was accurately represented. At the same time, it was essential to create a dynamic piece that combined creativity and technical precision, with carefully crafted art direction that conveyed the brand’s identity and captured audience attention. Through this approach, we aimed to showcase the lamps as well as create a visual experience that reinforced the connection with users and highlighted Philips’ innovation.
How did you go about planing for the project?
Jáuregui: We started with a client meeting to understand their needs, objectives, and expectations. Our team explored how we could bring fresh and innovative ideas that align with the brand’s identity and determined which visual and narrative elements would make the project stand out. Our goal was to strike a balance between strategy and creativity, ensuring that every decision would add value to the final result and create a memorable experience for the audience.
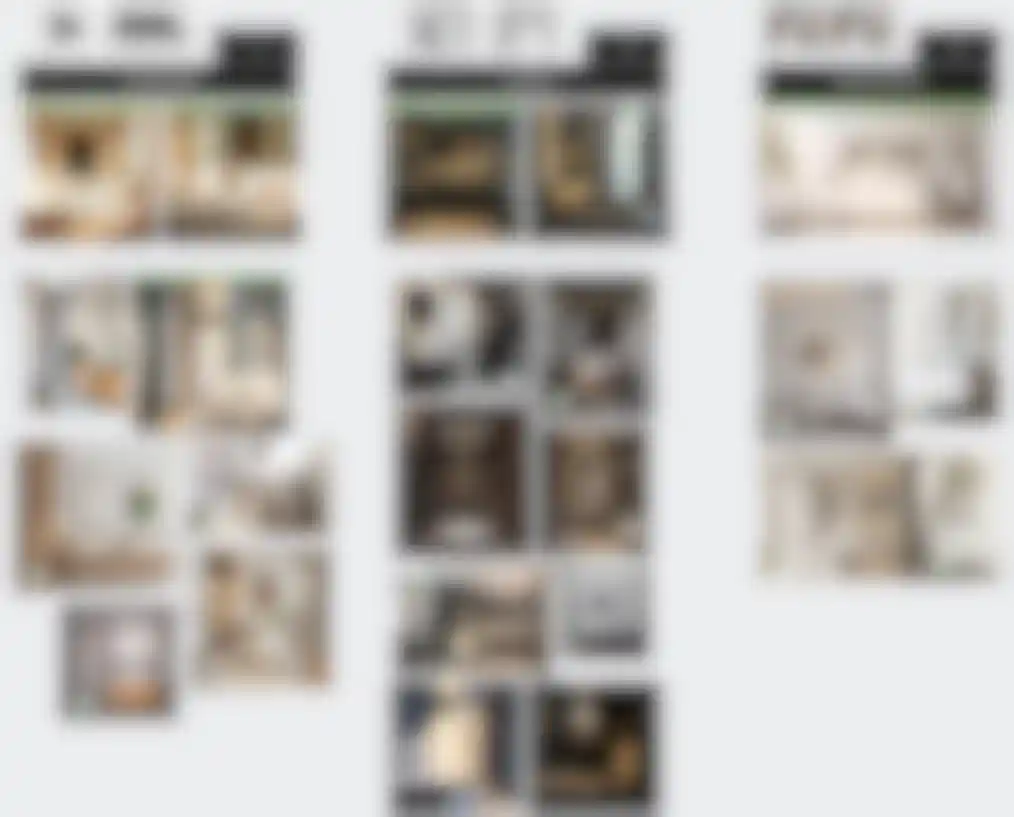
Together, we defined a clear approach, set creative priorities, and began the pre-production phase where we looked for references from platforms like Behance and used AI tools to establish a visual direction.
Walk us through your creative process to create the scenes.
Jáuregui: Once we had some visual direction that we liked, we started working on the 3D part—we call this the “laboratory” phase. This is where we experimented using Cinema 4D to test scenes, effects, environments, etc., and used Redshift to quickly visualize and create what we had in mind.
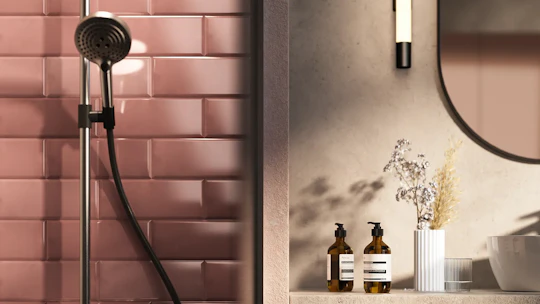
First, we created a blocking of the space in Cinema 4D with a rough sketch of the bathroom’s architectural structure that included a few assets. It was really fun to work on this in Cinema 4D because its tools allowed us to experiment very dynamically with different scenarios. We love using Cloners and Booleans to create structures, walls, and other elements—we did this to create a tiled wall with a Cloner in one of the scenes, for example. This technique works really well for generating different spatial possibilities.

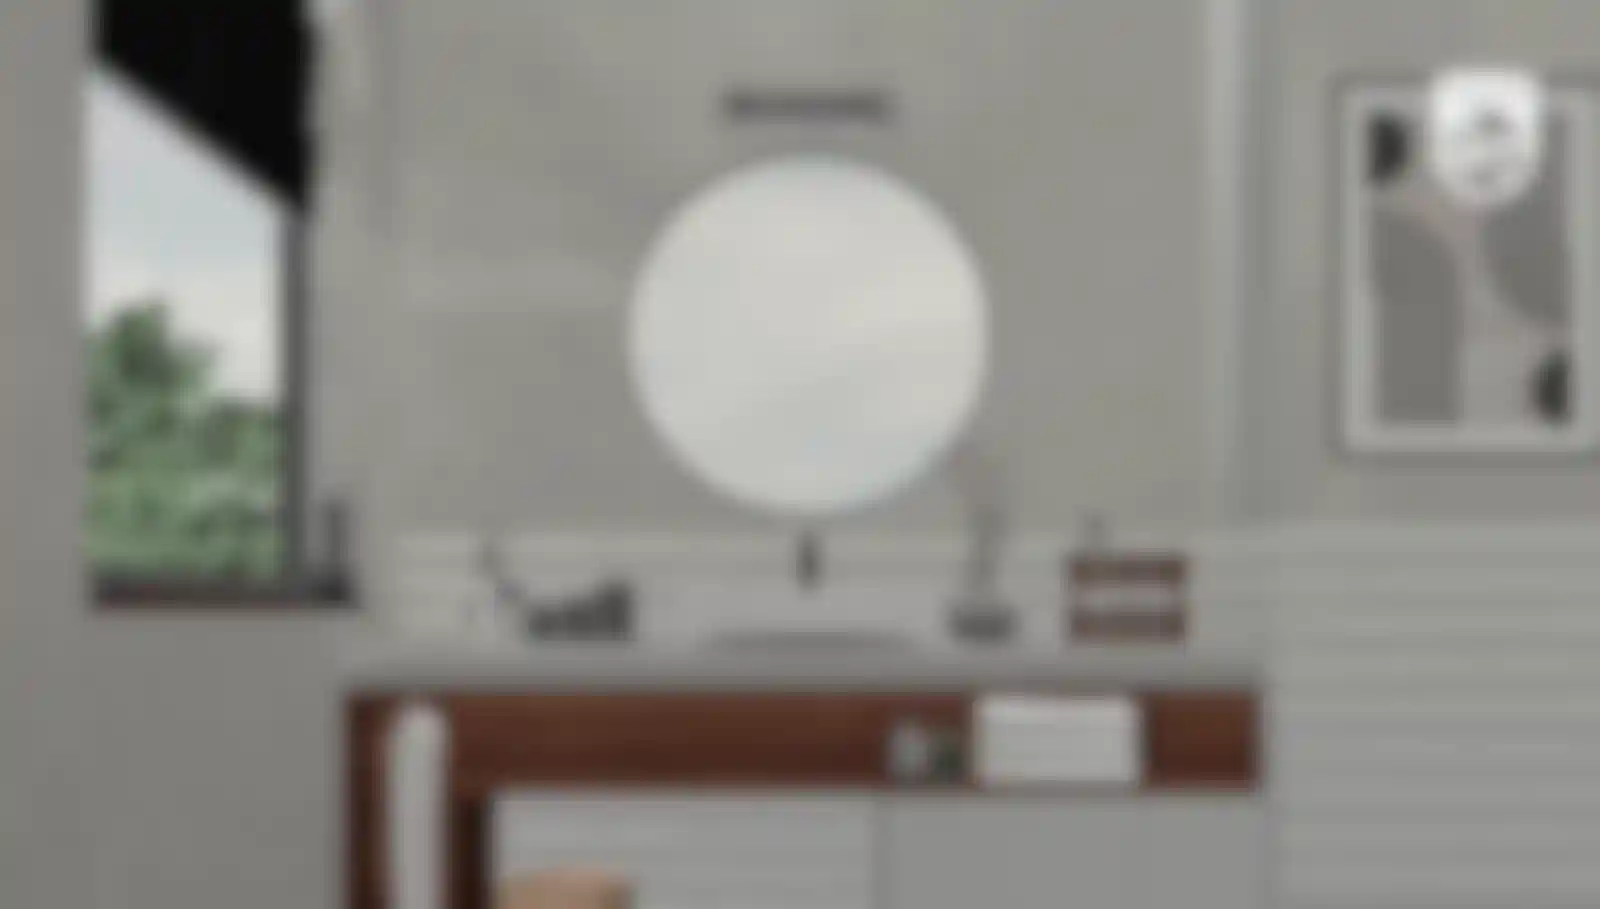
Once we had a blocking that worked and was validated, we continued to develop the spaces with details, lighting, and textures.
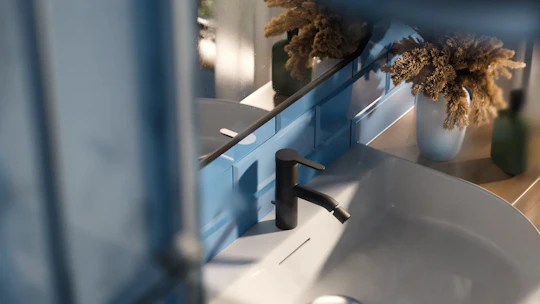
We used Redshift as our main render engine because it allowed us to iterate very quickly. This speed was key during the laboratory phase, as we went through many variations—sometimes small tweaks in lighting or materials can completely change the mood of a scene.
We especially enjoyed using the Redshift Sun feature, as it provided very realistic lighting. We like to run multiple tests and review them in real time through the IPR—it works really well for experimenting with light direction. The goal here was to experiment freely and quickly, and to discover unexpected visual solutions that elevated the final piece.
How did you go about combining sound and graphics to illustrate the versatility of the lighting options?
Jáuregui: We worked with Rodrigo Marchán who is our in-house Sound Designer, Composer, and Senior Art Director to create a sound piece that, together with sound effects, enhanced and complemented the 3D animations and graphics. For us, sound was a fundamental element in conveying the energy, dynamism, and versatility of Philips’ lamps. We carefully analyzed how each sound effect could reinforce the visual perception of the different models and colors, and how music and effects integrated with the visual narrative to create an immersive experience. This collaborative effort ensured every scene came to life to strengthen the connection with the audience and highlight the innovation and functionality of the lighting options.
“Redshift is a great tool for generating realistic lighting and testing multiple lighting setups in record time.”– Gerard Jáuregui
How did you use Redshift to create dynamic lighting?
Jáuregui: Redshift is a great tool for generating realistic lighting and for testing many different lighting setups in record time. We enjoyed combining the various options Redshift offers to find the perfect lighting. Every scene was different, and Redshift’s versatility allowed us to try many approaches until we found the one that worked best.

One of our tips for achieving realistic lighting is to take full advantage of all the tools the software offers. In other words, don’t rely on just a single tool to light your scene. Instead, combine multiple Cinema 4D and Redshift tools to push your lighting as far as possible. Experiment with combining different area lights with a dome light to help generate subtle nuances or adding textures to your lights to create variation and contrast in how the light interacts with your scene.
What roles do tools like Cinema 4D and Redshift play in helping you achieve realistic archviz projects?
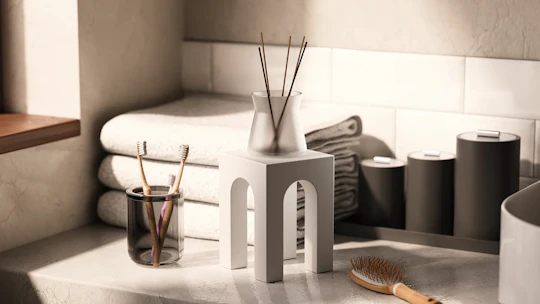
Jáuregui: Materials are a key element in achieving the level of realism that clients expect. It all starts with creating good textures and then placing the right lighting so those textures stand out and create subtle nuances in the image. We really like the way Redshift allows us to combine nodes to create complex, highly detailed materials. Our usual workflow starts with a base material using its different maps—color, roughness, bump, etc. Once we have that foundation, we like to use the "Color Layer" node to begin mixing different maps and procedural noises. This allows us to add depth, detail, and subtle nuances to every material we create.


What challenges did you face and how did you overcome them?
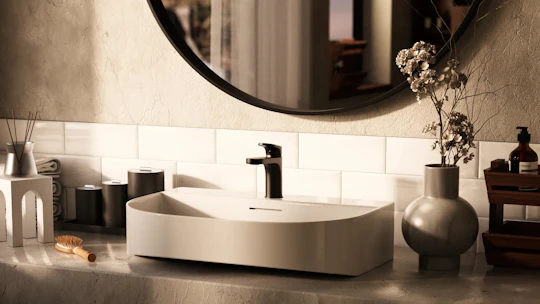
Jáuregui: One of the most difficult challenges was finding the exact lighting balance for the bathrooms. We wanted to combine the light produced by the product itself with a second light source coming from outside and finding that perfect mix required a lot of testing.
We learned that the best approach was to create subtle base lighting by combining a dome light to softly fill the bathroom and to add a Physical Sun to define the direction of the exterior lighting in the scene. This setup became the foundation on top of which we added different area lights to enhance the bathroom lighting. We also used emissive materials on the lamps, which helped us achieve a more realistic look.
Do you have any tips for getting the perfect archviz results?
Jáuregui: One of the most important aspects is to establish a clear lighting hierarchy from the very beginning. Defining a solid main light source allows the rest of the scene to be built coherently, both technically and narratively. When this foundation isn’t properly established, it’s very easy for the image to become confusing and lose visual impact.
Beyond lighting, a good archviz image doesn’t depend solely on technical accuracy, but also on intention. We always ask ourselves what we want to convey: atmosphere, materiality, scale, emotion? The answer to this question guides decisions such as framing, composition, and even the level of detail.

We also place great importance on subtle nuances: slight imperfections, material variations, and a controlled use of color help avoid results that feel overly “perfect” or artificial. In our experience, these details are what truly lend credibility and elevate the final image.
Finally, we recommend keeping a balance between realism and artistic direction. It’s not just about replicating reality but interpreting it in a way that makes the image visually effective and emotionally engaging.
What’s next for Kutuko Studio?
Jáuregui: Our goal is to continue producing high-level projects that are not only technically solid but also impactful and memorable. We are motivated by increasingly demanding projects that allow us to collaborate closely with architecture and design studios to create images that truly add value to the project.
Key Takeaways
Kutuko Studio is a creative and artistic direction studio that specializes in engaging storytelling.
They used Cinema 4D and Redshift to create realistic bathroom scenes with dynamic lighting for their Philips Bathroom Lighting project.
They focused on lighting hierarchy and carefully crafted materials and were able to quickly test lighting setups in Redshift.
Nadia Yangin is a copywriter at Maxon.