
Rango Rango marks ILM's first foray into feature-length animation while respecting the tradition of painstakingly drawn animated classics.
From the moment you saw that first teaser with the wind-up toy fish flying across the highway, you were probably intrigued by Rango – the smash animated film starring Johnny Depp as its titular hero. Released on March 4, 2011, Rango has been a terrific success. In fact, it's the highest-grossing film of 2011 worldwide so far!
A large part of the film's success is the artistry behind it. George Lucas' famed Industrial Light & Magic took the helm for the movie's animation, with a result that Roger Ebert described as "respects the tradition of painstakingly drawn animated classics, and does interesting things with space and perspective with its wild action sequences." There is no doubt that Rango has a visual style all its own and Pixologic was thrilled to be able to speak with the art team behind the movie to learn how it came about.
We hope you enjoy this special look into the artistry of Rango!
Rango marks ILM's first foray into feature-length animation. What inspired you to take on a project like this?
GEOFF CAMPBELL, Model Supervisor - Rango: I'd say most artists at ILM have had a desire to try our hand at a full length feature animation for years but because of our effects background no studio had offered until Gore presented us with Rango. Honestly I think we had this idea that it would be a lot harder and longer process than it actually took. But Rango was a fantastic film to work on. Hard work, but lots of fun.
There was also excitement from the outset that this was a Gore Verbinski film with Crash McCreery as Production Designer. Many of us had worked with Gore and Crash on the first three Pirates of the Caribbean films so were big fans from the outset.
Could you introduce us to the artists on your team and a bit about their backgrounds?
GEOFF CAMPBELL: We call our group of modelers and texture artists the Digital Model Shop or DMS for short. It's really a continuation of the original ILM Model Shop from the Star Wars days. We have a truly dedicated team of artists, some of whom have been with us pre-digitally and others who joined us when we were crewing Rango.
Maybe the best way to introduce the artists is to match some of them up with their models:
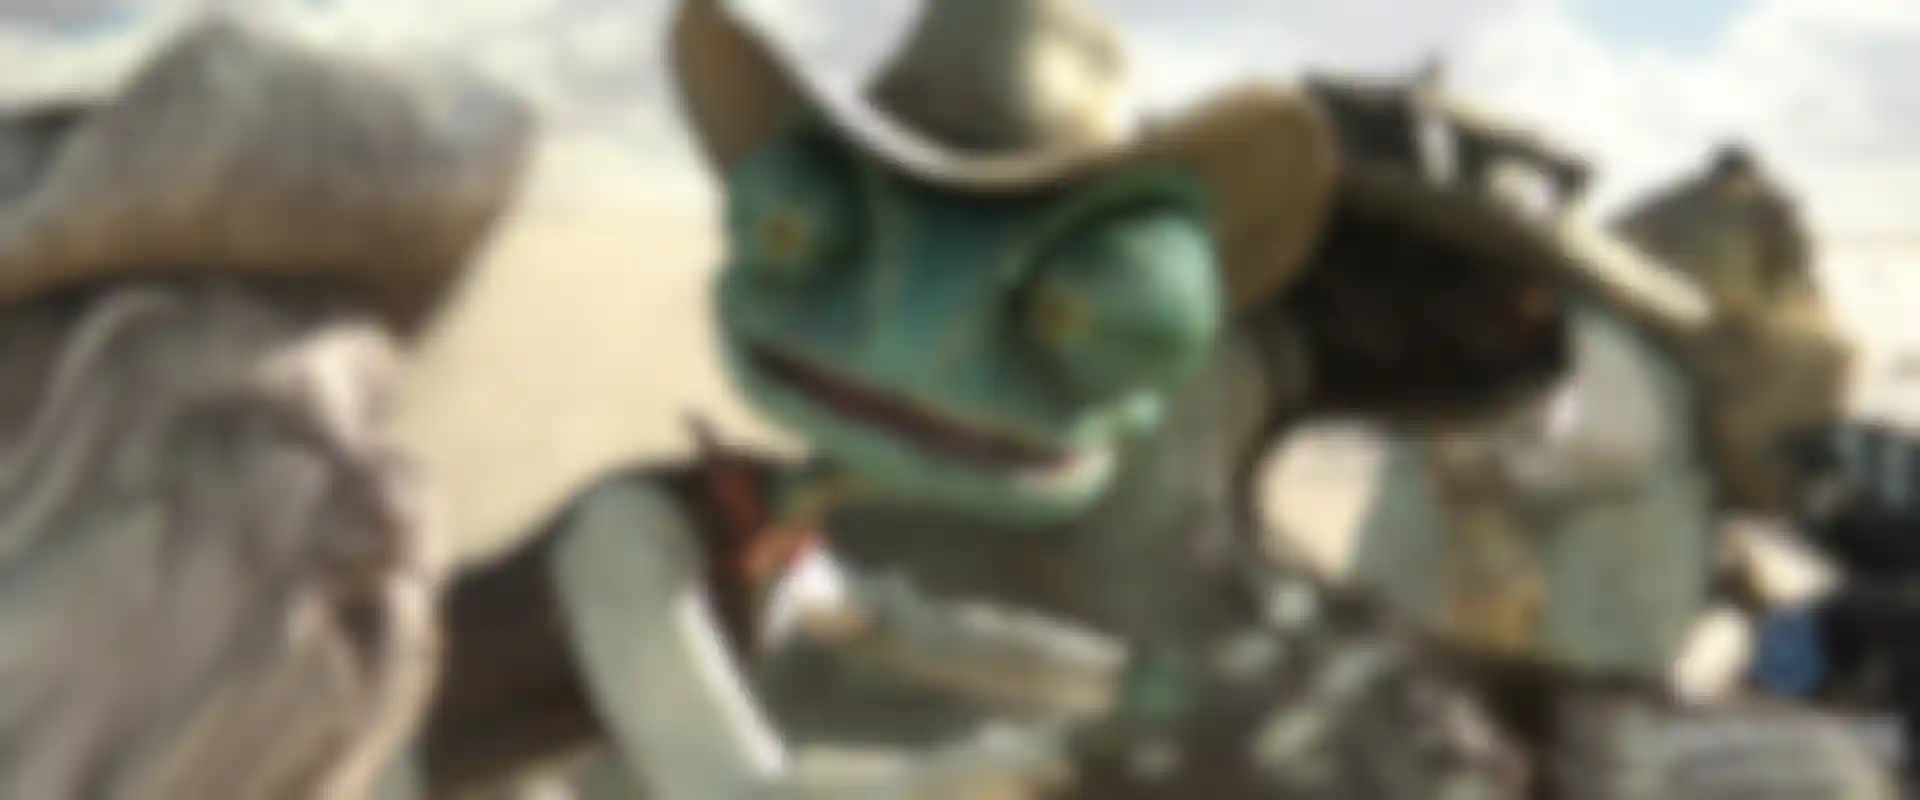
- Frank Gravatt modeled Rango and has been with ILM for over 17 years. He has a love of monsters and classic monster makeup and has a great style for bringing out the iconic in his character work.
- Jung-Seung Hong modeled Rango's elaborate and quirky facial library. He's had a lot of practice with facial performance shapes from his earlier work on Davy Jones.
- Steve Walton was our Texture supervisor and painted Rango, while Damian Steel was Rango's look development artist.
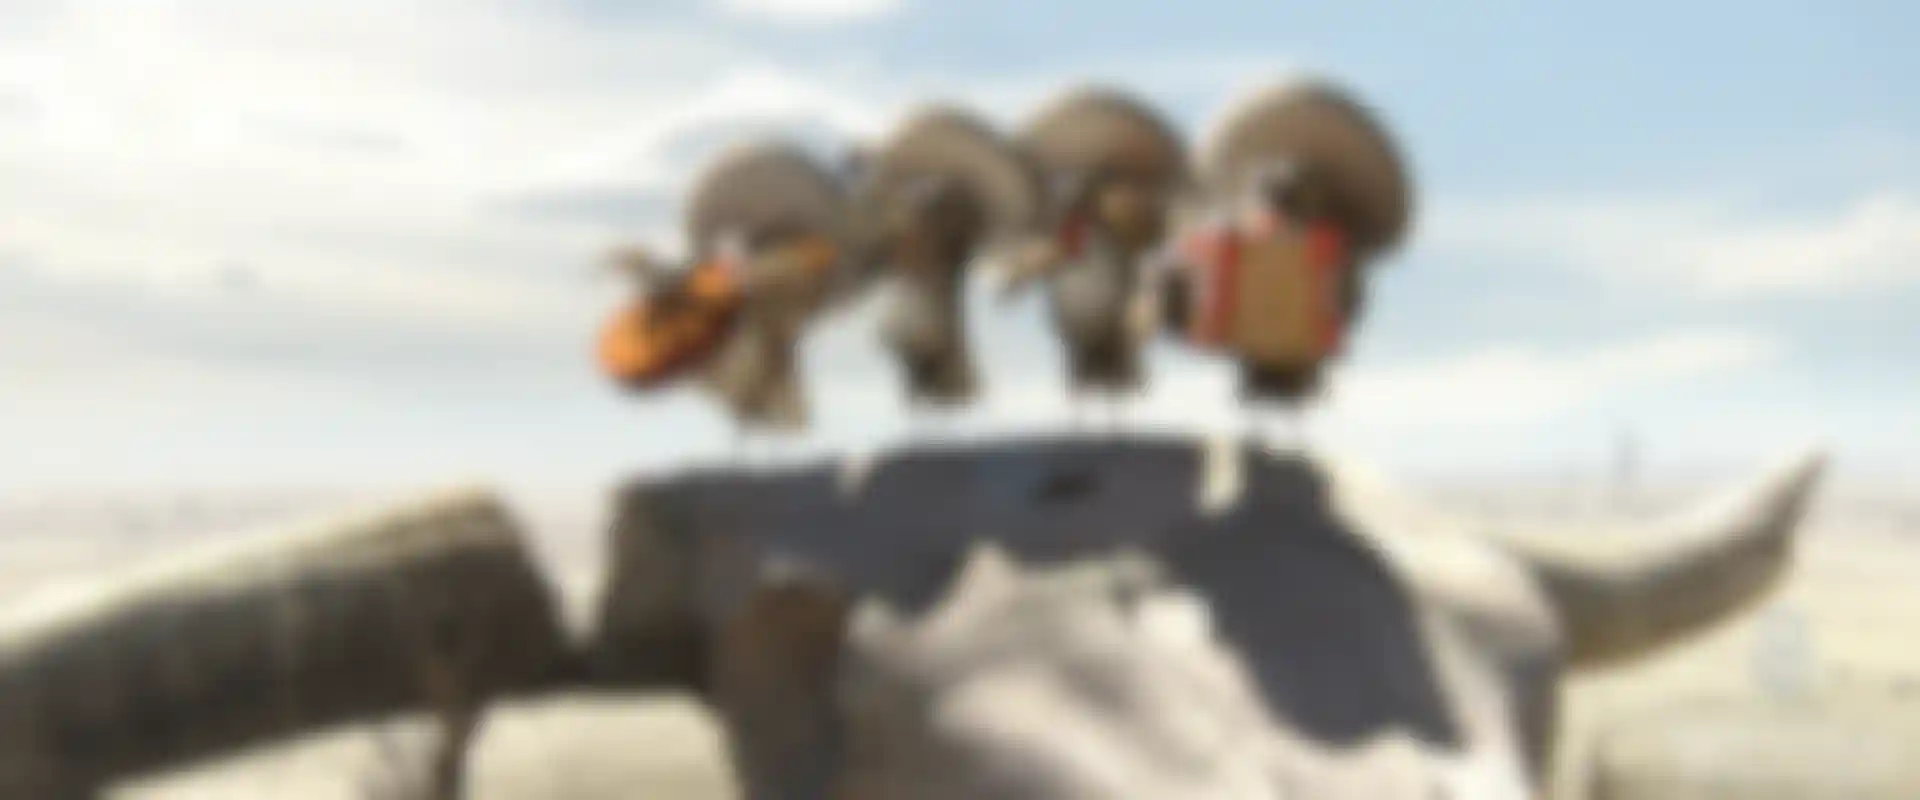
- Ryan Calloway modeled and textured the Mariachi band.
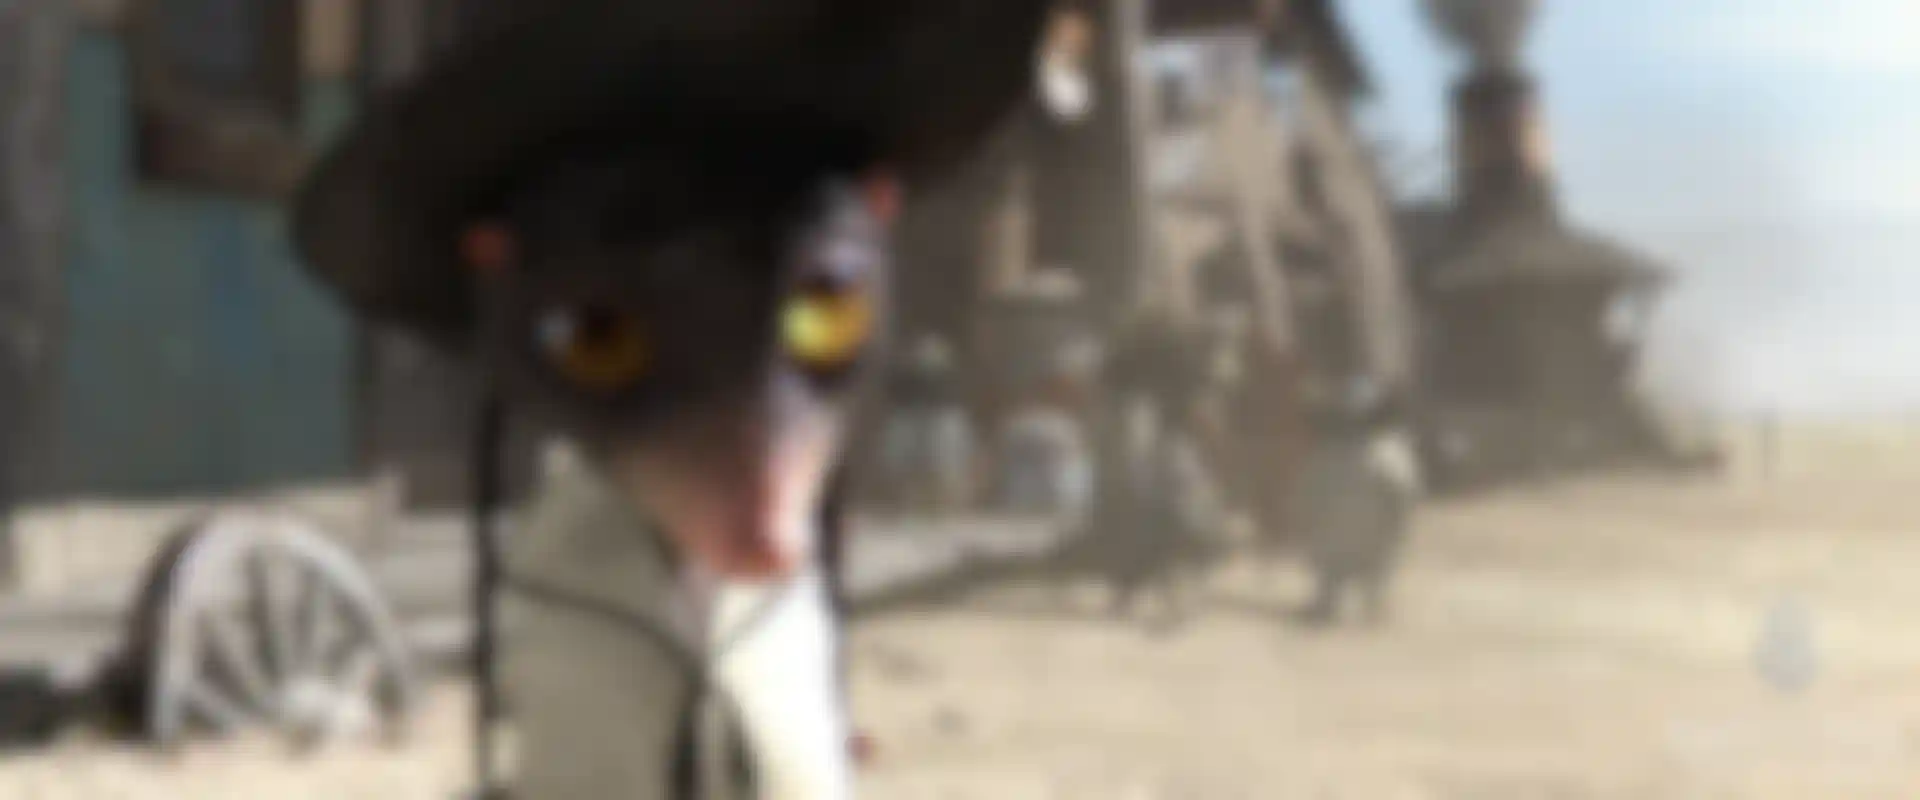
- Patrick Gagne and Michael Koperwas worked on Rattlesnake Jake and both bring unique talents to the group. Patrick is gifted sculptor and modeler, while Michael is one of the creators of our proprietary facial software.
- Lana Lan is one of our most technical modelers and she happens to have a fantastic aesthetic sense. She modeled Spoons and Merimack, the banker who ends up dead in the desert.
- Kris Costa modeled the Mayor and Spirit of the West. He's probably the best-known ILM'er on the ZBrush blogs.
- Veteran artist Sunny Wei modeled the bats and also Lucky, the young rodent child with a predilection for dynamite.
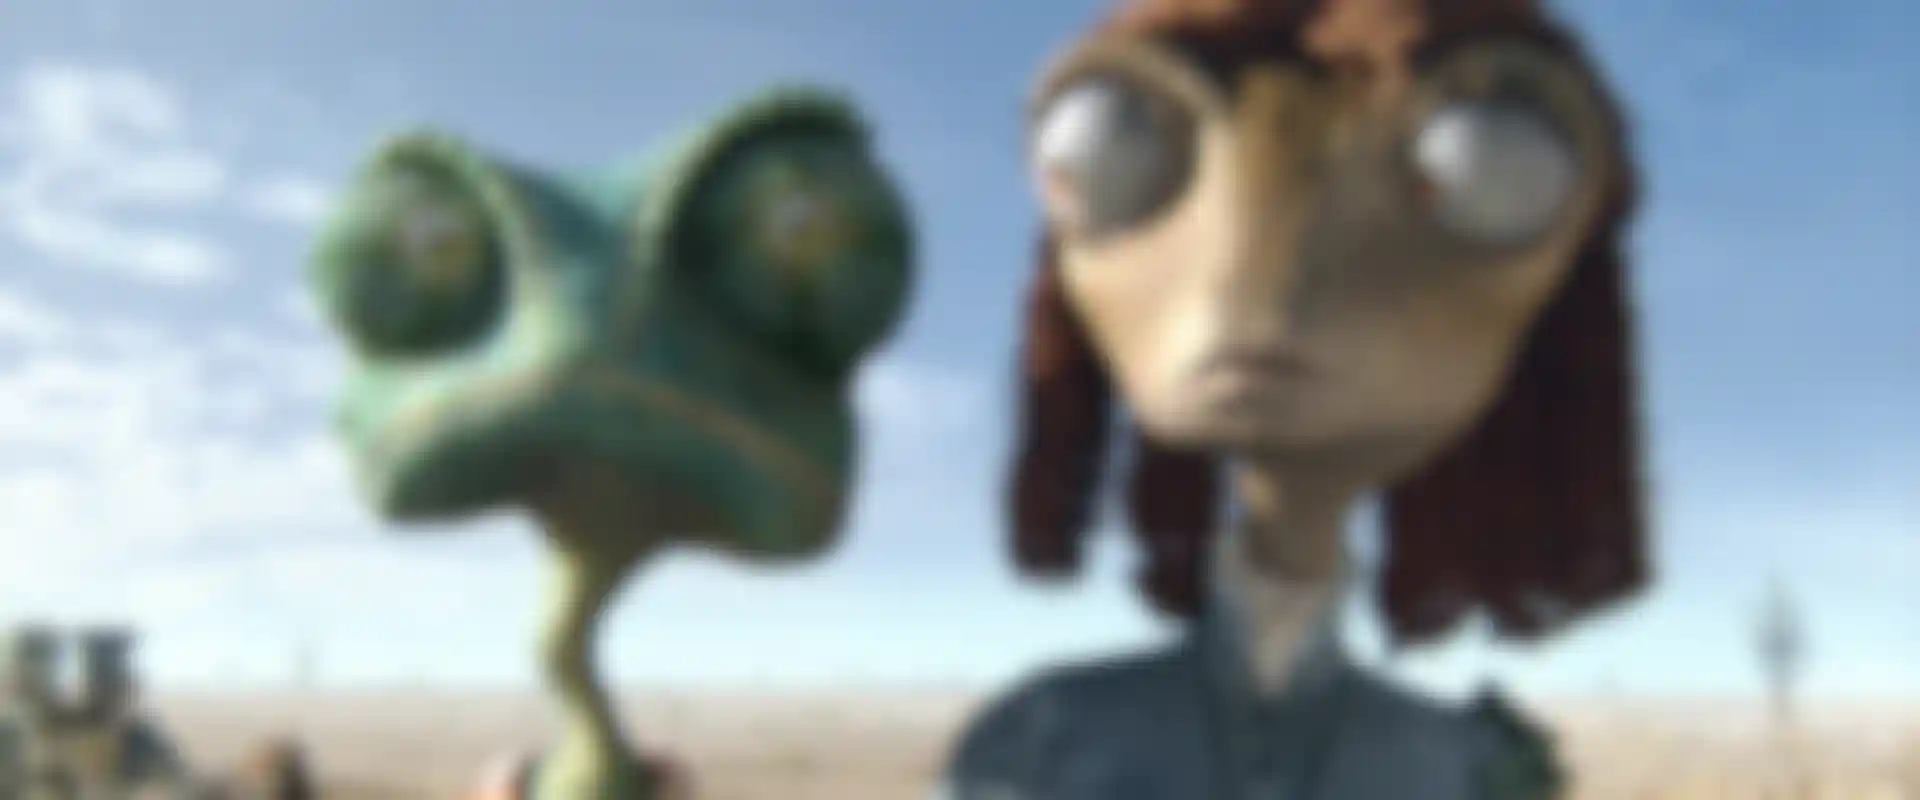
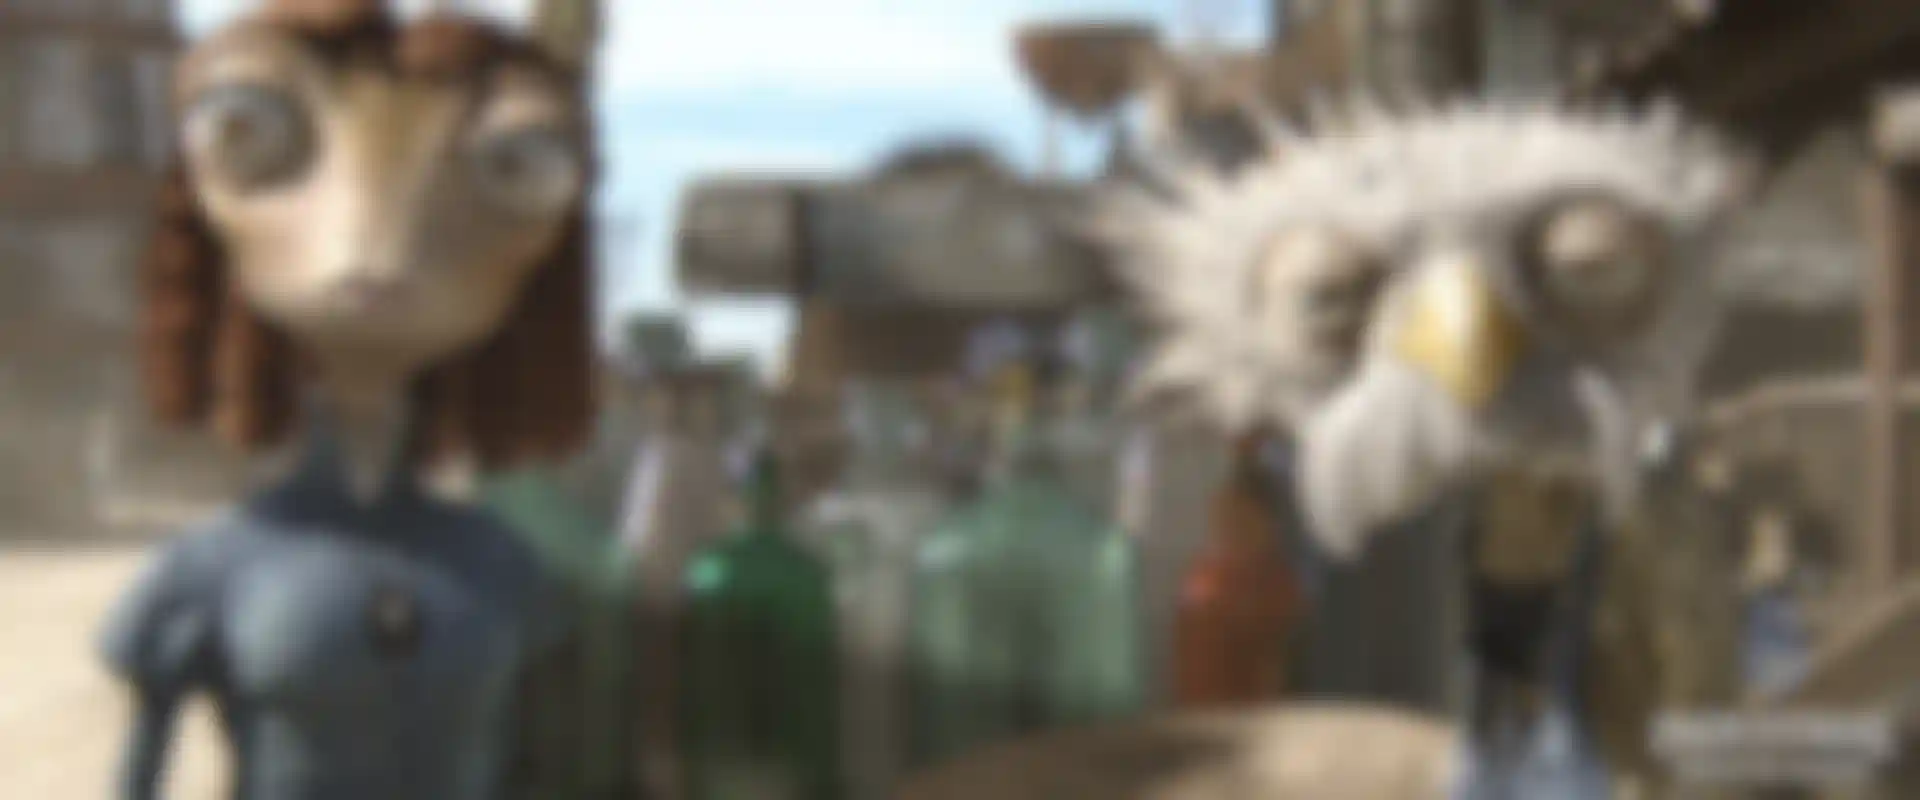
- Martin Murphy was the painter on Beans and the little mousy girl Priscilla, as well as modeling and painting the cactus spirits that roam the desert and turn on the water.
- I was the modeler on Beans and Priscilla with expert help from Gio Nakpil on Beans' facial library. Gio also modeled Wounded Bird.
- Paul Giacoppo modeled Rock Eye and Mordecai, a young chipmunk with braces.
- Lenny Lee modeled Lenny, (we make a point of matching modelers up with characters of the same name whenever possible).
- Mark Siegel modeled the hawk.
- Rock Hwang modeled Road Kill.
- Can Tuncer and Philp Koche modeled Dutch and Jedidiah.
- Mia Lee modeled Elbows and Miss Daisy, and helped define our ZBrush maquette process which I'll talk about in a moment.
We also had some great help on our Theatricalus wardrobe from HonWui Yap, HuaiYuan Teh and Joana Garrido, from ILM Singapore.
What are the differences between the visual effects work that ILM is known for and making an animated movie?
GEOFF CAMPBELL: Well we thought the main difference with a hundred plus characters would be lighter meshes there was also a perception that animated characters should be lighter and cleaner because they're more stylized. It actually turned out they needed to be higher res than we originally planned.
Gore had us reference films like The Good, The Bad and The Ugly and The Man with No Name, and Crash brought up to ILM a wardrobe of old western-style clothing complete with sweat and salt stains under the arm pits and threadbare shirts and pants.
Although these characters were more stylized than the realism we had achieved on the Pirates of the Caribbean films, our approach to modeling was pretty similar. For example, we even shared between the characters a parts library of worn threads that we could apply to the edges of coats to break profile, along with ZBrush displacements and other tricks. The attention to photo-realism; hair, fur, feathers and bad skin was the bar, but it all had to work within the context of the characters.
Matching realism on effects films mostly comes down to precisely matching the reference of the actor both for modeling and facial work starting from scanned data of the actors. The characters in the town of Dirt were looser and a lot more fun because we were sculpting them to match Crash's artwork and not actors, with a few exceptions including Doc, played by Stephen Root. In his case, the artwork was designed with Stephen in mind, and Gore asked us to put a little more Root in the sculpt.
What are the differences between the visual effects work that ILM is known for and making an animated movie?
MICHAEL KOPERWAS: While we have lots of experience putting characters into real scenes, Rango represented a new frontier for us in terms of character and animation, and our facial pipeline had to fit. The 120-odd characters all needed some level of articulation and a whole lot of expression.
When we were initially planning the show, there were characters expected to be considered 'easy builds' because they only had one line, even though it happened to be full-screen. For something like that to be feasible in our budget, we had to adjust our facial animation system in a few ways. The goals of an animation system are to be easy to use, and easy to author for. FACS is a well-known facial system, but it's designed to help identify what muscles are used in a facial expression.
What we've done in our proprietary system, Fez, is flip the problem around and think about how someone intuitively thinks they should animate a face. Our modelers create animatable poses that move the face in ways an animator can intuitively interact with and that's standardized across characters. That allows us to transfer animation easily, but mostly makes it easier for animators to jump in and be familiar with the setup right away.
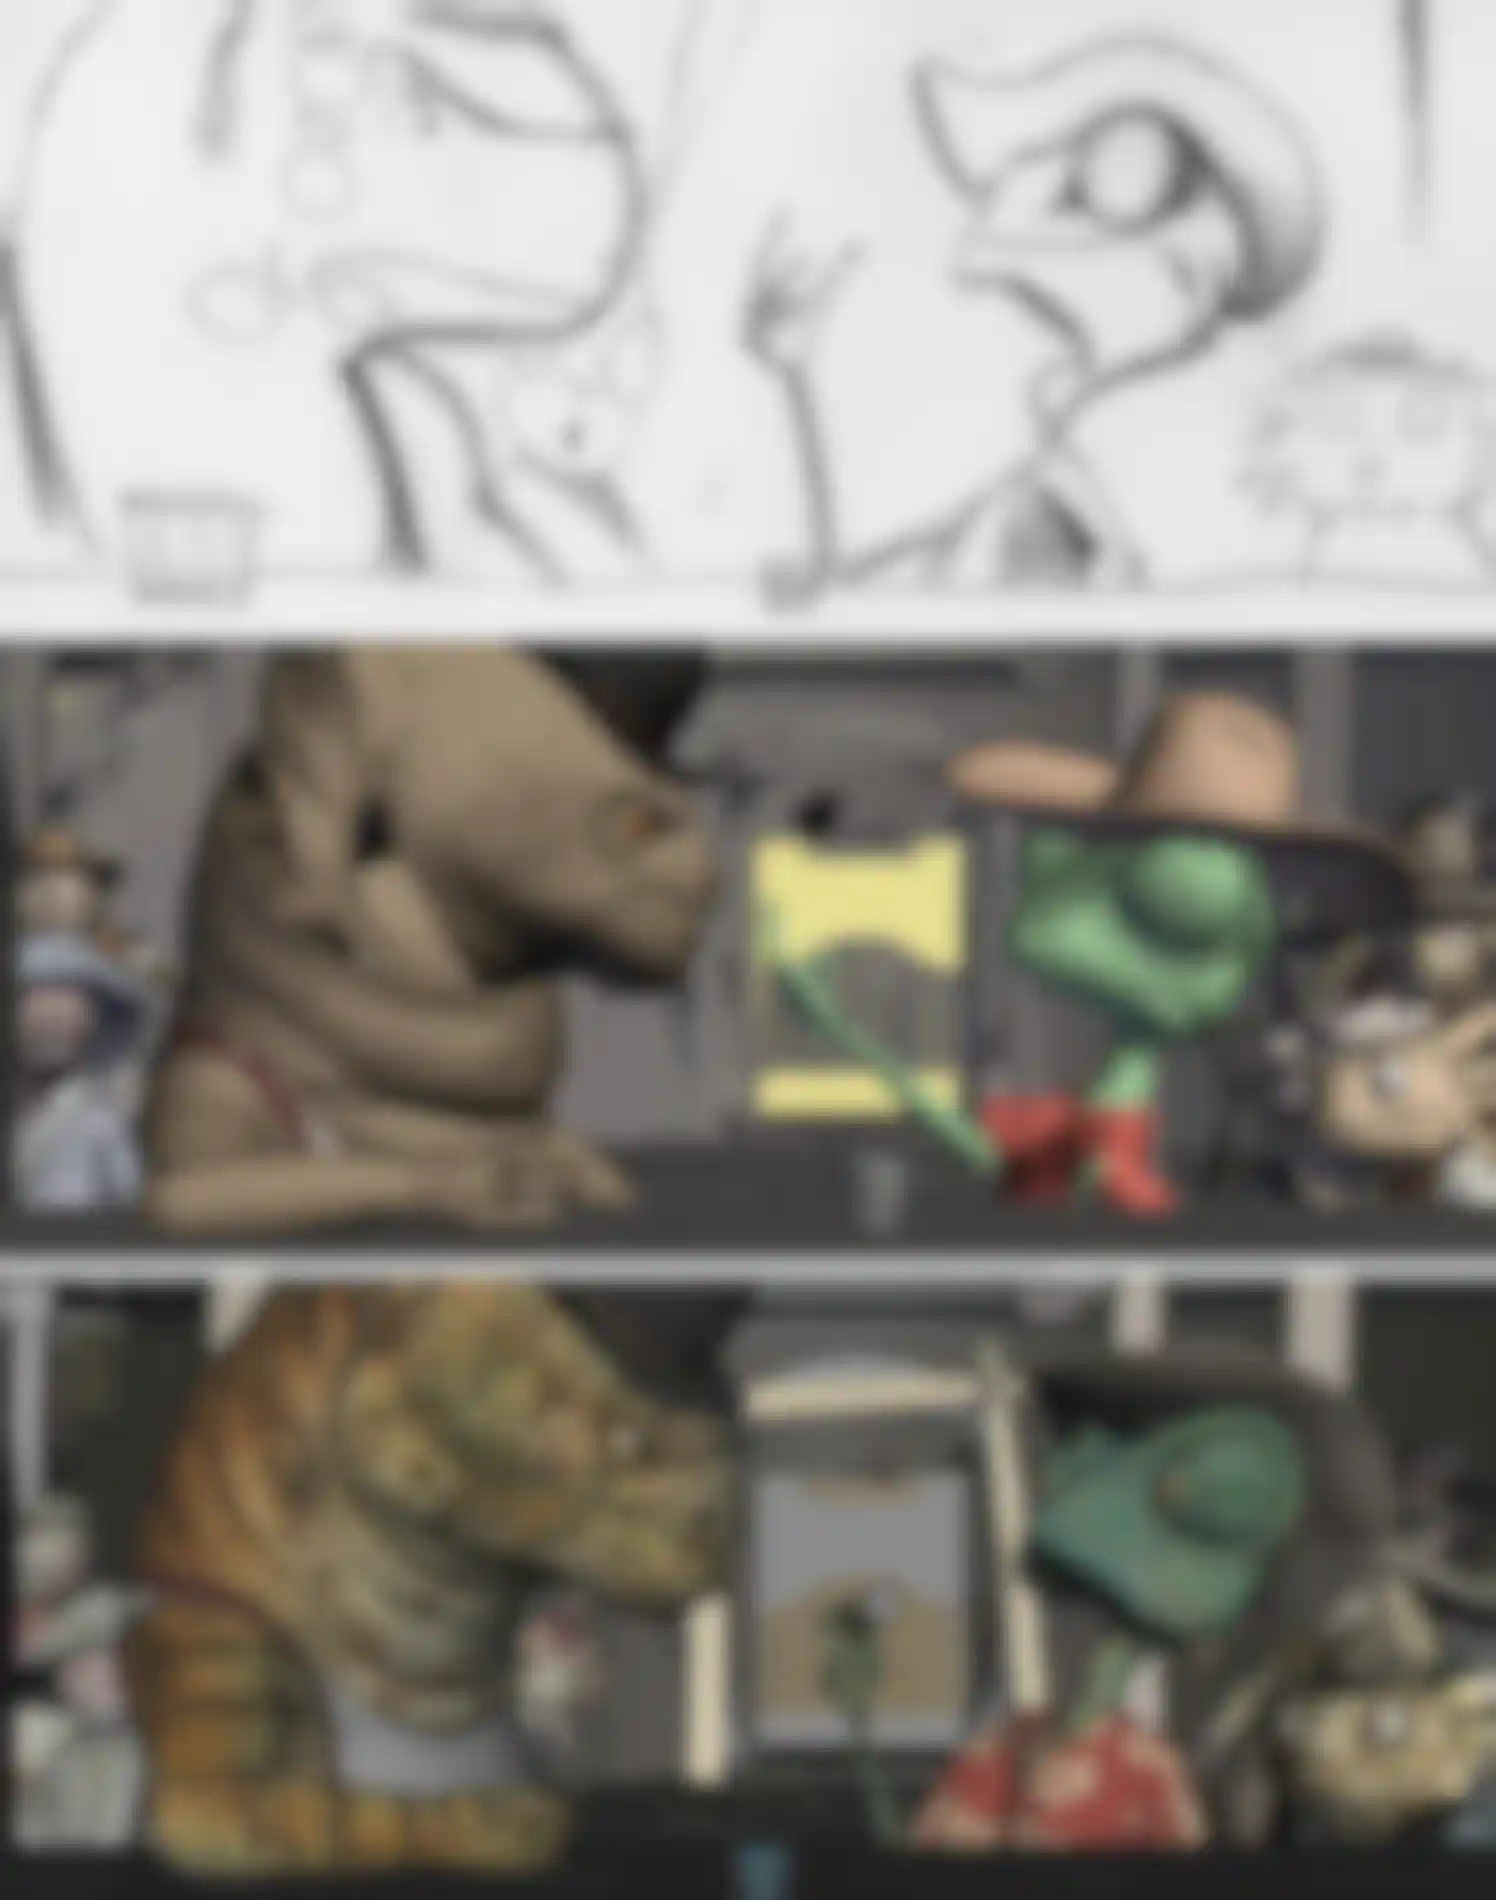
How were the characters in the movie inspired? How did they evolve from concept art to finished figure?
GEOFF CAMPBELL: Crash's artwork had a lot of humor in each drawing but also brought out a sense of desperation with each character in a town where the water had run dry. You could see in their eyes, the loss of their crops and livelihoods. You could virtually feel the dryness in their throats. The question would often come up as to what type of animal a particular character was but Crash would tell us not to worry about species but to stick with matching the 'character' of the artwork. That was an important part of keeping each unique and intriguing. You might not know or care what kind of lizard Bad Bill was but you'd remember the menacing look in his eye. In a way, we had to switch off the analytical side of our brains that comes with doing effects work and search out the qualities and character traits in the 2D artwork.
Crash and the ILM Art Department did a great job providing the DMS and look development artists with detailed references of everything from the wear and tear on the clothing to the types of pocket watches, ailing skin, fur, eye glasses, hair styles, guns of the old west etc. The research was incredible.
The general flow was to sculpt and texture a three-day ZBrush maquette for each character and after approval, start in on the asset. A first pass model was sent to rigging while the model asset continued to be refined, hair and fur splines added, scales added, UV's laid out etc. Once the finished model had gone to paint, the modeler would start on the facial library. We had a few weeks for each character model including wardrobe and two weeks on average for making our facial libraries.
Rango and Beans were special cases because they continued in a design phase throughout pre-production. Beans had an original design but Gore, Crash and Jim Byrkit (who was head of story) still didn't feel they had found their Beans. The design needed more exploration. I made a number of trips to LA to sit with them and do quick ZBrush sculpts based on their drawings. In Crash's original artwork she was pretty sullen and unattractive but we were searching for some of that Margarita Lozano sex appeal -- without going too pretty. She was already in shots when Gore had us add a gap in her teeth to offset her smile.
How many characters total are in the film? How much time did you have to create them?
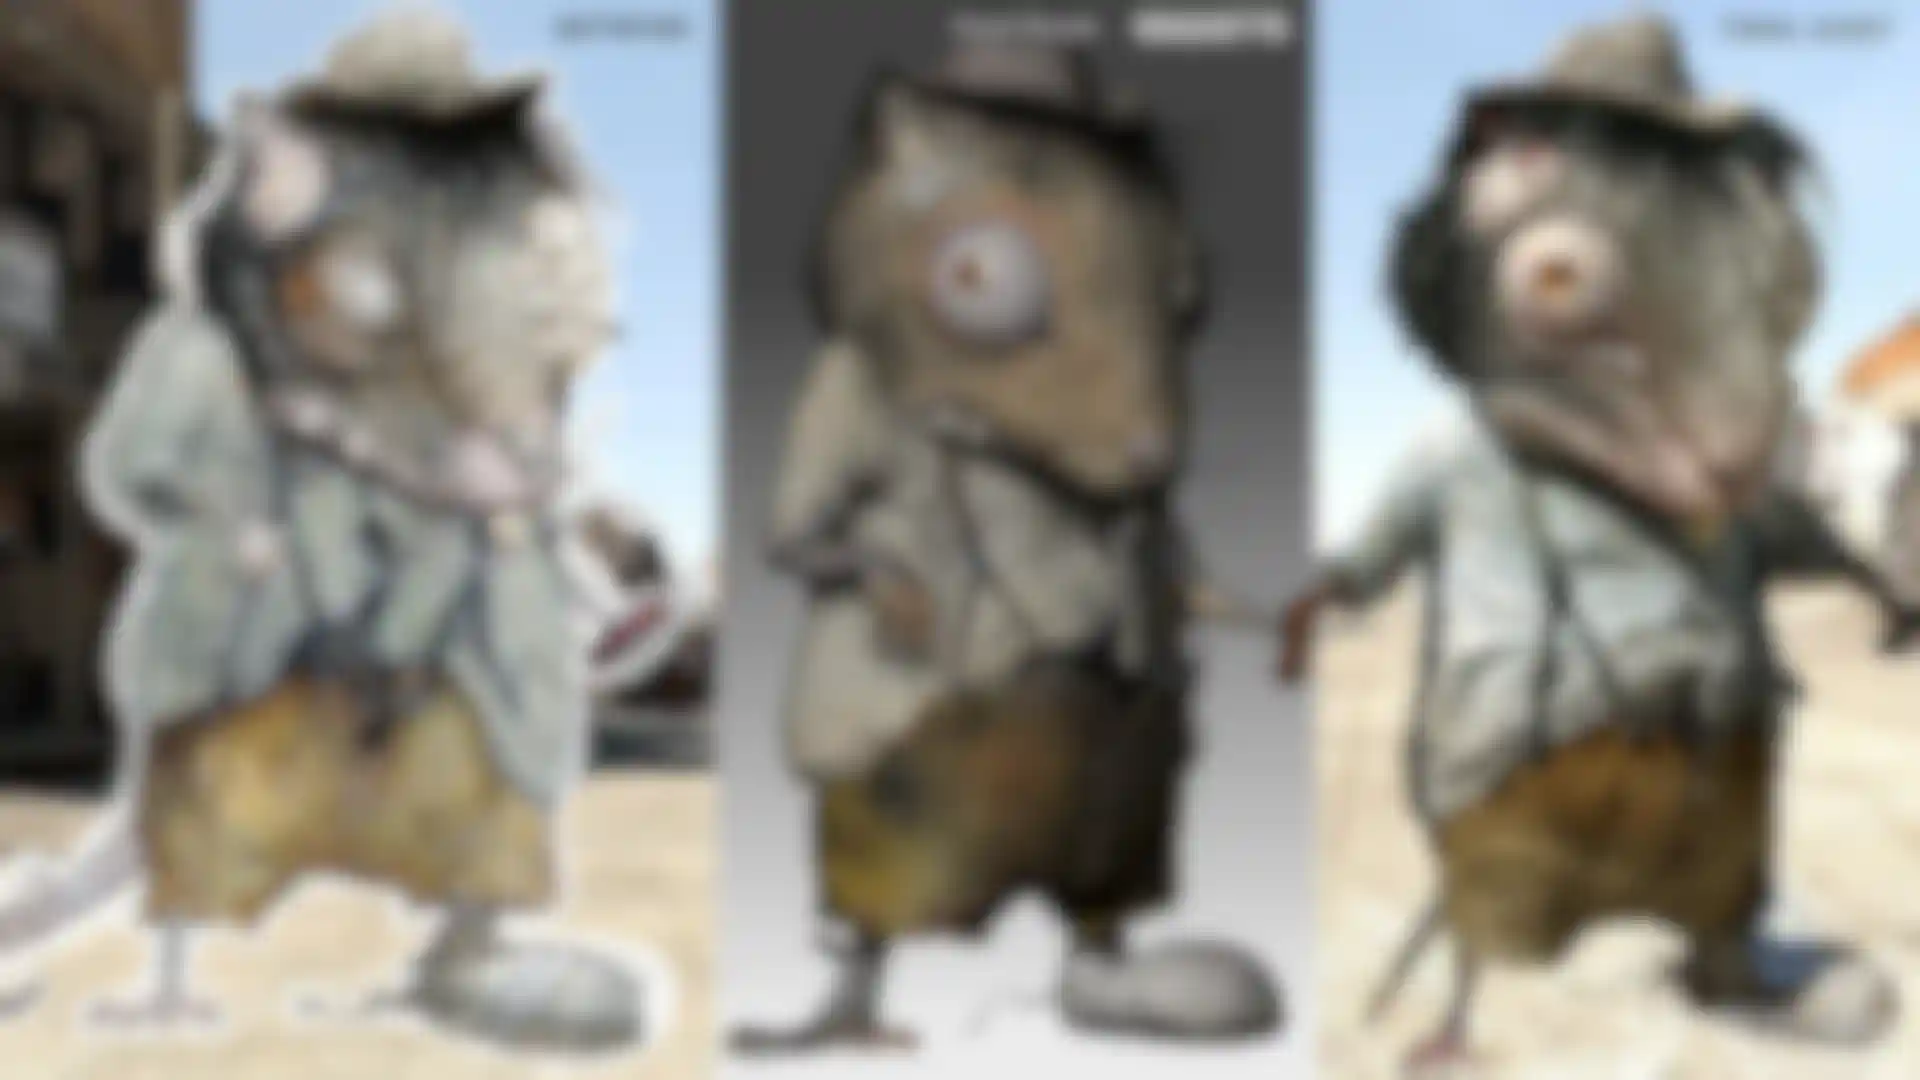
GEOFF CAMPBELL: It's funny but I'm not sure anyone did a final count. I'd say roughly 120, including background rodents and townsfolk but of those there were 30-40 hero characters. On every show there are usually maquettes created, but in this case as co-creators we were trying to go straight from Crash's 2D artwork to finished model. That's dangerous because you eat up time trying to get the topology right, the interior of the mouth, hair, fur, UV's etc. before Gore and Crash have had a chance to sign off on the basic proportions.
So without lengthening our model timeline, we squeezed in ZBrush maquettes at the beginning of each model build. Mia Lee was the first to throw together a maquette with textures that she did it in three days, yet with such accuracy that production in LA thought it was a finished model ready for shots. Everyone did an amazing job keeping to the three-day schedule and knocking out exquisite maquettes. It would have been a tremendous challenge had we not had ZBrush because you needed to work sculpturally without concerning yourself with topology, and the tool set in ZBrush was perfect for this work.
After the three days, the modelers had different workflows but basically you'd have a couple weeks to flesh out the geometry in Zeno, our proprietary software and Autodesk Maya. We had created a wardrobe library that has a lot of the more generic clothing but most of articles were constructed for each individual character. We also have our own hair/fur pipeline in Zeno that made it pretty easy to style and groom the various characters. Modelers, texture artists and look development artists combined their talents to give the characters the mangy, greasy, patchy, hair and feathers that bring a slightly disturbing realism.
Which character was the most challenging and why?
KRIS COSTA: I would say that both the Spirit of The West and the Mayor were challenging in similar ways. The biggest challenge here was the translation from Aaron McBride's 2D concept art to a 3D model, using a very stylized likeness to portray the "man with no name" for the Spirit of The West, and Crash's artwork along with reference of John Huston for the Mayor. The models went through some iteration until we found a sweet spot between realism and stylization. It's the kind of beautiful weirdness that surrounds the whole movie, where you have stylized characters covered with exquisitely detailed and realistic shaders, textures and lighting.
The concepts in general were beautifully weird and translating them into 3D was quite a lot of work, but it seemed like once we reached that goal, everybody felt inspired to push further and that's what we did. On top of this, video reference was used to capture key facial expressions of the actors. Our process was to hand-sculpt these facial expressions using the reference as a guide.
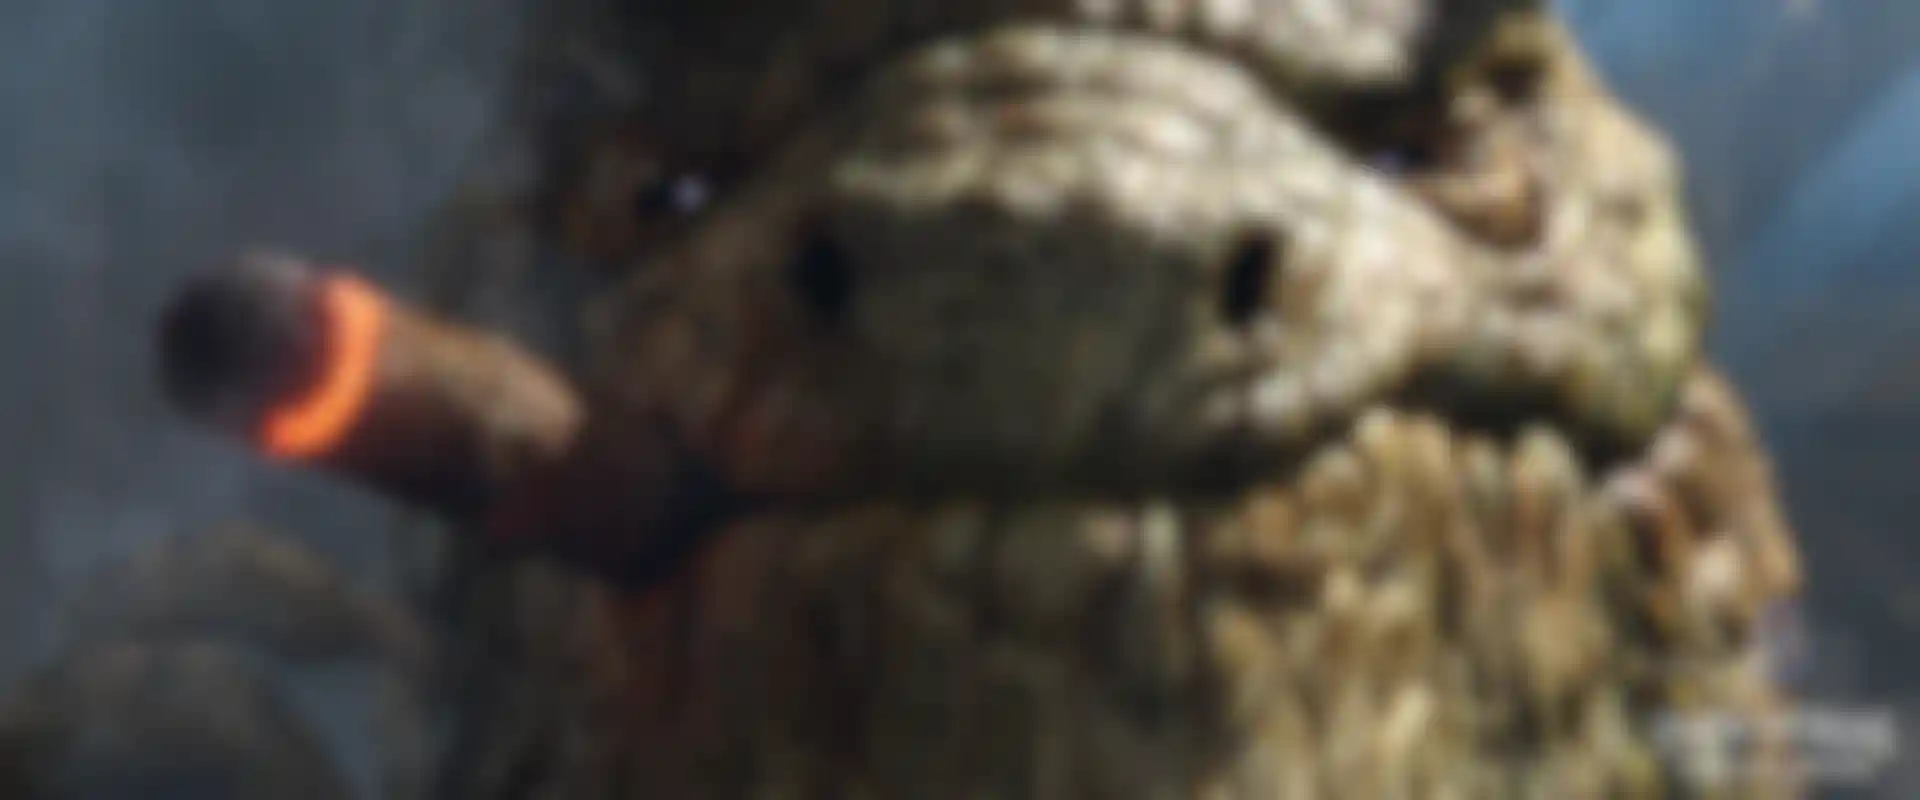
PATRICK GAGNE: The displacement on Bad Bill was pretty challenging because of time constraints. But in a way that helped push me to work quickly by making alphas from the geometry-modeled scales and re-projecting them all over Bill's body. Another challenge was putting together layers of scale sculpts in the maquette phase to get exactly what Tim and Crash were looking for without too many iterations or losing time. ZBrush's layers were a helpful tool for this.
The Rattlesnake Jake maquette was challenging because of his size. We needed to see him posed in his coiling position to assess what was working and what was not, but with his scales as part of the sculpt. To do this I made a quick ZSphere rig to get him coiled and then made a tileable UV map which gave me the ability to quick-sculpt the scales on his body with the alphas. So I was able on the fly to resize the scales, stretch them or whatever Tim was looking for by playing with the value of the tiles, or playing with the UV's in Maya so the normal map extracted by ZBrush was changing in real-time. I remember that being pretty helpful in our interactive sessions with Gore and Crash because we were able to lock down the size of the scales on the fly.
Which character would you say was the most fun? How so?
GEOFF CAMPBELL: Pretty much all of them! Gordy the town drunk was one of my favorite turntables, modeled by Patrick, but there were also Boseefus with his mullet and skin condition, and Mia's elegant-looking one-legged cowboy, Slim. One of the most fun was Lucky.
SUNNY WEI: Lucky had funny short limbs with an asymmetrical face and the bandages from his many accidents that made him so unique and funny. His extremely large eye and head made him challenging. I can not stop myself from smiling whenever I think about him. After seeing him in the shots playing with the gun, this nontraditional character makes me laugh again and again.
Did you encounter any surprises during the production? How did you handle those?
GEOFF CAMPBELL: Mid-way through production there were a few surprises like needing to model twenty eight new rodent variations in a week and a half for the bat chase. For that we set up some ground rules. For example: Changes to topology could only be sculptural with no CV reordering; mixing and matching wardrobe; careful sculpt changes to the faces with our facial libraries from the source character loaded, so you could push the new face and interactively back off if it started to break the facial library. These were all cheats to meet the deadline but they helped a great deal. Mark Siegel and I had fun plowing through the models and coming up with new characters. Mark also brought a lot of tricks to merge textures and cleanly transfer guns and holsters from one character to another. Basically, we were looking for ways not to impact the other disciplines like rigging and texture, since our asset budget was already spent.
I've read that the actors actually wore costumes and at least to an extent acted out the movie. Was any video of that recorded for you and if so how much did it inform your work?
KRIS COSTA: Absolutely! We had video reference for all shots and we also used old movies as reference for some of our characters. The videos were not only reference for our animators, but also for our modeling team. The Spirit of The West was originally sculpted with a recognizable facial expression. This expression was used to "sell" the character, but it was also incorporated into our shape library. In the end, we were able to recreate that very same facial expression by dialing in the right sliders. The communication between the modeling and animation department was key. Ultimately, the videos were a great resource for the animators to mine for bits of business and little awkward moments created by the actors.
Costumes on the other hand were incorporated to the concepts, way before we translated them into 3D models.
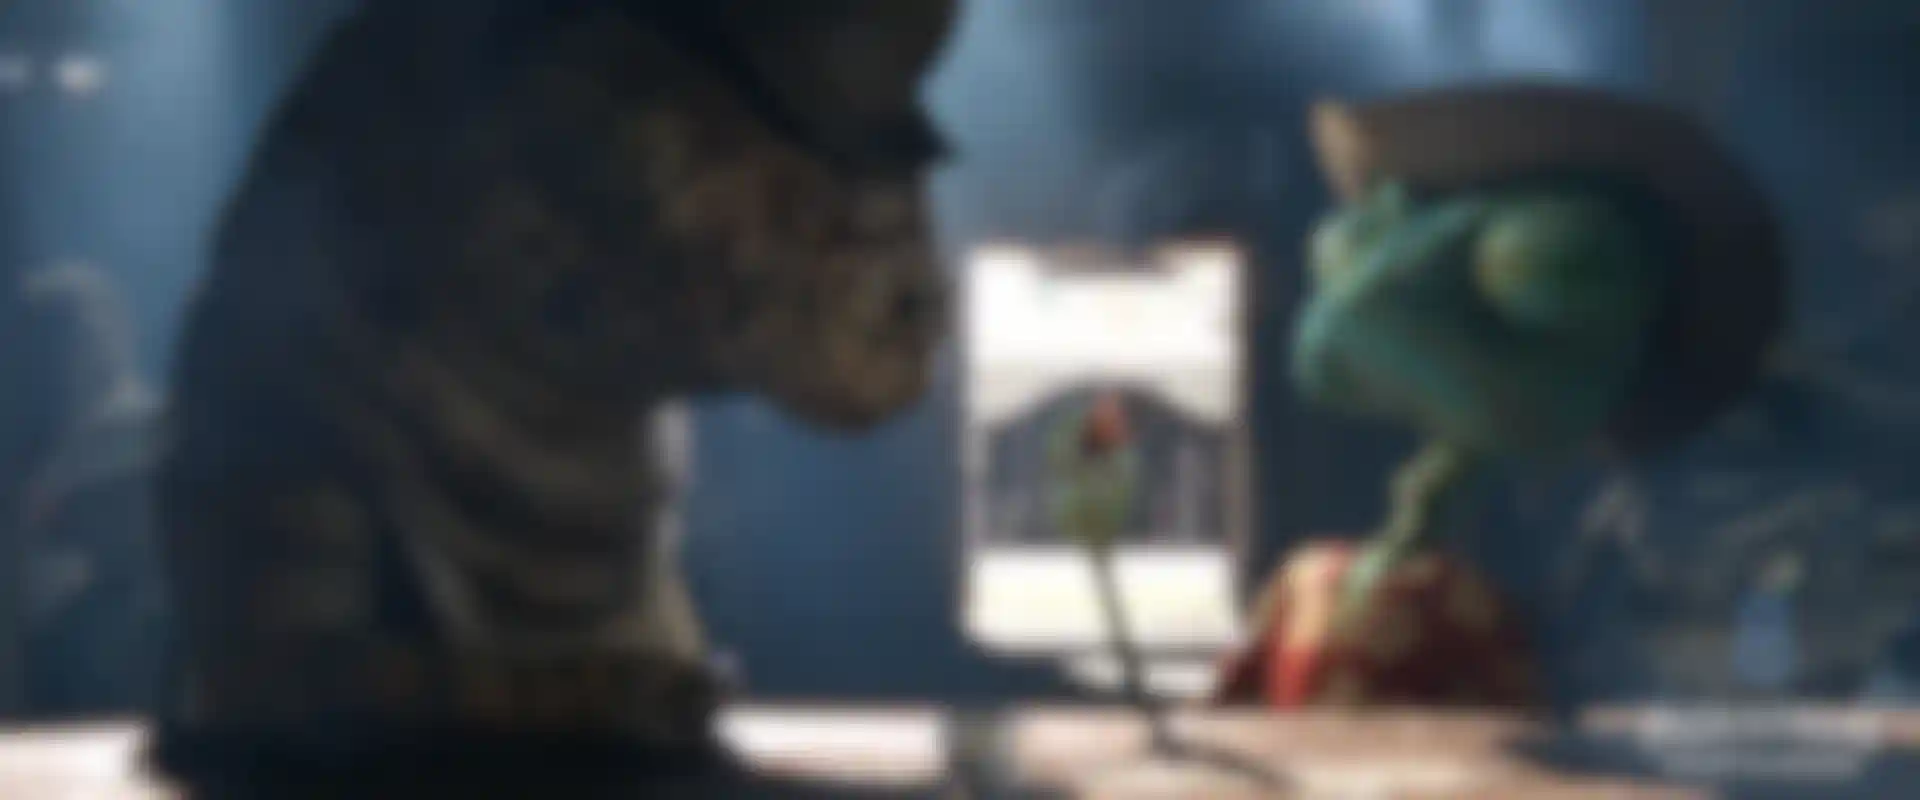
Johnny Depp is usually a very animated actor to begin with. What was it like to turn him into a lizard?
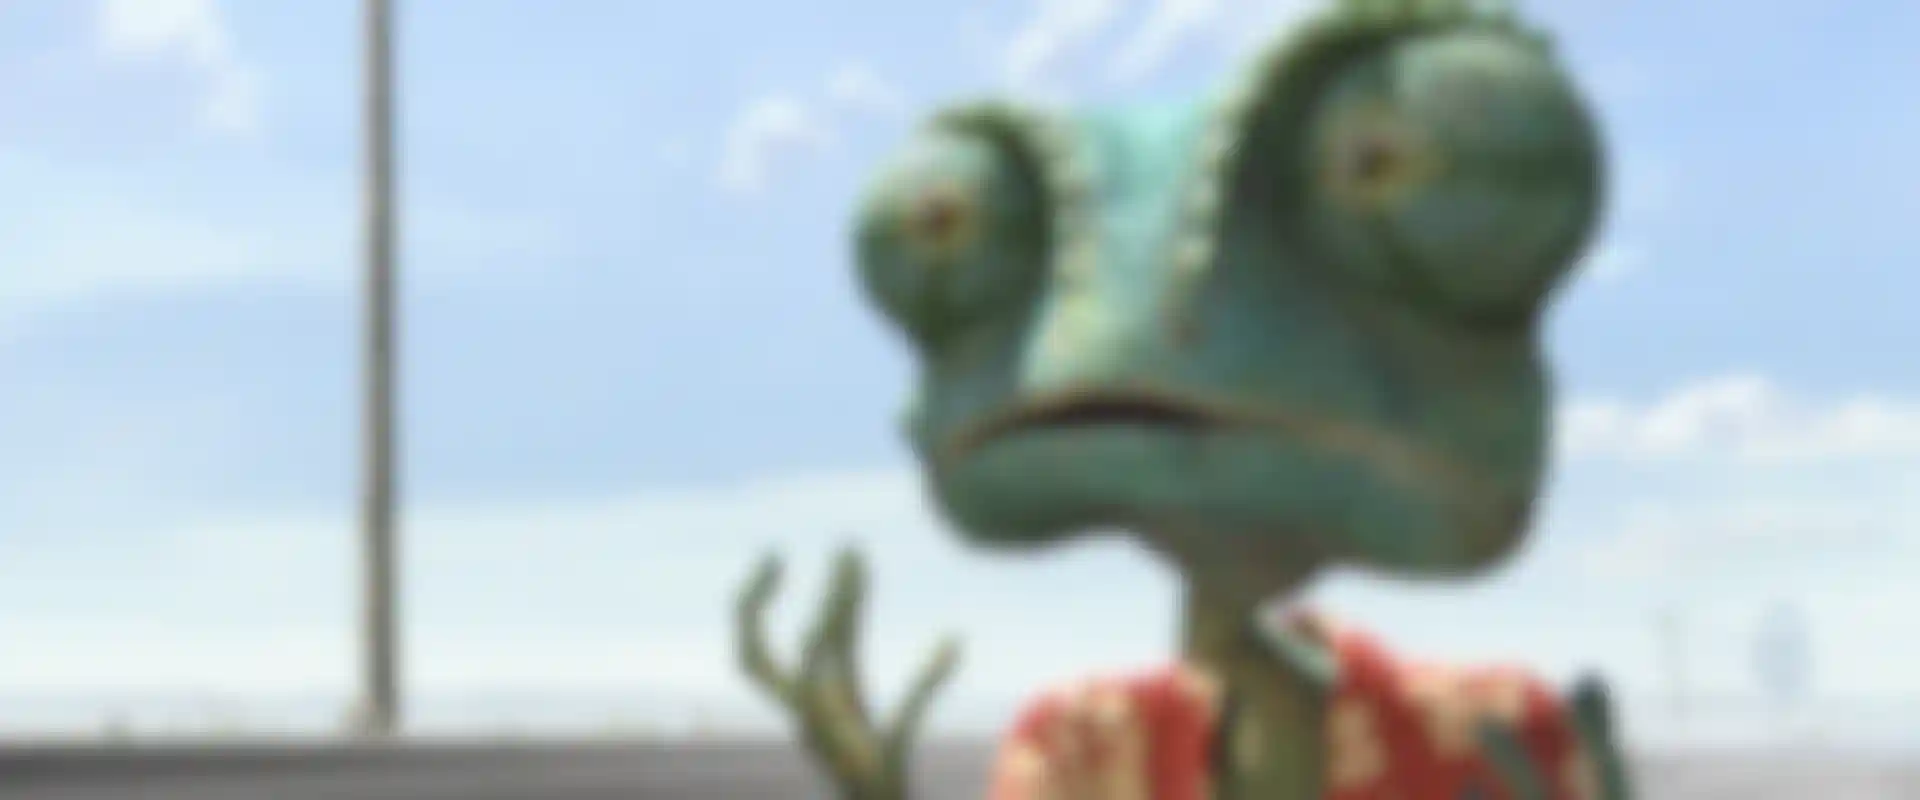
JUNG-SEUNG HONG: From the beginning there were three main concerns for Rango's facial performance. First off, he had very large eyeballs covered by reptilian flesh, with tiny eye openings around the pupils. Since eyes are the most important window for expressions and his eye openings were so small, we decided to give his circular eye wrinkles (covering his eyeballs) many different shapes that would mimic recognizable eye shapes such as sad wrinkles, angry wrinkles, surprised wrinkles, and so on. They would act much like our own eyebrows to help convey Rango's emotions.
Second was to give him the capability of having a somewhat elastic facial performance without too much stretching on the scale textures. We knew Rango was going to be played by Johnny Depp and the storyboards had showed wildly cartoonish expressions. So there was a lot of time spent making sure individual shapes would have a good traveling distance as well as nice falloff.
Third, we realized that we would have to give his eyes the movement of a chameleon, which meant that eyes would have to rotate with folded wrinkles forming dependent on the direction of his gaze. We even went to the Academy of Science in San Francisco to shoot reference material of chameleon eye movements to use as a guide. Since Rango's eyeballs were asymmetrical and had weirdly rounded forms I had to make a ton of shapes hidden from animators that would automatically help the movement of the eyes by pushing the surrounding eye sockets and the eyeballs themselves while they rotate.
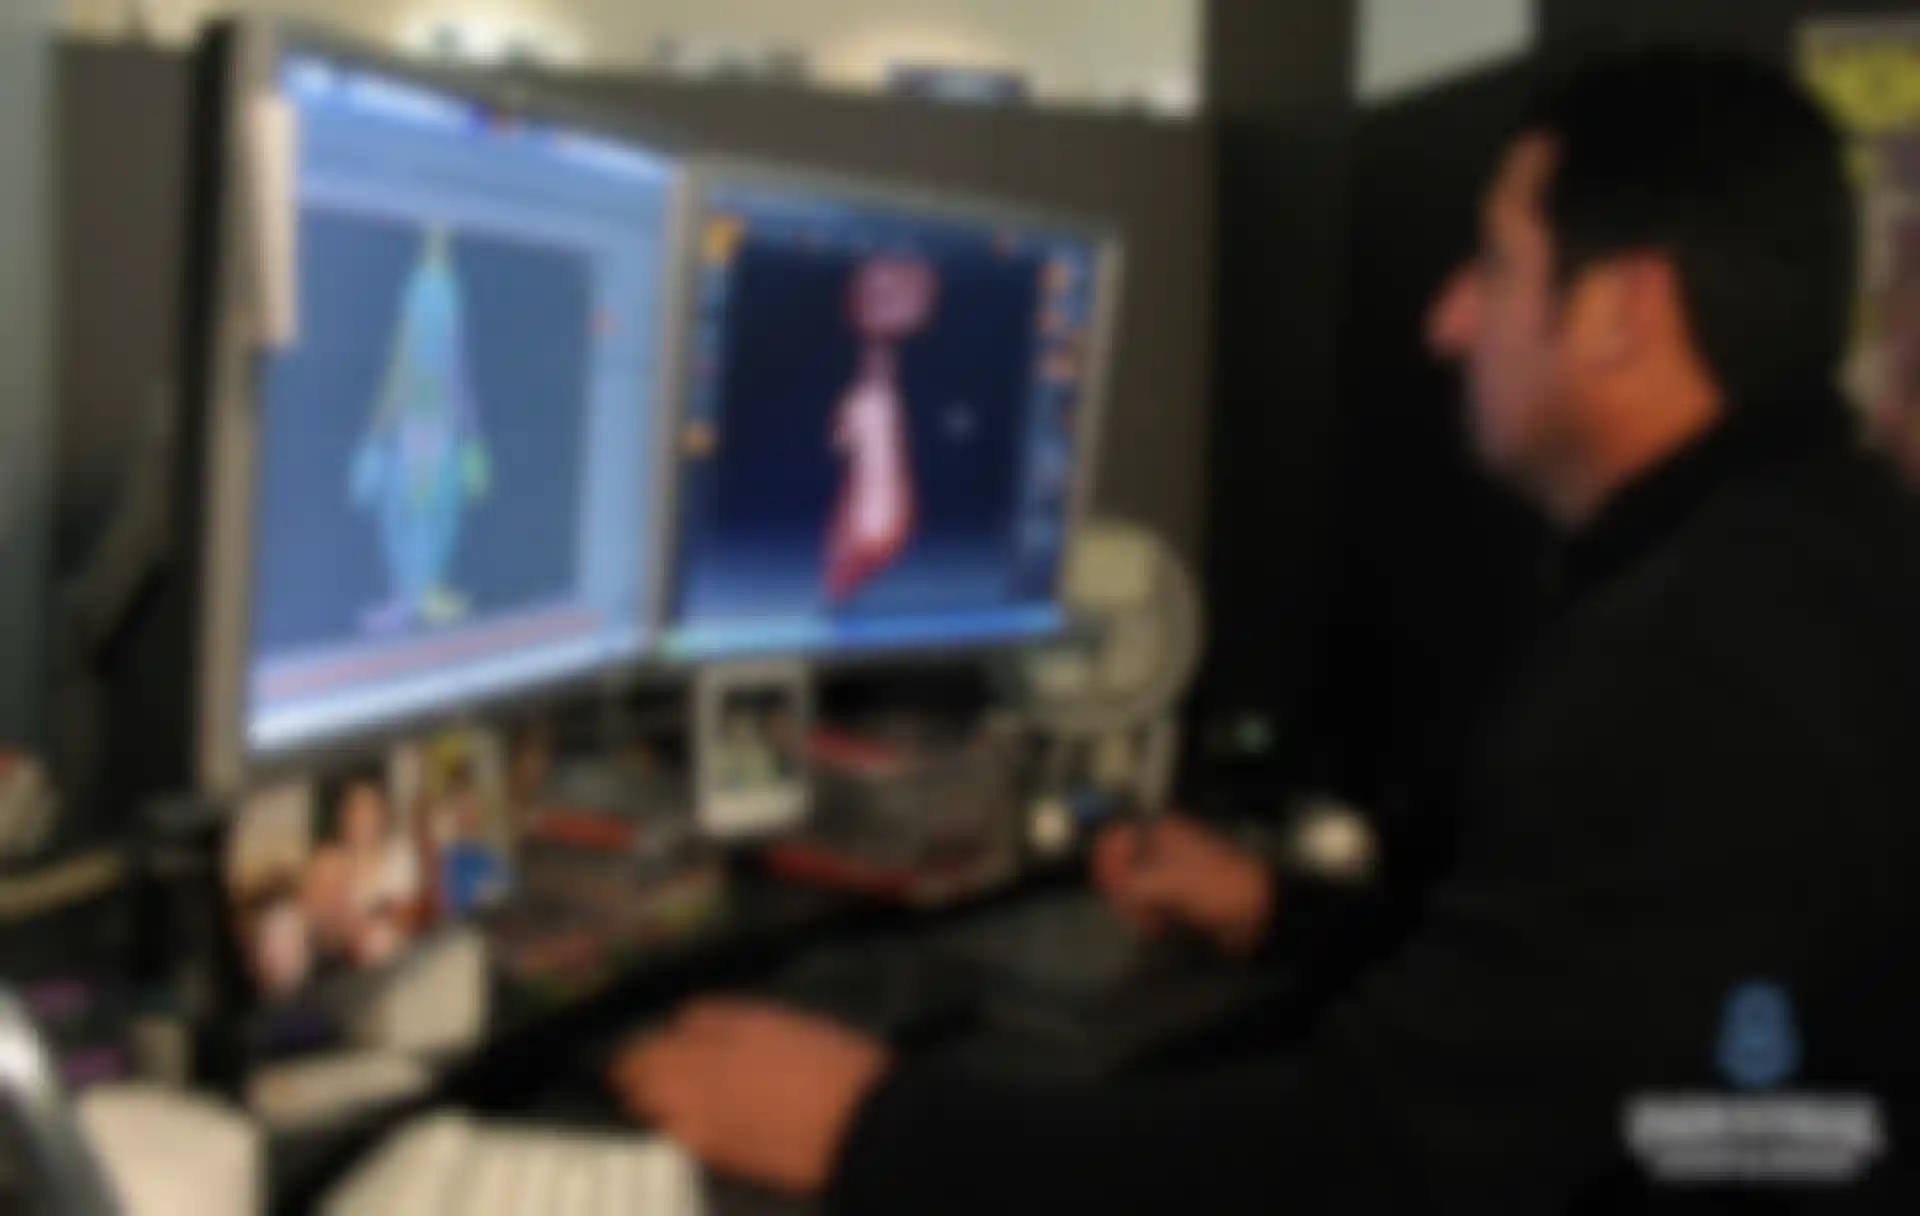
At what point did you decide to use ZBrush in the production and why?
GEOFF CAMPBELL: We knew we were going to use ZBrush early on for much of the displacement but as I mentioned earlier, the maquette phase that we didn't plan for made the greatest impact in keeping us on schedule. Our first round of characters was taking a fair amount of time so we were looking for a way to get things on track. Using ZBrush to quickly sculpt and texture maquettes for a basic client buy off on model proportions was the missing ingredient. It's ironic that by fitting in three days of previously unscheduled work, we actually trimmed weeks off our schedule but those three days of ZBrushing meant the client knew what they were getting up front and the modeler could then concentrate on fleshing out the finished character.
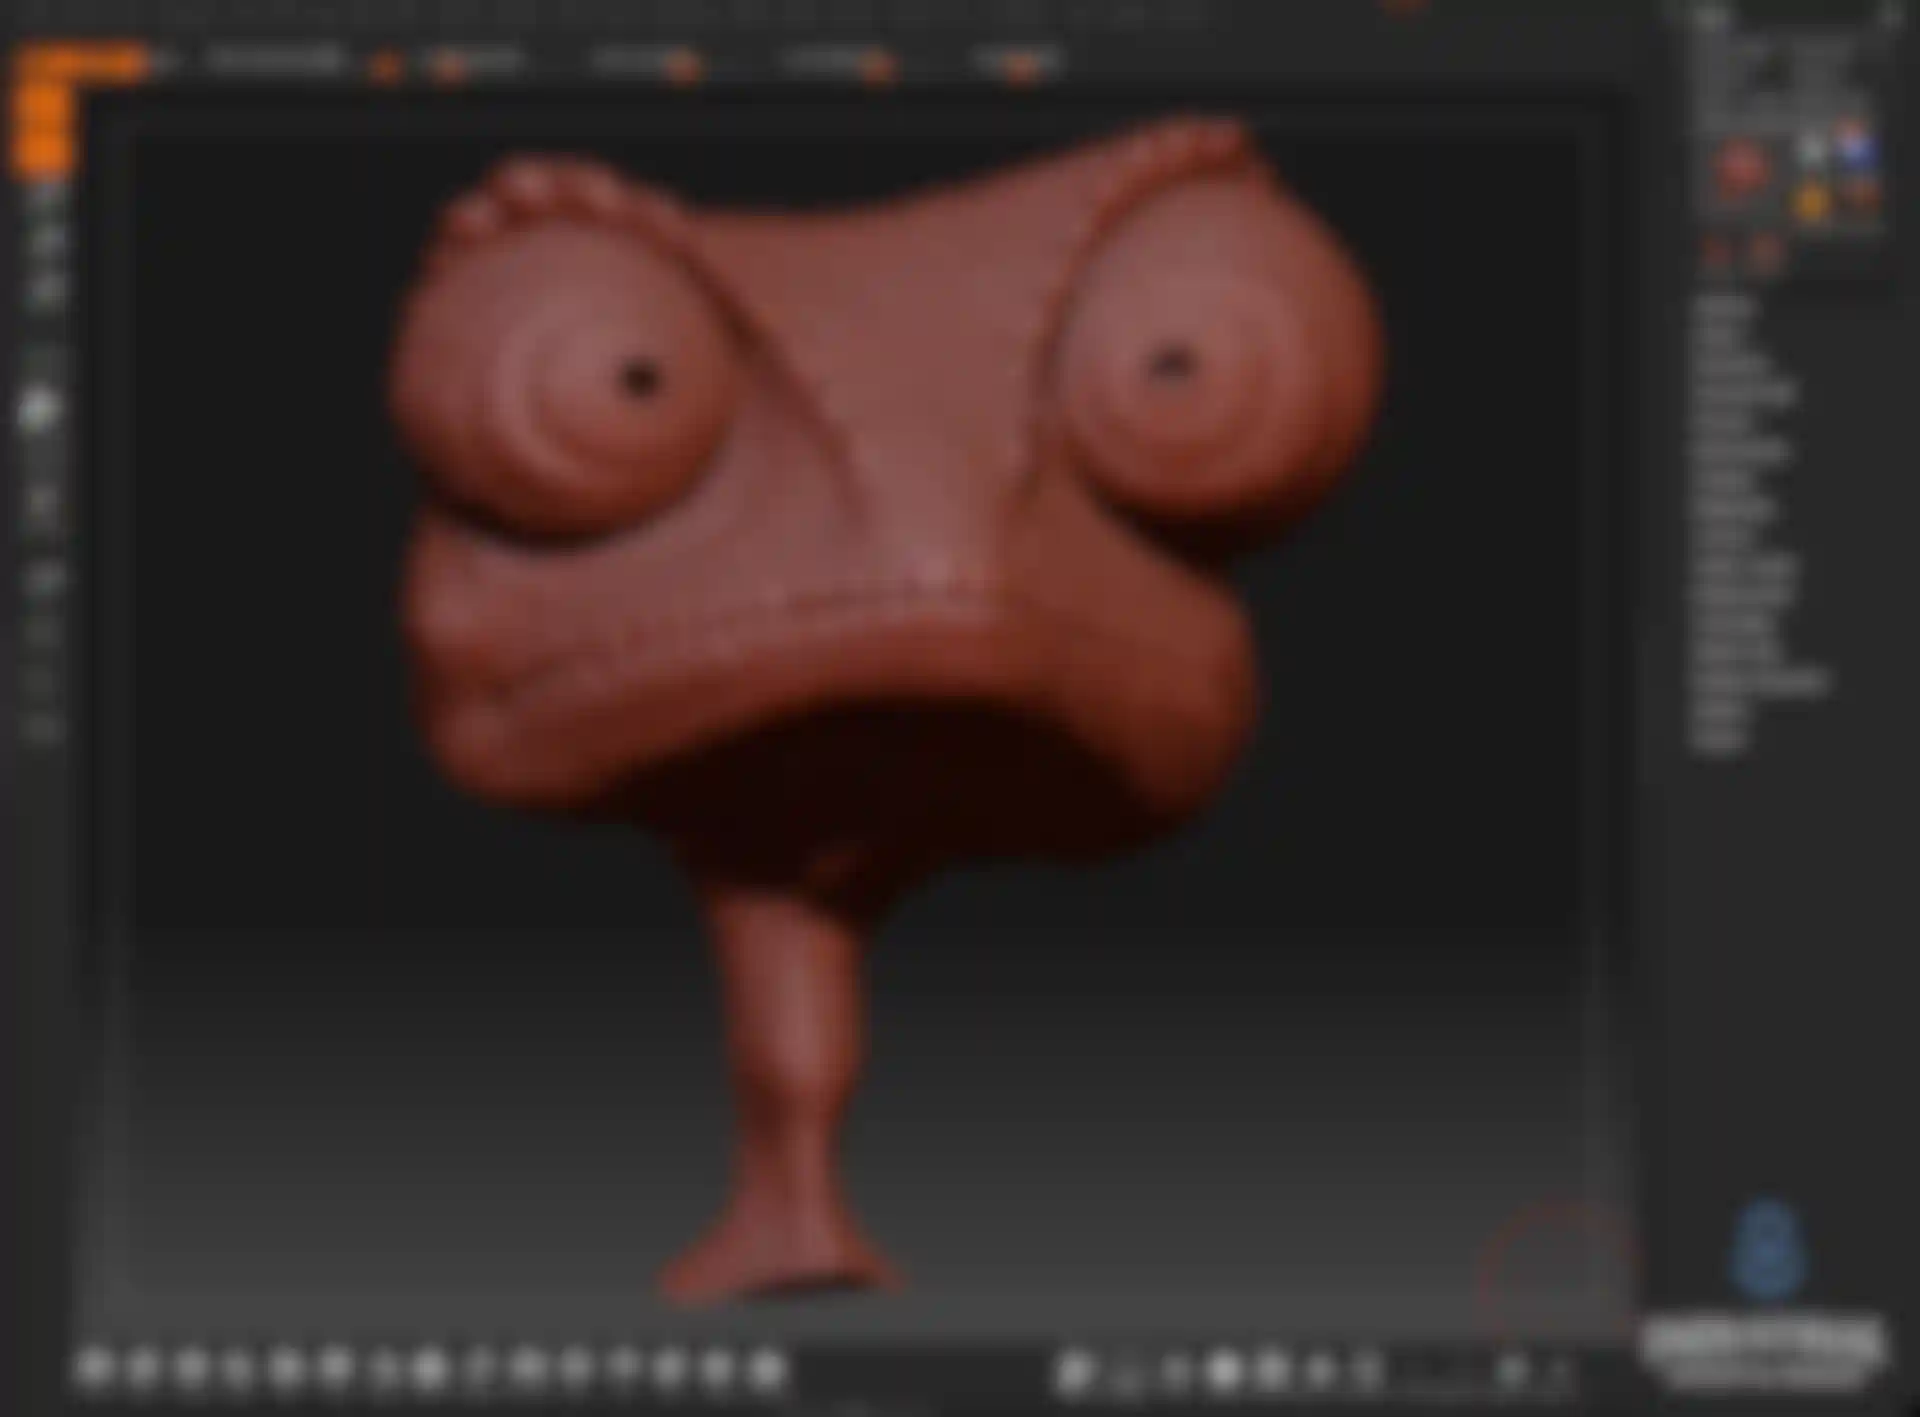
How was ZBrush used?
FRANK GRAVATT: As a sculpture, Rango was a little bit different from other sculpts I'd done before. For one, his symmetry ended at his clavicle. His head and crooked neck would be completely sculpted on; no symmetrical sculpting here. The extremeness of his asymmetry really added to his wonderfully weird look and quirky personality. I think the real challenge of the sculpt was capturing the wackiness of Crash McCreery's 2D illustrations in a three dimensional model. Each piece of art he had done of Rango had its own individual bit of awesome craziness to it. Bringing the looks together into one character that our team, Gore Verbinski and Crash would agree on was quite the task to model. And this is before any ZBrush work was done.
Once the model was approved I then had to figure out what type of scales to put on him. As I learned there are as many varieties of scales and patterns as you can imagine. Ultimately, Crash provided the art for these patterns, which fit the character so well. Zany scales, who would have thought! With the design of Rango's scales established, the next area to solve was how to apply them seamlessly across different ZTool files: arms to torso, torso to neck, etc. The solution was to bring .obj bridges of the body into ZBrush. I'd clean up the gap with scales on the bridge and then re-project this work back to the separate SubTools.
How many artists worked on the characters? How many of them used ZBrush?
GEOFF CAMPBELL: We had about fifteen modelers and a dozen texture artists working on characters and each modeler doing their own ZBrush maquettes. About thirty main characters went through the maquette phase.
Does ILM have any dedicated ZBrush artists on staff? How important is it to you for an artist to have ZBrush skill?
GEOFF CAMPBELL: It was important that all our modelers take advantage of the best tools out there for working quickly and efficiently when sculpting rapid prototypes and maquettes. In that sense we're all dedicated ZBrush artists but our pipeline requires a lot of proprietary, artistic and technical skills as well.
Which version of ZBrush was used for Rango?
GEOFF CAMPBELL: We were using both versions 3.5 and 4.0.
Was ZBrush used for environmental assets? If so, what role did it play?
RYAN CALLOWAY: Yes! Using different tools and techniques in ZBrush we were able to sculpt sharp, realistic rock features. We could easily create anything from large scale, chunky features to subtle surface details. All of this would then get written out to displacement maps and applied to the models.
Artists would share tools back and forth. If one of us made a new alpha in ZBrush or found a new brush and settings that worked well for rock details, we'd call each other up and say, "Hey, I just made a brush that's perfect! I'll send it to you." What worked best was creating a generic, rock alpha from sculpting on a simple plane and using the Standard brush with DragRect stroke to stamp that alpha (or a few good, generic ones) all over the model. The crevices and open faces of rock were really the selling points. Turns out that's where all the juicy details live!
For one sequence in particular, there were these rock mounds that, without displacement, just looked like piles of melted ice cream. There was a lot of back and forth with Crash and Gore, partly because there wasn't a clear direction as to what exactly the rock was supposed to look like. Rock is incredibly more complex than I'd ever thought! That's where ZBrush came into play - we brought in the base mesh and quickly cut in details and broke up the silhouette. At that point we were really using ZBrush as a design tool.
What is your favorite ZBrush feature?
RYAN CALLOWAY: My favorite thing about ZBrush is the user interface - it takes a little getting used to but that's been my experience with all 3D programs. Once you get comfortable with the ZBrush interface, it's really convenient. If I'm sculpting away at a model I don't want to have to dig through menus and windows for the tools or buttons I need. Pixologic made everything very readily available and even customizable. It's like when I'm working on a clay sculpture and have all of my tools laid out on the table in front of me - when I want a new one I just pick it up and use it. Simple.
KRIS COSTA: My current favorite feature in ZBrush is the HD geometry. The amount of detail I can put on my models is impressive and the ability to export displacement maps that can be rendered showing all this fine detail is essential when creating very complex creatures, without the need to split my model into multiple SubTools.
GEOFF CAMPBELL: I love the brushes, especially the Clay and Trim Dynamic brushes. The Clip tools are also a lot of fun for hard surface models.
FRANK GRAVATT: Favorite tool... is still Project All.
GIO NAKPIL: My favorite tool is TransPose.
What was a typical day like on this project?
GEOFF CAMPBELL: In pre-production a typical day would start with dailies to review turntables, followed by model rounds where we'd meet at artists' desks to go over the work. Then plenty of meetings and phone calls during the day to keep everyone on track with the latest developments. By 5:00 p.m. you try to get any new work checked in so Look Dev can set off renders with all the latest modeling and paint.
During production, there are always model fixes, more shape library updates and refinements to facial expressions. This is followed by shot correctives where modelers and sim artists divvy up shots that are close to finalizing and make animated shape correctives to fix any penetrating geometry. We also do correctives when animated shapes can't go far enough, for example mushing Rango and Bean's lips together when they kiss which took about fifty shapes to get it just right.
A job with ILM is often considered to be the holy grail of CG work. What recommendations would you give to the artist who has his eye on working for you one day?
GEOFF CAMPBELL: My advice would be to send in your work and apply. You just never know; you might be exactly what ILM is looking for at that time - right skill set, level of experience, timing, etc. The company's needs change all the time and there are many contributing factors to who's the right person for the job. It's not always about which artists have the most years of experience or films on their demo reels.
Applying is at the very least a proactive step in the right direction. Also, it doesn't hurt to be able to do multiple tasks, for example modeling AND texturing.
What do you like to see or look for in a demo reel?
GEOFF CAMPBELL: Timing is important. Often artists send in their work and then don't hear back which can be discouraging but it helps to be persistent and not let it get you down. Sending in new work or updated work every couple of months keeps your work on top of the pile. It keeps you visible for when the right opportunity does come along and we're looking to crew a show.
Is there anything else you'd like to say while you have our attention?
GEOFF CAMPBELL: This was an incredible crew to work with. Everyone brought their unique talents to the table and the fact that we had never done a film like this before made it all the more rewarding.
All Images courtesy of Industrial Light & Magic
© 2011 Paramount Pictures. All Rights reserved.