Launching Mulberry’s Lily Zero with Maxon One How 3D artist Jordi Cerdà Gaya used a combination of 3D tools to promote a sustainable update to the original Lily’s style.
Since its launch in 2010, the Lily has become one of Mulberry’s most celebrated styles. Tasked with creating a promotional film for a new sustainable iteration of the iconic bag, Madrid-based agency Pleid St. brought on 3D artist Jordi Cerdà Gaya.
Something of a digital master craftsman, Cerdà Gaya has a reputation for creating performance and luxury products to exceptional standards with Maxon One. He spoke with us from his studio in Barcelona to unpack his passion for craft and walk us through the Lily Zero project.
What shaped your passion for crafting high-end objects?
Cerdà Gaya: I grew up in my father’s workshop, watching, learning, and helping my parents make things with their hands. My father, a retired doctor, always says ‘the best is the enemy of the good.’ He had to act fast and make quick decisions to save lives, and this pragmatic approach translates into his creations.

My mother is totally the opposite, always seeking perfection in her creative work, no matter how long it takes. I’m now making my own objects, real and digital, and I’m still watching them, trying to figure out which to follow—my father’s pragmatism or my mother’s perfectionism. Over the years, I have found a balance between effort and great results. Now, the satisfaction of bringing things to life, real and digital, is most important to me. It's a kind of magic, and it's addictive.
What do you think are the most important skills you bring to these projects?
Cerdà Gaya: Beyond skills and experience, I believe time and patience are most important to achieve the level of detail required for high-end product modeling.
How did the Mulberry project come to you and what you were asked to do?
Cerdà Gaya: This was my first collaboration with Pleid St, a great studio in Madrid. They approached me when they needed CG models of the Lily bag for a fantastical animation. The brief was to create two high-end models.
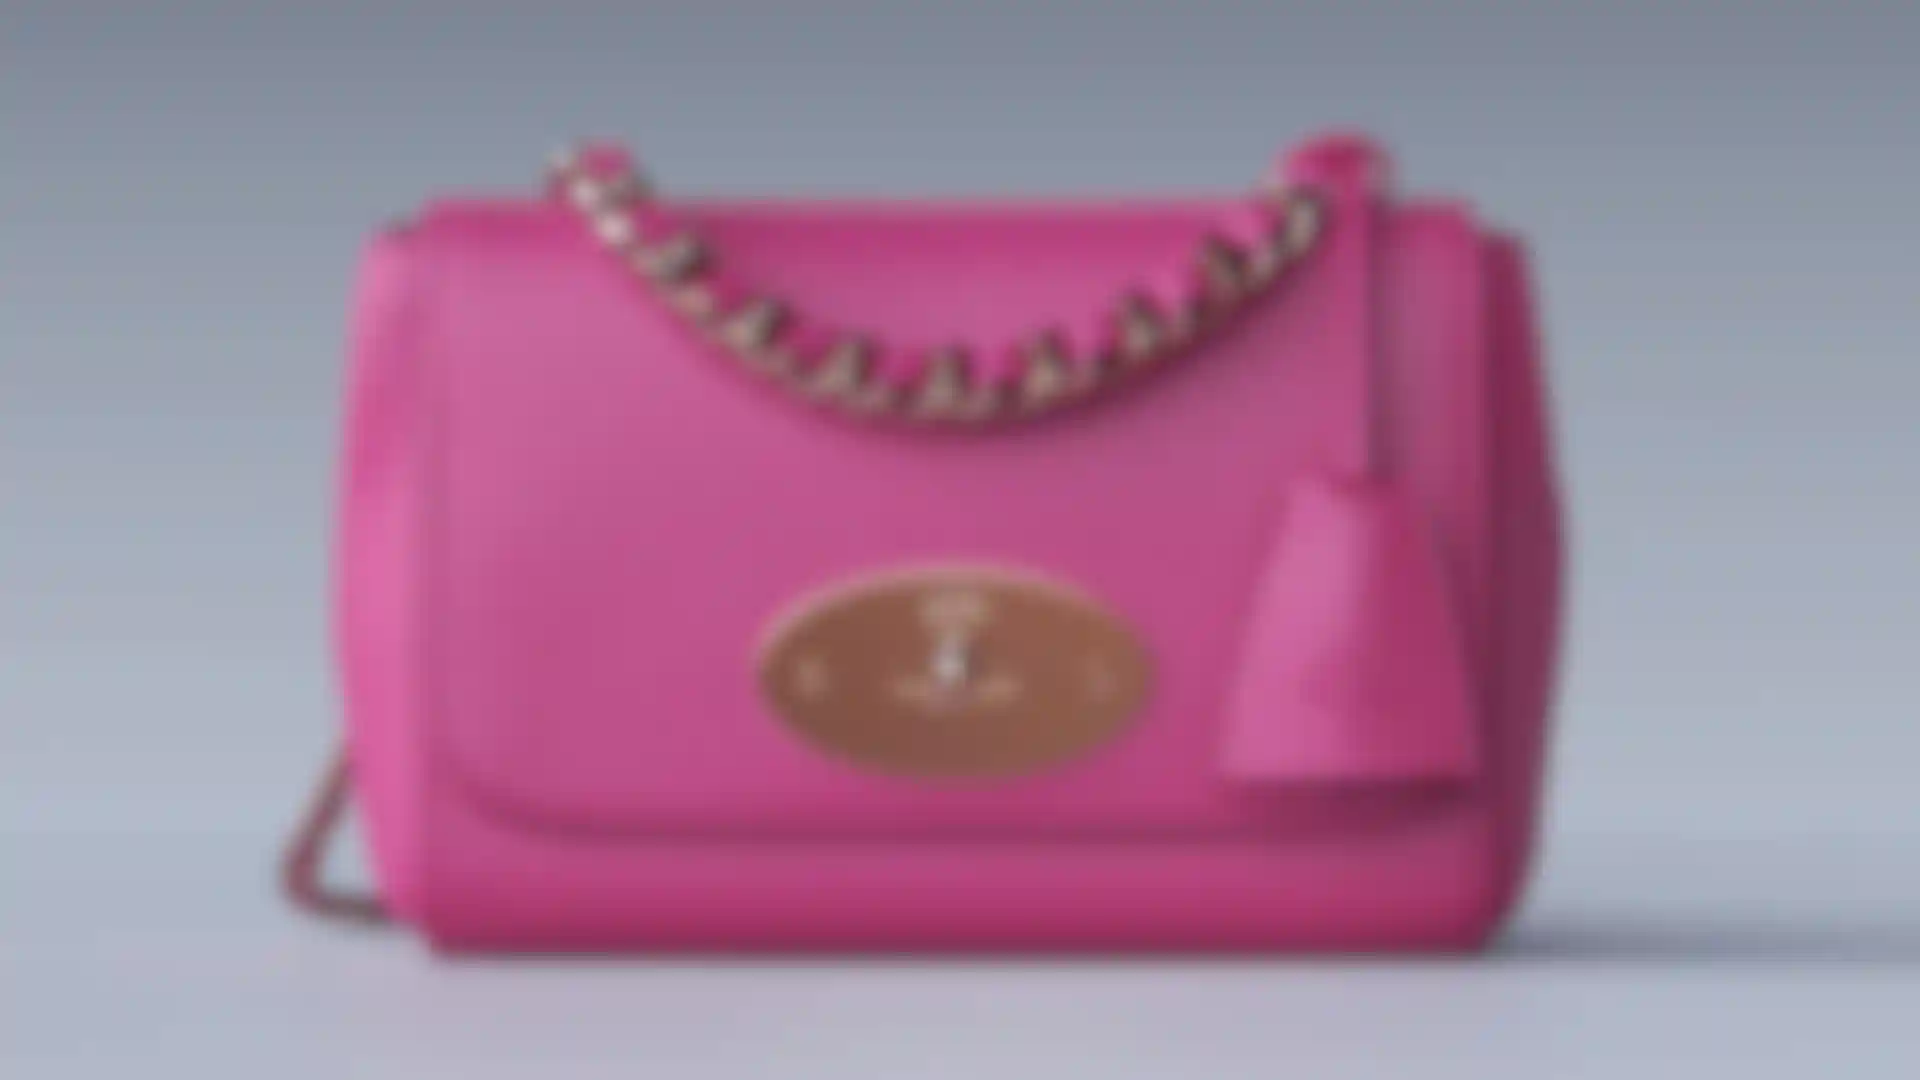
As a modeler, my job is to interpret and present an object in the way a client wants, and the Lily project was about creating a stylized bag by finding the right balance between an aesthetic ideal and authentic imperfections.
Can you please walk us through your workflow.
Cerdà Gaya: Before I begin to sculpt, I always ask to have a genuine object to reference because there are a lot of details that you can’t see if you only have photos or CAD files.
For the Lily bag I used ZBrush to create a perfectly symmetrical bag. Then, I tackled the subtle imperfections that would bring the final bag to life later. I used a jeweler's loupe, calipers and an engineering ruler to get the exact dimensions of the genuine bag, as well as the edge stitching, leather and chain strap, lock mechanism and leather padlock fob.
I started by creating a cube and then I used ZModeler and planned all the PolyGroups and PolyLoops to achieve the primary object forms in a low polycount.
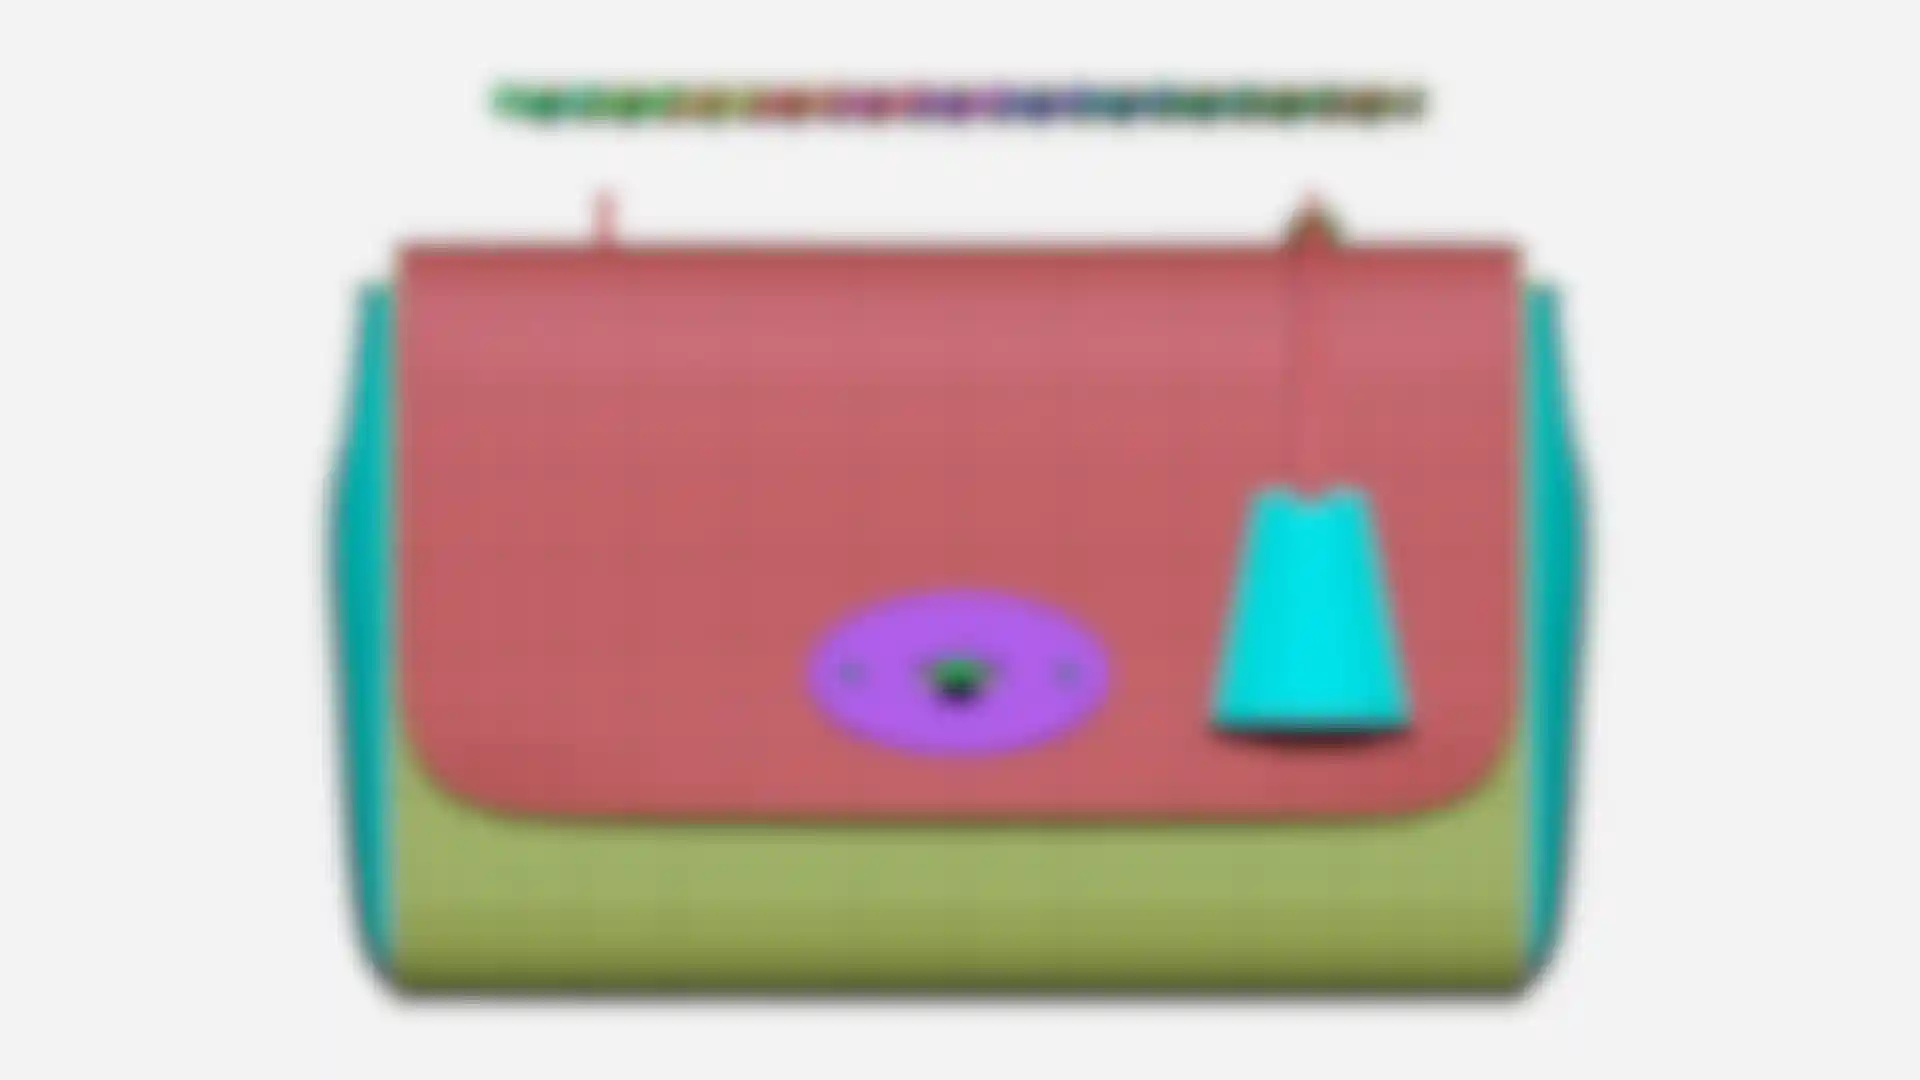
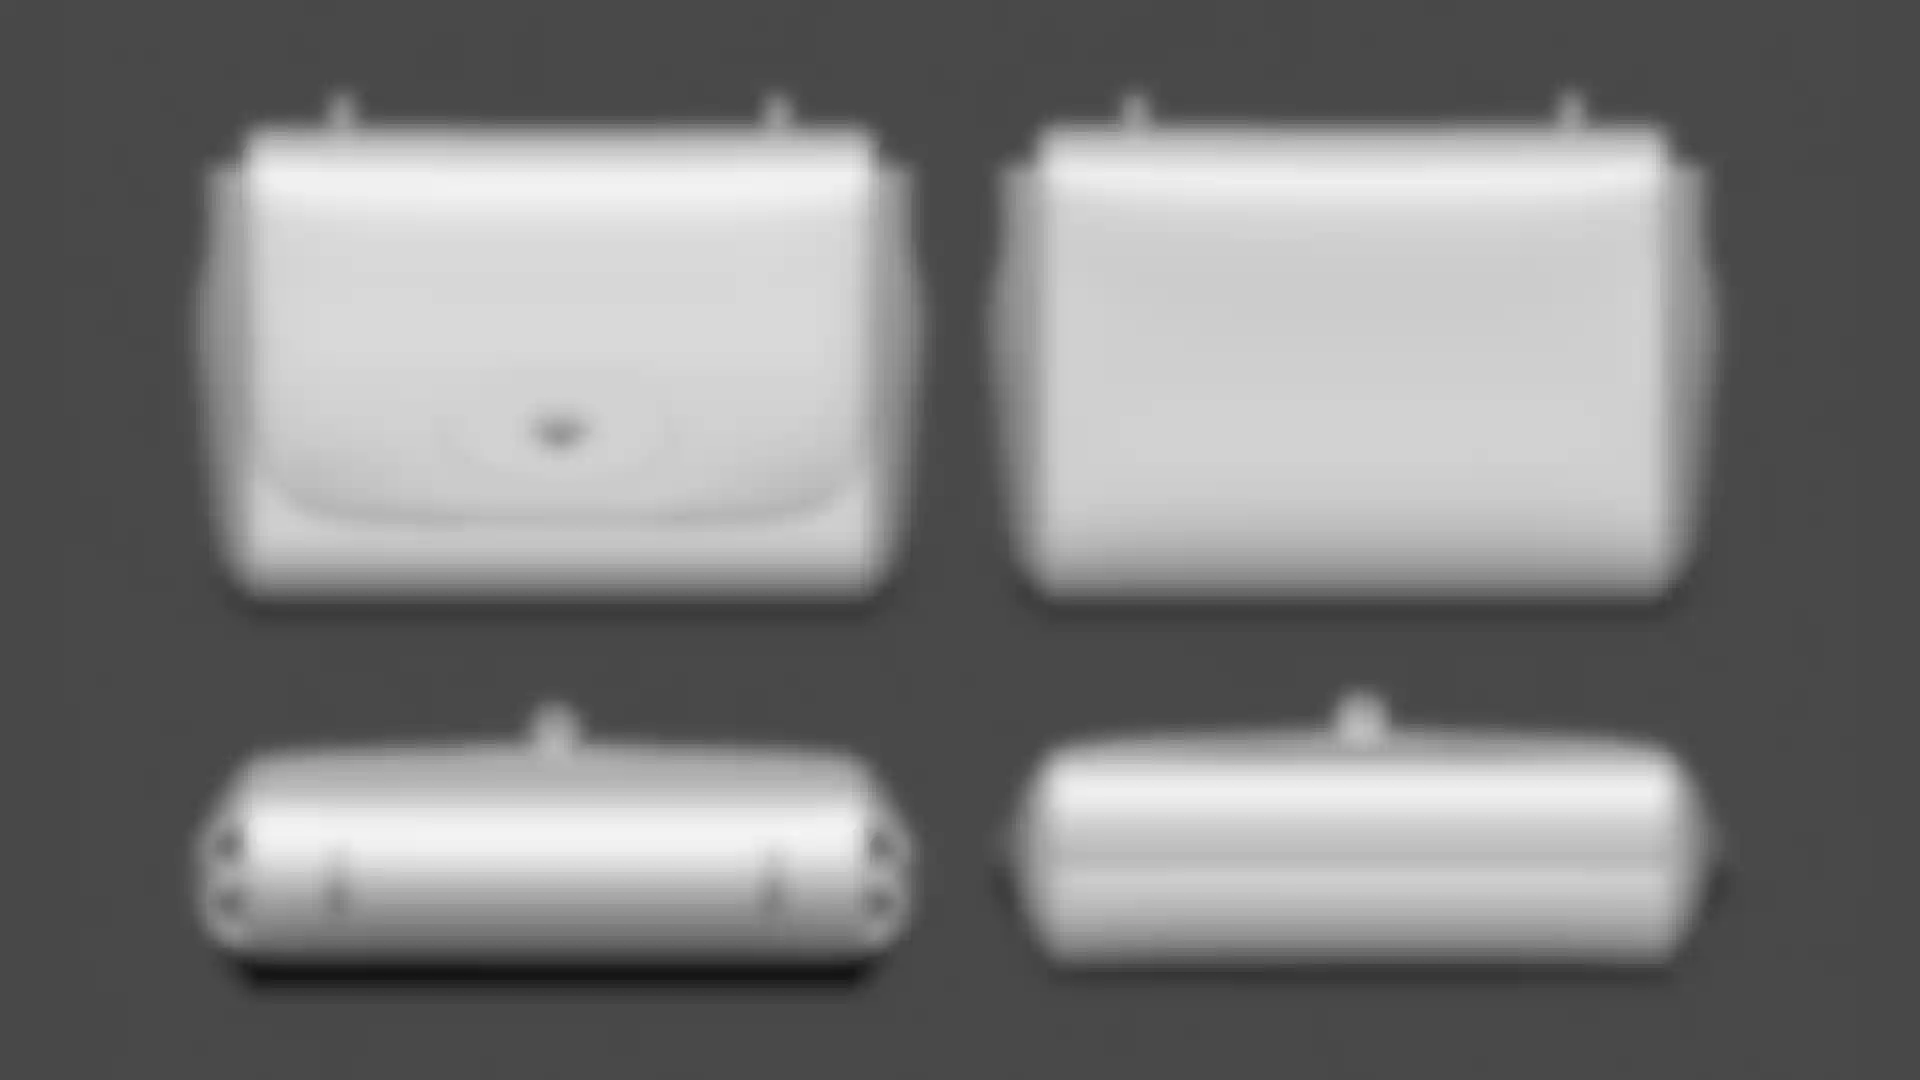
To make the stitching, I created a single stitch with the correct proportions and assigned it to an Insert Mesh Curve Brush. The beauty of working with PolyGroups is that you can assign a temporary curve path and populate it with the custom Stitch Brush. With this workflow, I could adjust many aspects like size, the space between stitches and the depth.
Having modeled a technically perfect bag, we then had a lot of discussions with the client team and related departments to determine the ideal imperfections for the stylized bag. After much deliberation, the marketing team decided I should match the imperfections visible in the promotional images on the Mulberry website.
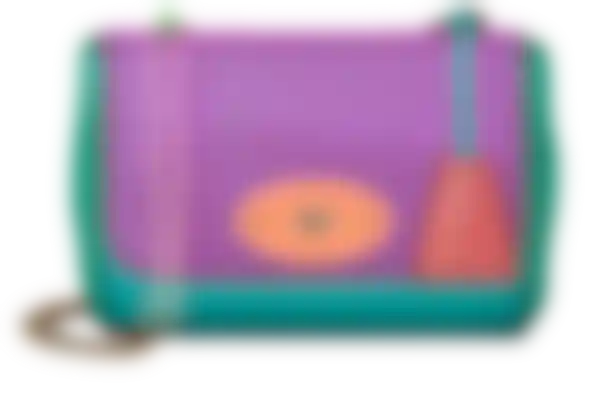
The image on the right shows how the 3D WIP mesh overlapped on an image from Mulberry’s website to act as a guide to imperfections.
Using ZBrush’s Transparent Mode, I was able to overlay the reference photo files behind the ZBrush UI and match the frontal aspect view exactly. That allowed me to manually apply the visible imperfections in context using the Move Brush and other techniques.
After the imperfections were applied, I added the leather texture pattern by unwrapping the UVs in ZBrush by PolyGroups, which were great but needed some refinement in Cinema 4D’s UV editor. The combination of those two tools worked well and allowed me to set up a very precise and clean UV layout.
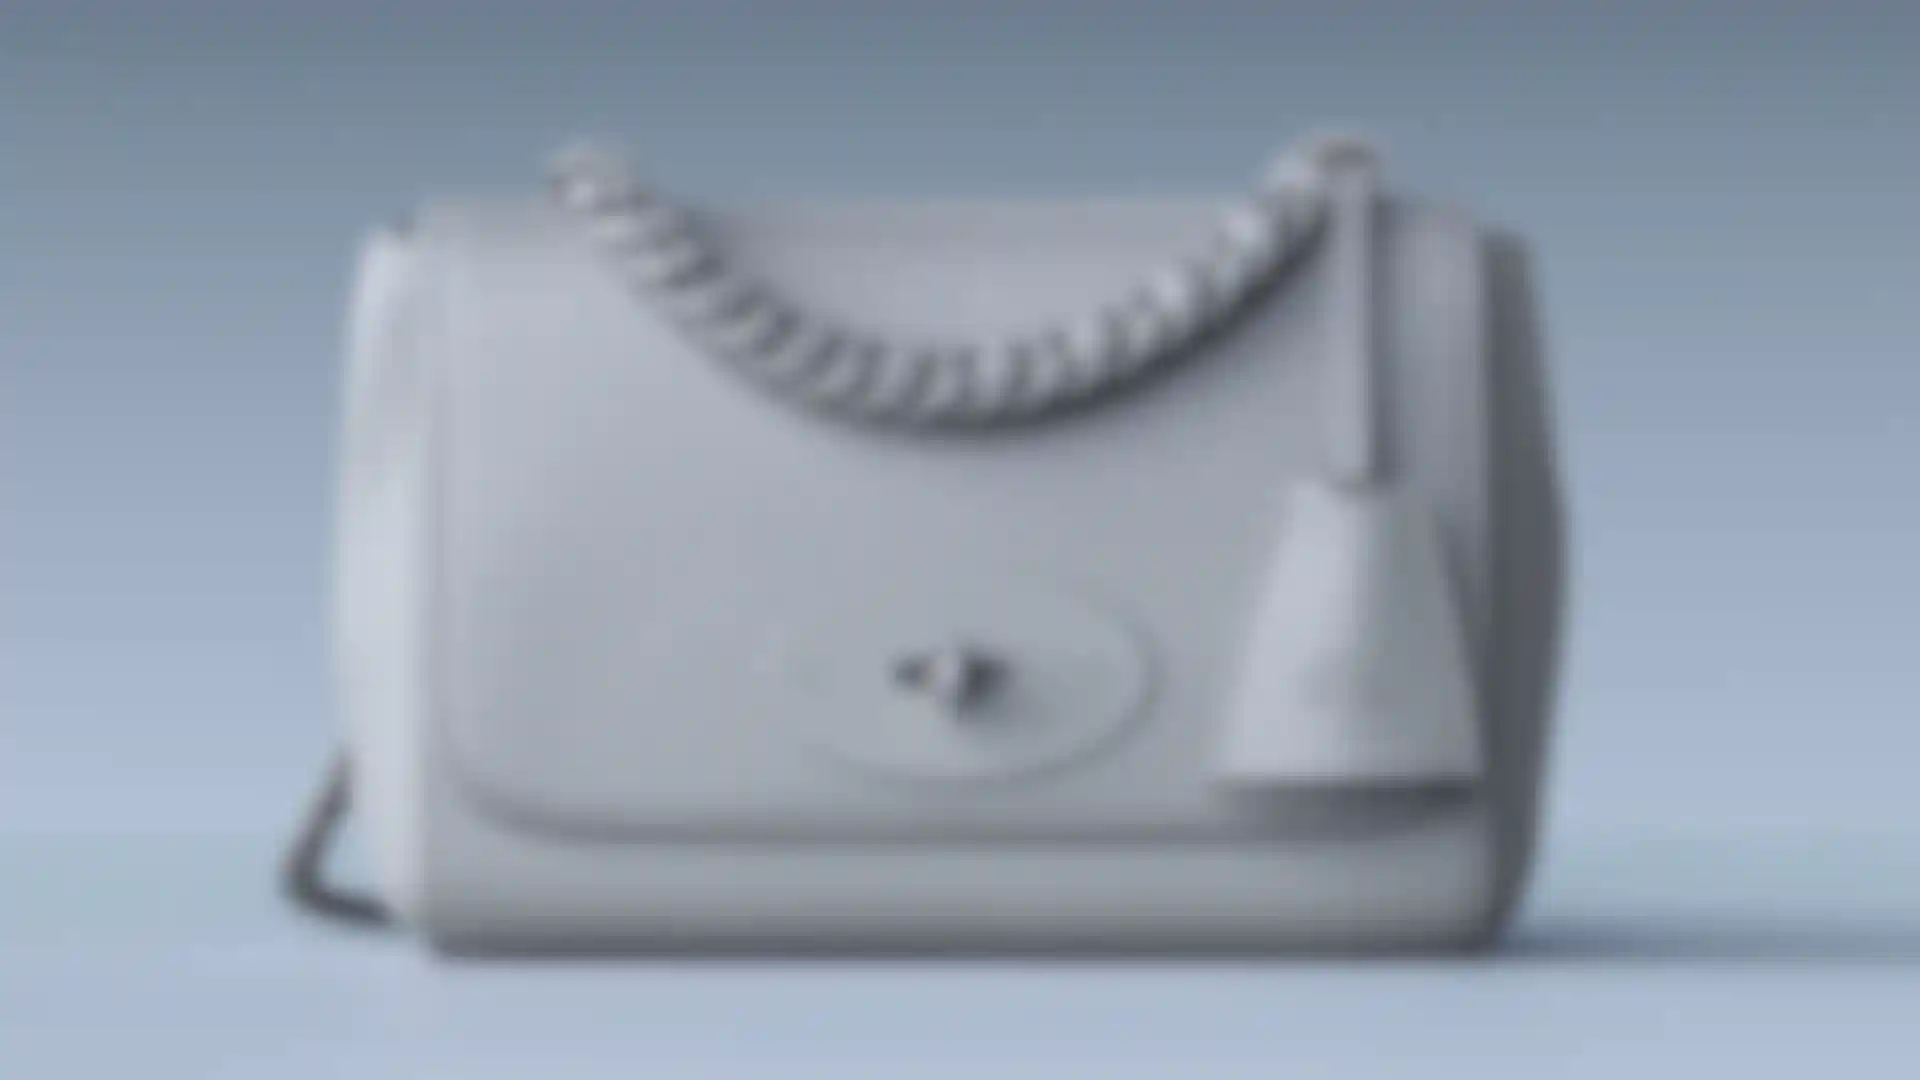
Once the model was finished, I delivered it to Pleid St.’s shading artist who was responsible for the materials and lighting. I also rendered several images for my own website, using Keyshot with a focus on the 3D modeling and texturing aspects of the project.
What were the most interesting challenges for you?
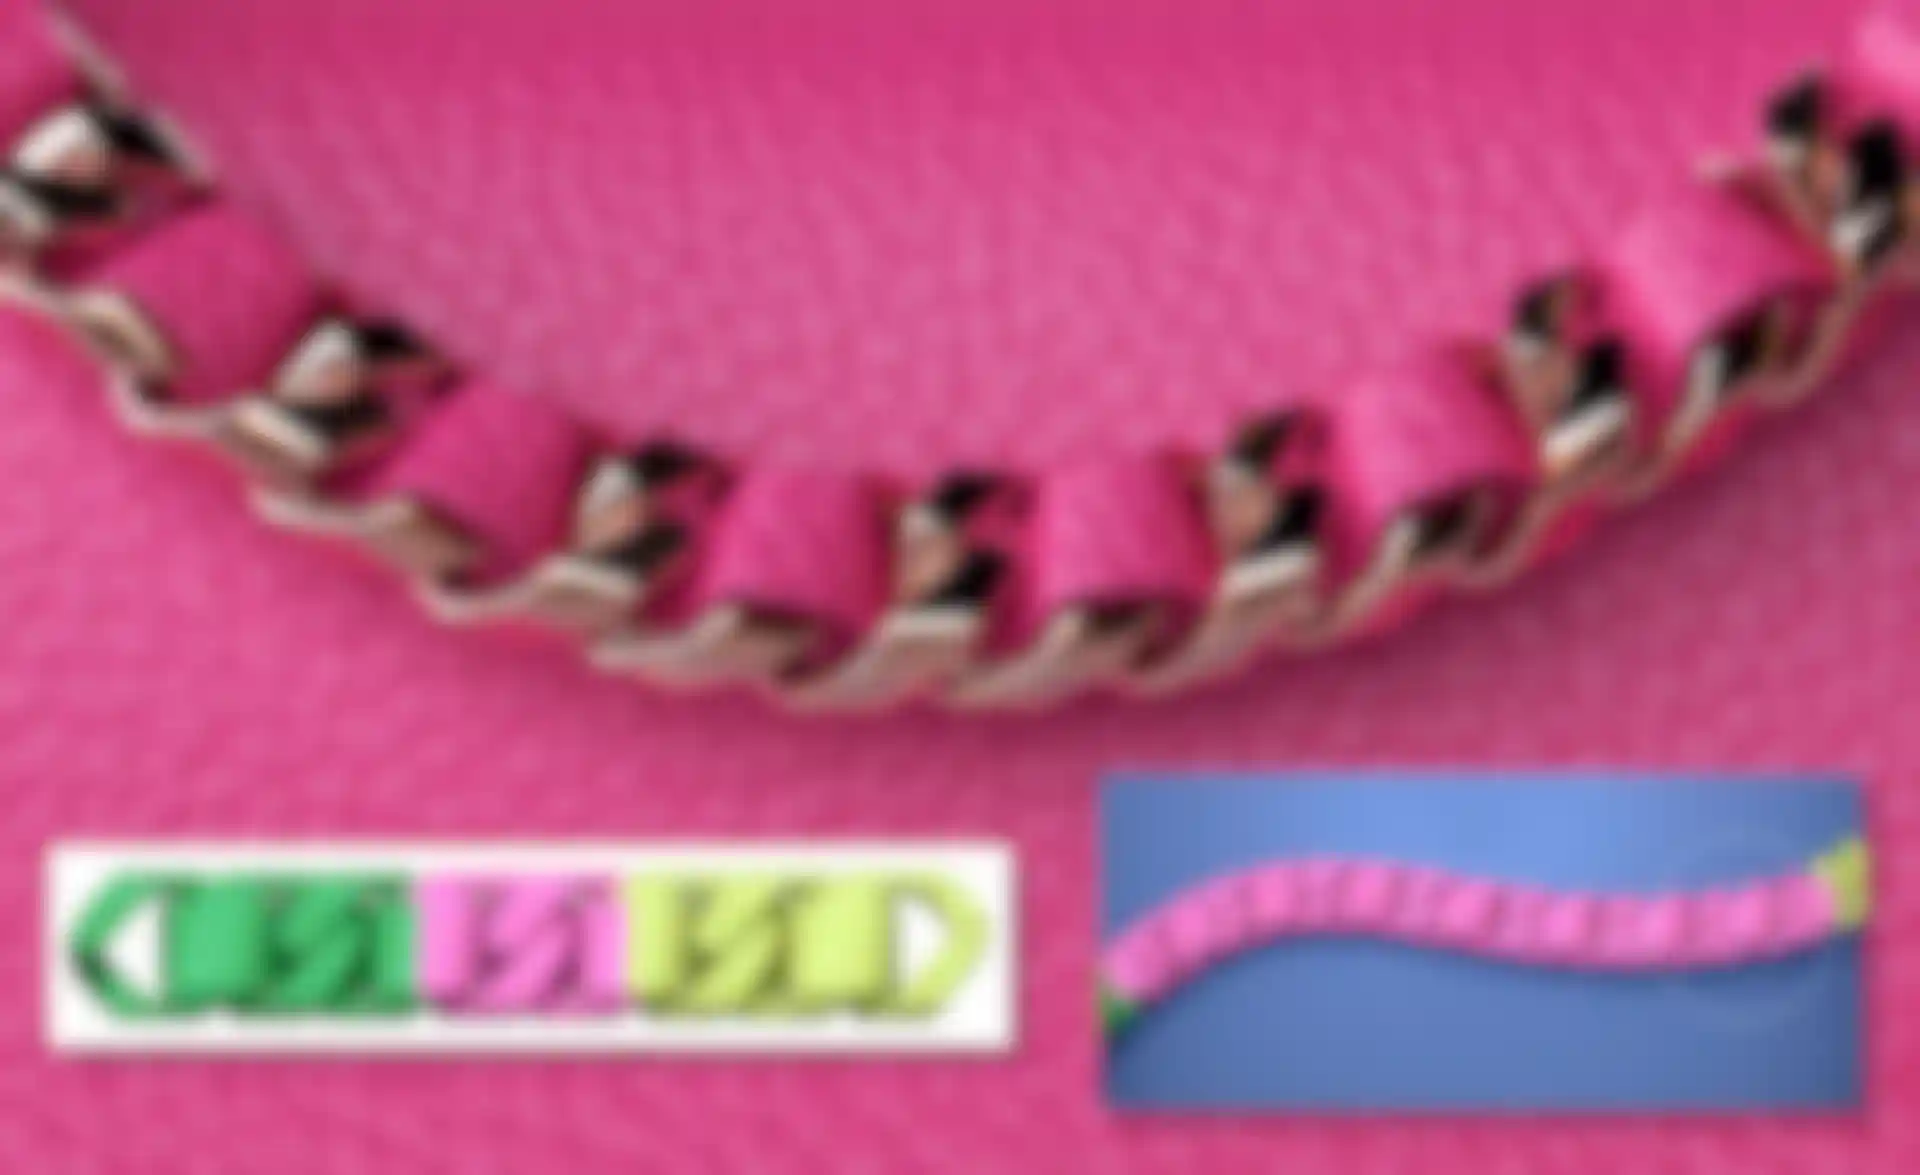
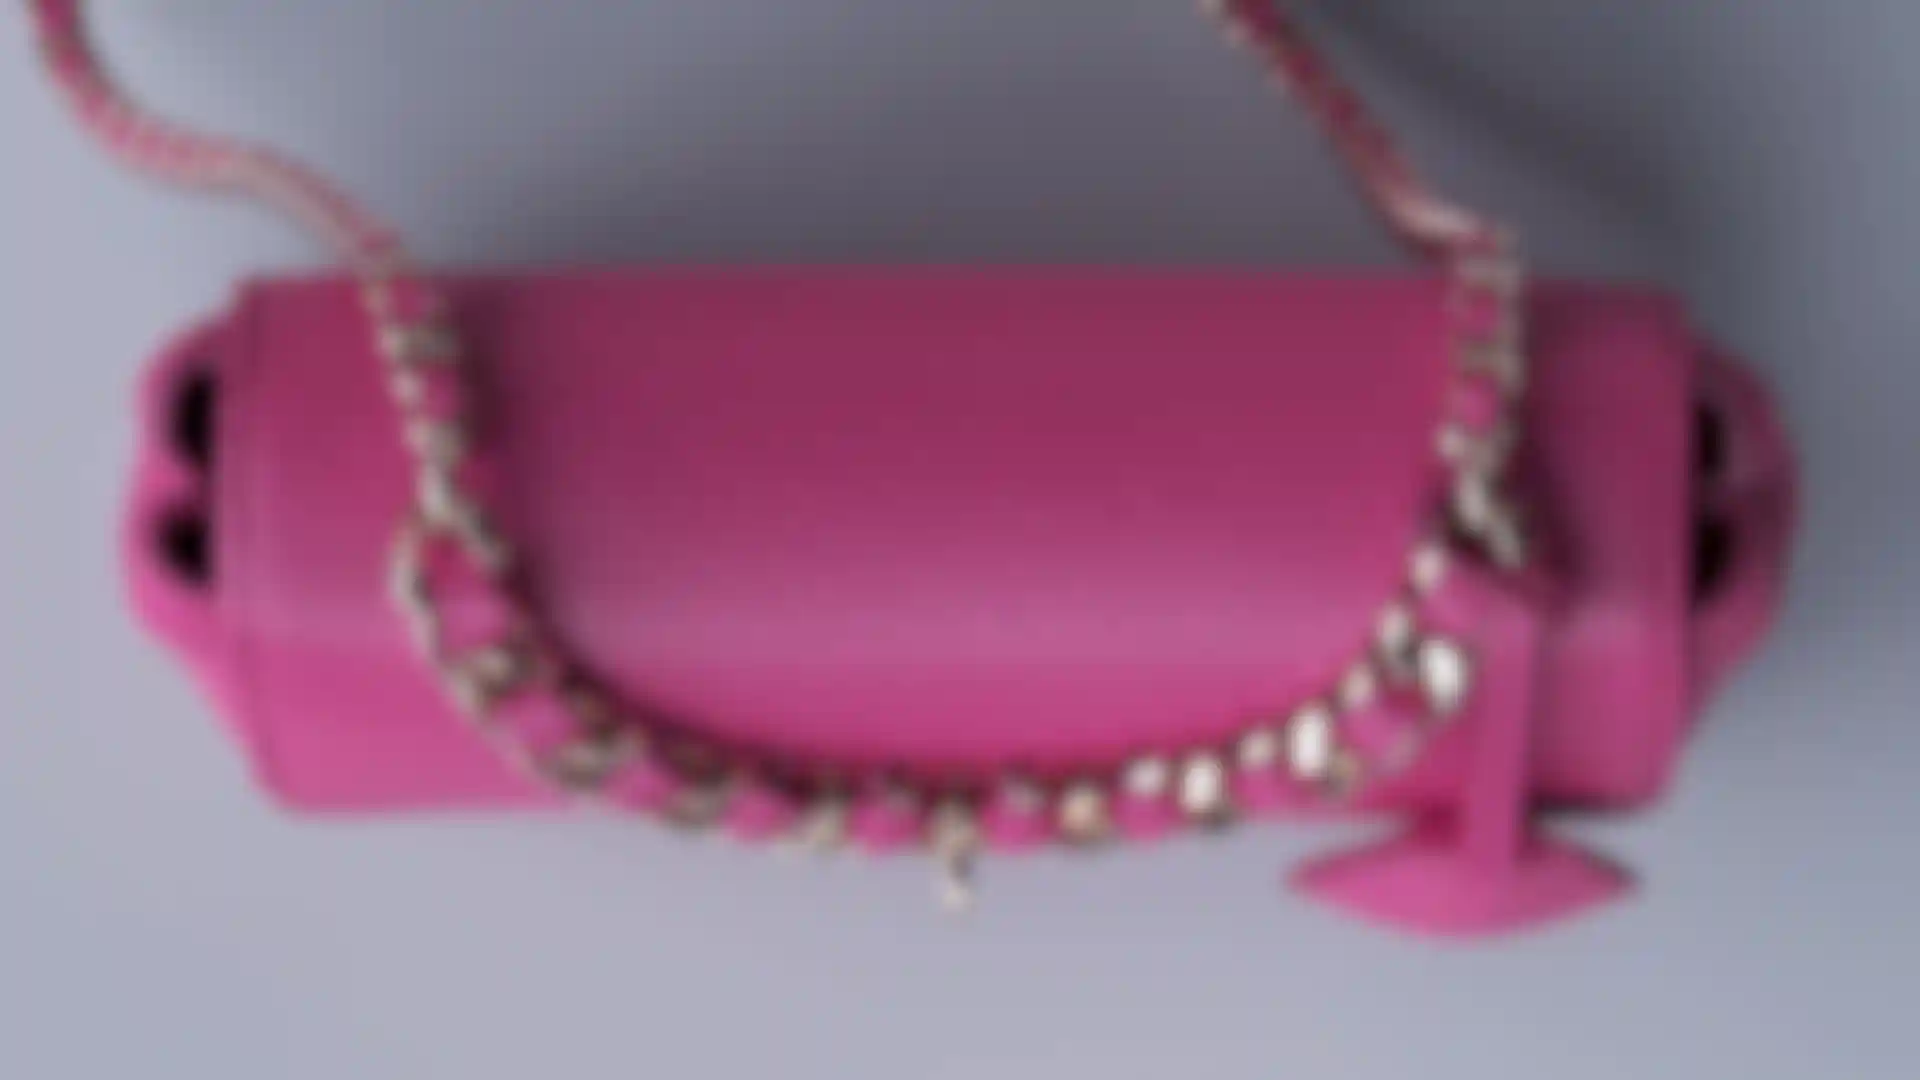
Cerdà Gaya: Making the chain and leather handle and strap were the most challenging. I had to identify the repetitive pattern of woven leather and chain link, and with ZModeler started building the model before converting it to a Curve Brush to make the strap along a specific path. Working that way gave me the procedural benefit of setting up the strap with specific parameters.
What did you find most rewarding about the project?
Cerdà Gaya: The challenge of creating a simple object is that there is little to distract the eye, so every decision makes a big difference. It’s fulfilling to start with a blank screen and at the end of the process see the final object is done.
It’s funny because that feeling doesn’t last long for me, maybe one day and, after that, I start thinking that the model is just good. For me, this short satisfaction is the key to staying hungry and never stopping learning and growing.
And what’s next for you now?
Cerdà Gaya: Being a better bass guitar player! I know that music is an unexpected connection, but I don’t think I would be the 3D artist I am now if I hadn’t been playing an instrument. It has helped me a lot in terms of improving my attention, methodology and sensibility.
I’m also working on some personal digital sculpting projects that I hope to share at some point. And I’m excited to announce that I am collaborating with Google to improve their 3D models for CGI purposes. Thank you Richard Funnel for this great opportunity!