
Fallas Festival Monuments Learn how Moisés Ojeda translated his “Monumentos falleros” sculptures to a larger-than-life-format thanks to ZBrush and 3D printing on a milling machine.
Not long ago, Moisés Ojeda shared his work for the annual Fallas Festival in Valencia, Spain. The immediate question that sprang to mind was, HOW? How does he go about translating sculptures from the computer to a larger-than-life format?
Moises was happy to speak with us about this and we're sure you'll find it an interesting exploration of one of the more unique ways in which ZBrush finds its way into the real world. Enjoy!
Monumentos falleros are large sculptures that are displayed over a period of several days in the streets of Valencia, Spain as well as in many other towns throughout the province. They are burned on March 19 as part of the Fallas festival. These monuments, which are grouped into categories according to size and budget, compete with each other for official awards.
Historically, fallas were built using traditional sculpture techniques such as clay modeling, in which molds were created and then filled with papier-mâché. However, in recent decades the use of expanded polystyrene (Styrofoam) has become increasingly widespread. This lightweight material makes it possible to build much taller monuments. It is also combustible and less of a contaminant than traditional cardboard. Wood and certain metal pieces are still used to create the internal frame.
Falla artists historically used cutting objects to shape the polystyrene directly. But with the introduction of 3D scanners and milling machines, the technique of directly molding the polystyrene has become less necessary. By scanning the scale model (made from clay or Plastilina non-hardening modeling clay), milling machines were used for printing. However, it was sometimes necessary to sand the resulting parts by hand. Especially since certain milling machines only print general shapes.
PROCESS USING 3D SCANNER:
Recently, thanks to the creation of software applications such as ZBrush, scanners and scale models are no longer needed. Milling machines print directly in 3D from a digital model. The two falla monuments from the top category of the 2016 Fallas can be used as an example. Below are photos of the digital scale models and of the finished monuments.
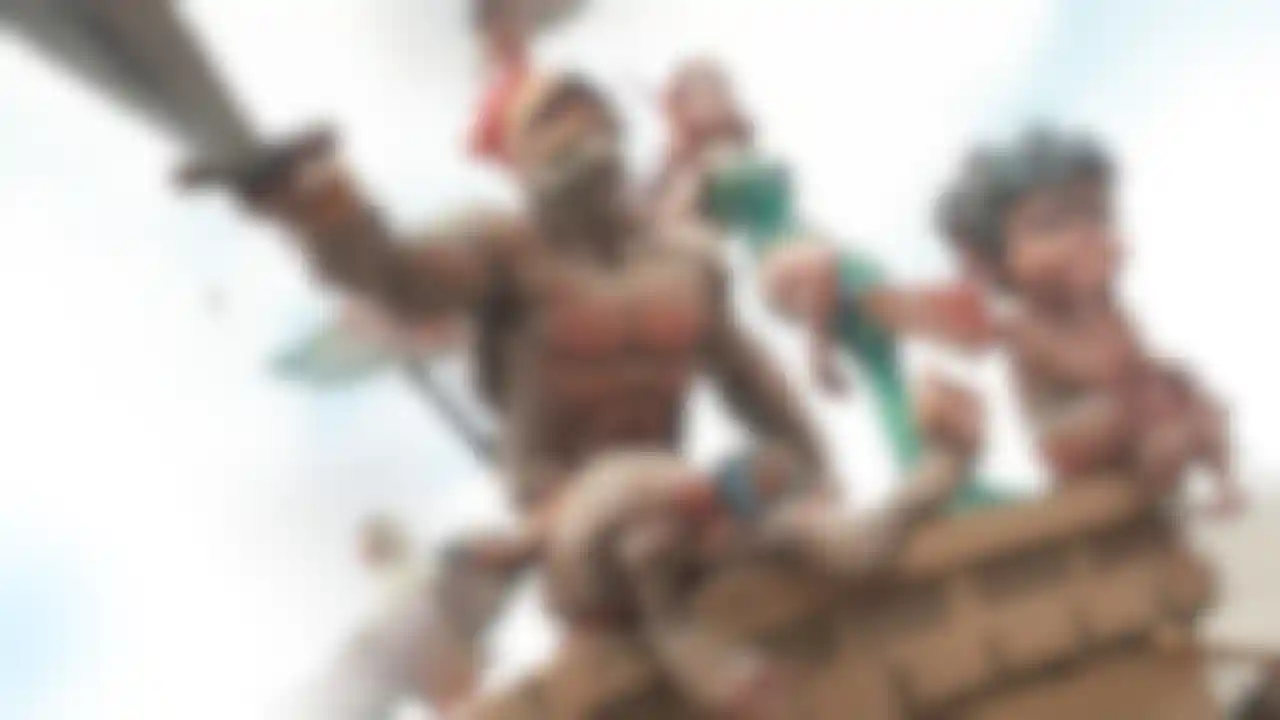
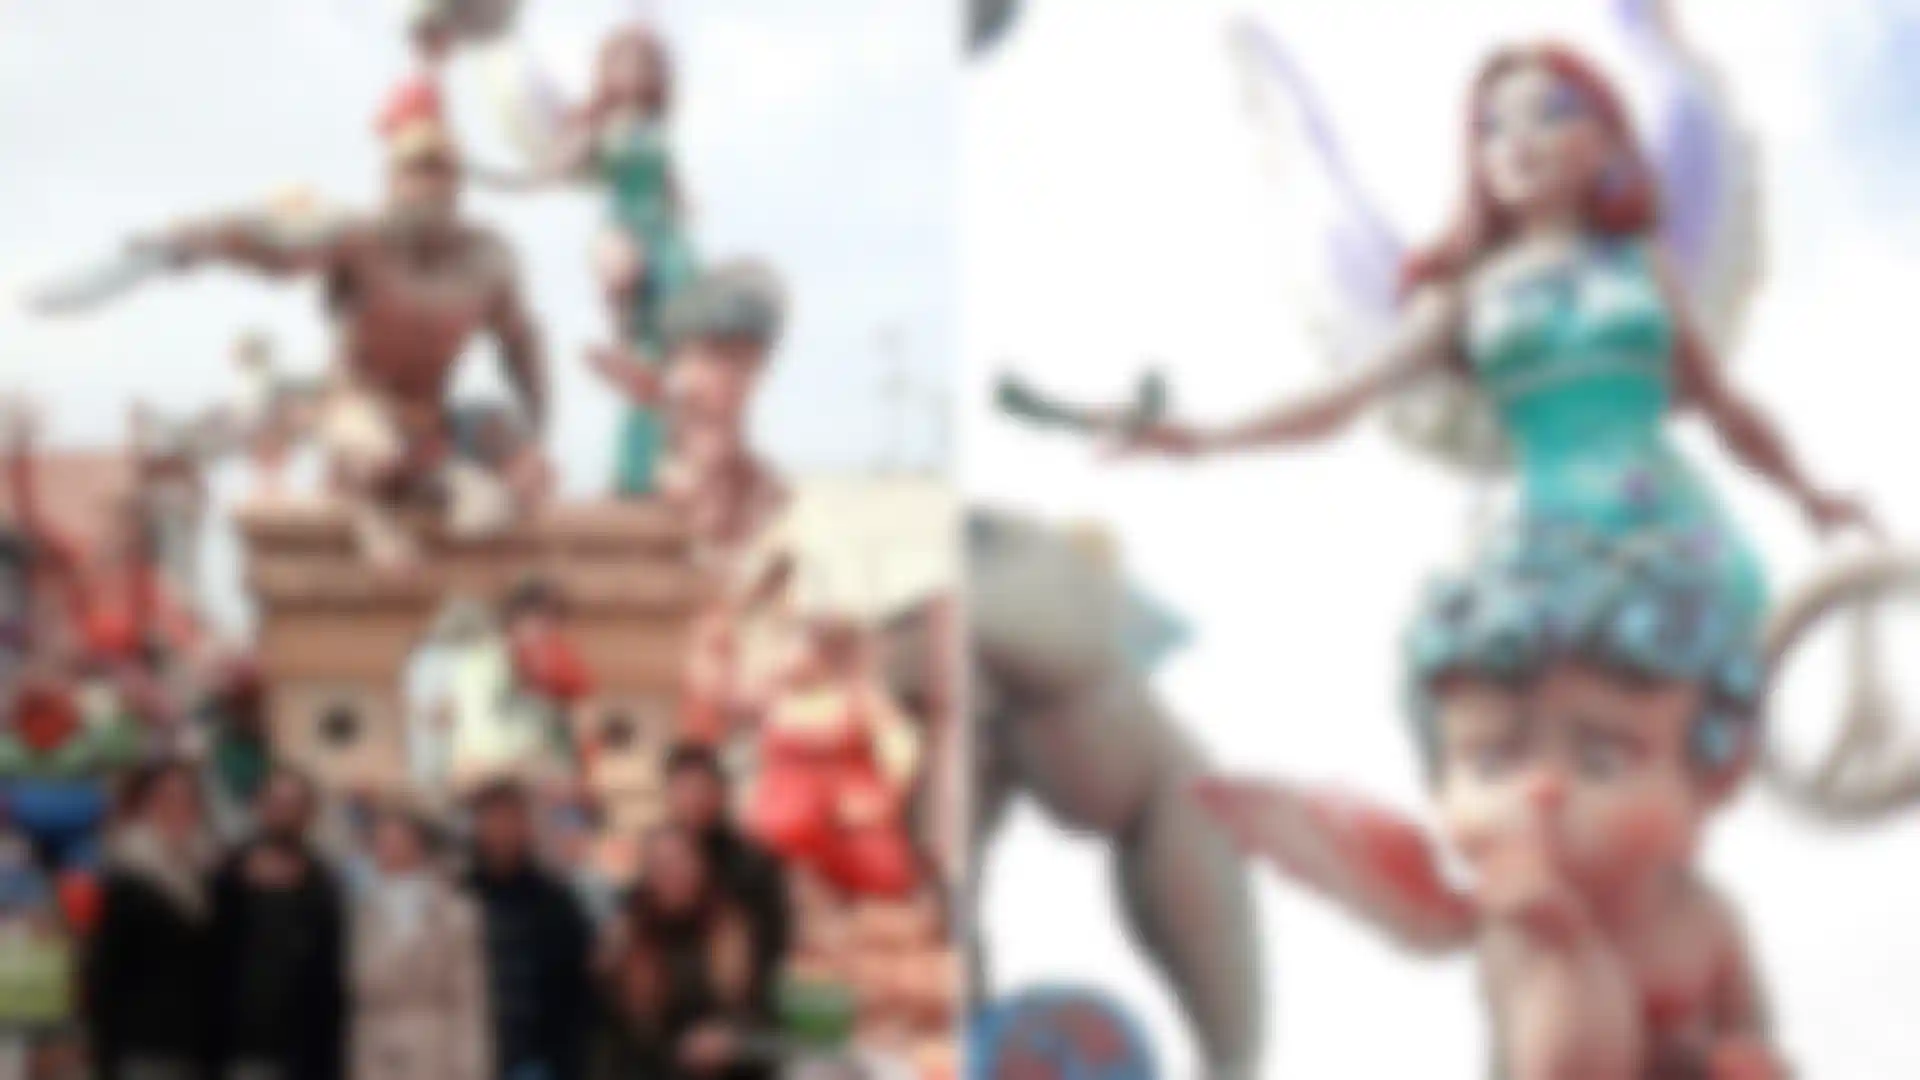
FALLA L´ANTIGA DE CAMPANAR
Artist: Alejandro Santaeulalia
Theme: Malèfics
3D:

ACTUAL:


FALLA SUECA-LITERATO AZORÍN
Artist: Javier Álvarez-Sala Salinas
Theme: Circus-Tancies
3D:


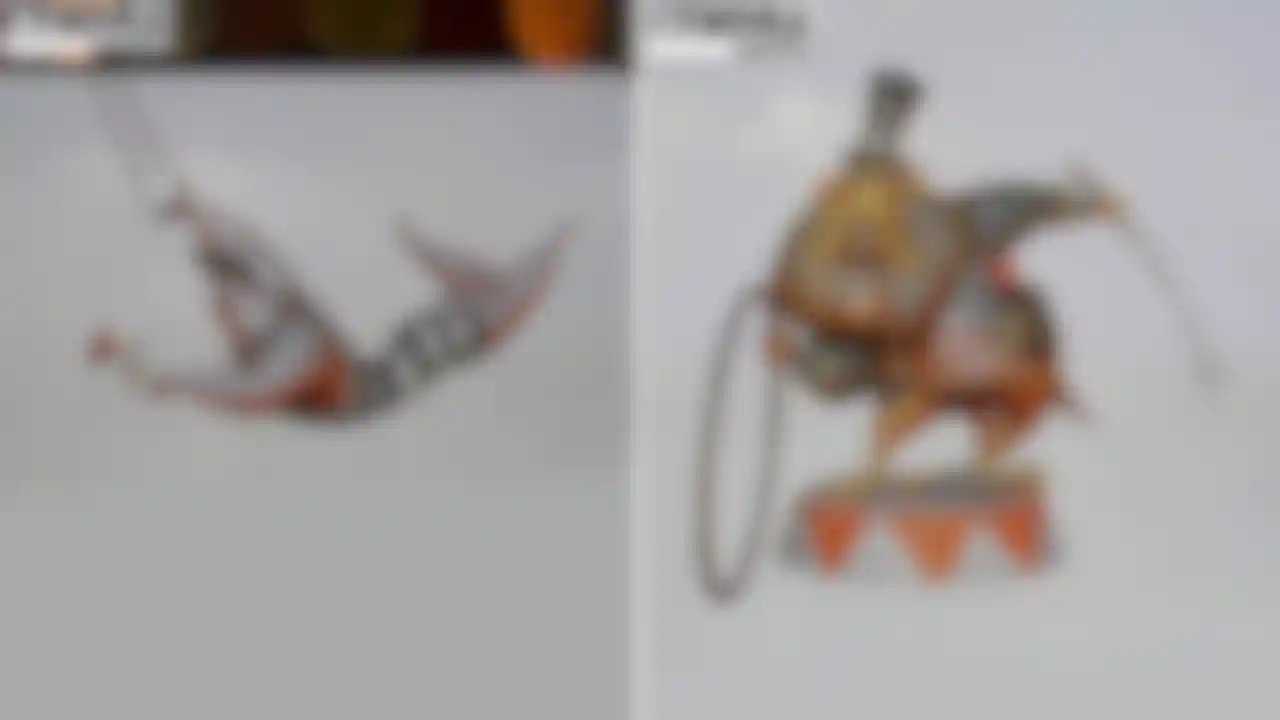
ACTUAL:


PREPARING THE MODEL
On a technical level, it is easy to create a falla model so it may then be printed by a milling machine. First, use the "merge visible" option in the SubTool palette to combine the model's subtools. Then apply a DynaMesh so the entire figure is welded into a single piece. The DynaMesh must be high enough in resolution so as not to lose excessive details and definition. Then, to make the mesh as clean as possible, click on the following buttons: "Close Holes", "Optimize points order", and "Weld Points." After this has been done, export it as an OBJ.


Once in the workshop, a technician will use a CAD application to automatically divide the OBJ mesh into many pieces. The milling machine will print these pieces using polystyrene blocks. Back in the workshop, the falla artist will glue the pieces together, connect them to the frame, sand them, and treat them with a plaster primer before painting.
MY EXPERIENCE:
MODELING FALLAS FOR THE FIRST TIME


MY EXPERIENCE:
MODELING FALLAS FOR THE SECOND YEAR


GROUP THAT I CALL:
"Mil Batallas" (A Thousand Battles)


MODELING PROCESS USING ZBRUSH
I always follow the same process. Sometimes I use one of my own drawings and other times I am provided with the drawing.
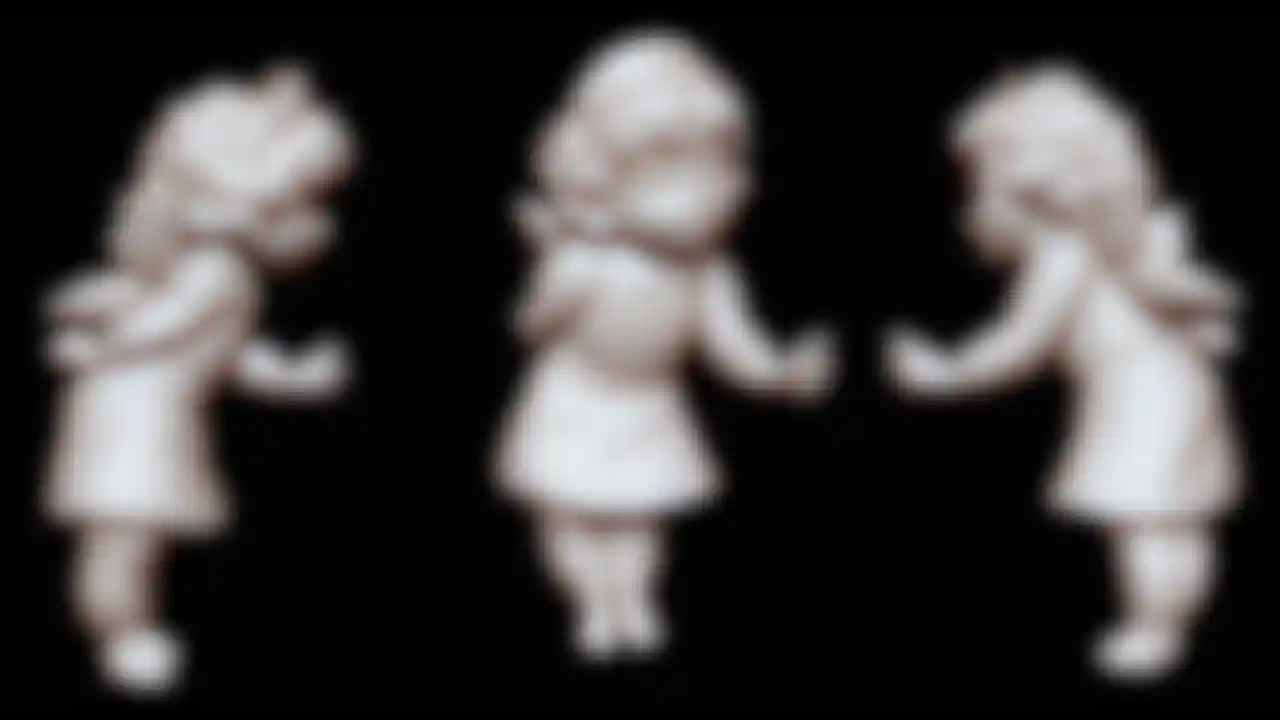
I always model in symmetry and my goal from the onset is for the model to match the pose in the drawing as much as possible. I work a lot with DynaMesh and although I begin with a sphere to create the general shape of a figure, as soon as I define the details I create as many SubTools as possible.
Once work on the general shape has been completed and the focus shifts to details, it is best to stop working with DynaMesh and to begin using subdivisions on a mesh that has been cleaned with ZRemesher. To do so, I duplicate the SubTool for the mesh I want to clean, apply ZRemesher with low density, and project the details of the original subtool onto each division. I can then delete the original because the duplicate will be identical. The benefit of using the duplicate is that it has a clean mesh and divisions in order to continue working on it comfortably. This means that I can go to the lower divisions and continue working on the general shape using Move brushes (and soften in order to create smooth surfaces). I can also go to the higher subdivisions and continue working on the details. It is normal to continuously jump between divisions while working on a model. On the other hand, if I notice that it is no longer convenient to work on the duplicate SubTool (because I have made drastic changes that have tarnished the clean mesh, for example), then I duplicate it again in order to clean it with ZRemesher and project the details. In other words, I repeat the same process to clean the mesh as many times as needed.
Once the model has been completed in symmetry, I use TransPose Master to establish the pose according to the original drawing. I am not concerned if the model breaks completely during the posing process. It is important to understand that a lot of the modeling work will have to be redone further on, especially in the joints. On the other hand, having SubTools with clean meshes and subdivisions helps TransPose Master work well.
Focusing back on the model with SubTools, after applying the TransPose Master pose I once again shape the areas that have broken. It may be necessary to obtain clean meshes again using the duplication and projection process described earlier.
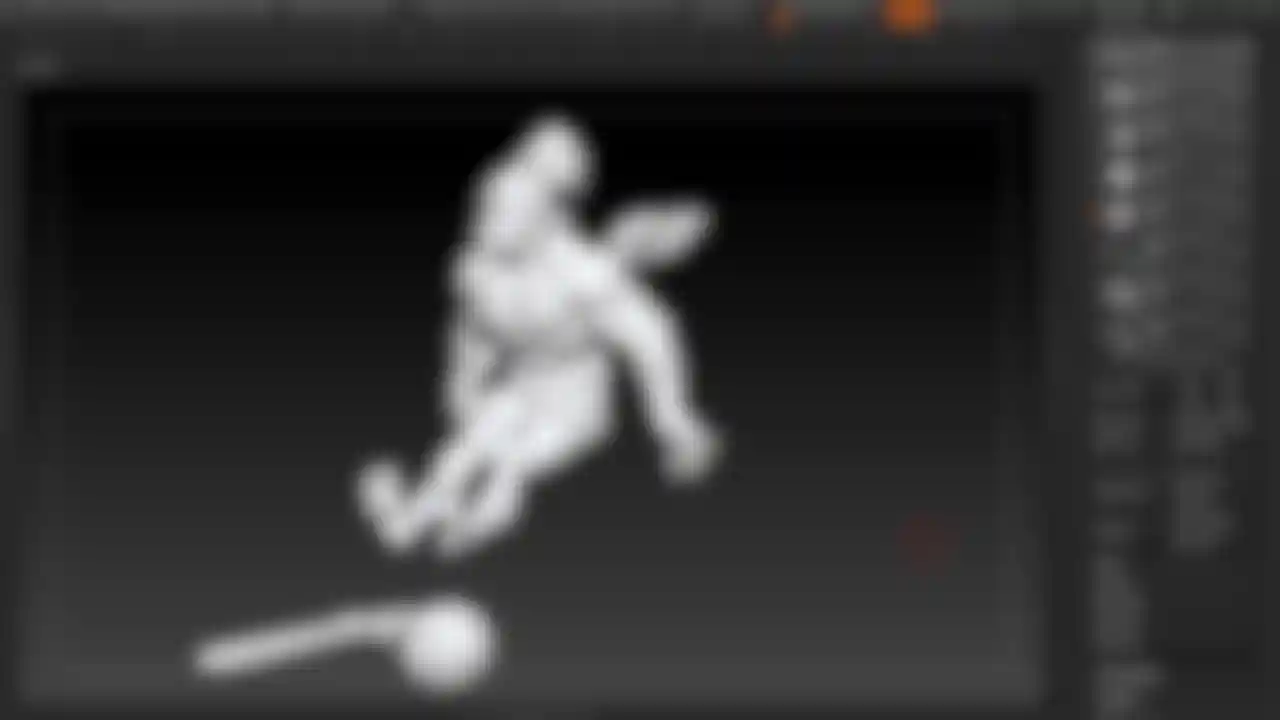
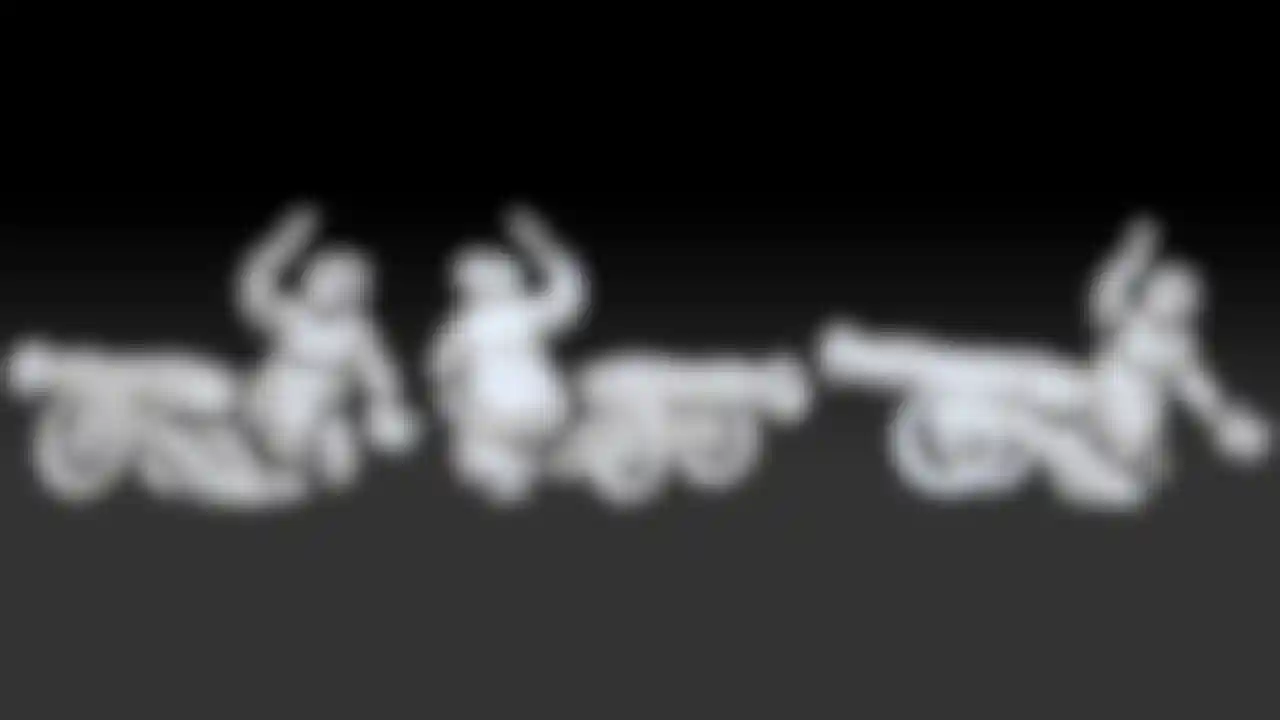
MODEL IN SYMMETRY


COMPLETED AND POSED MODEL


ONE OF MY OWN DRAWINGS

INITIAL ARCH, MODELED USING ZBRUSH


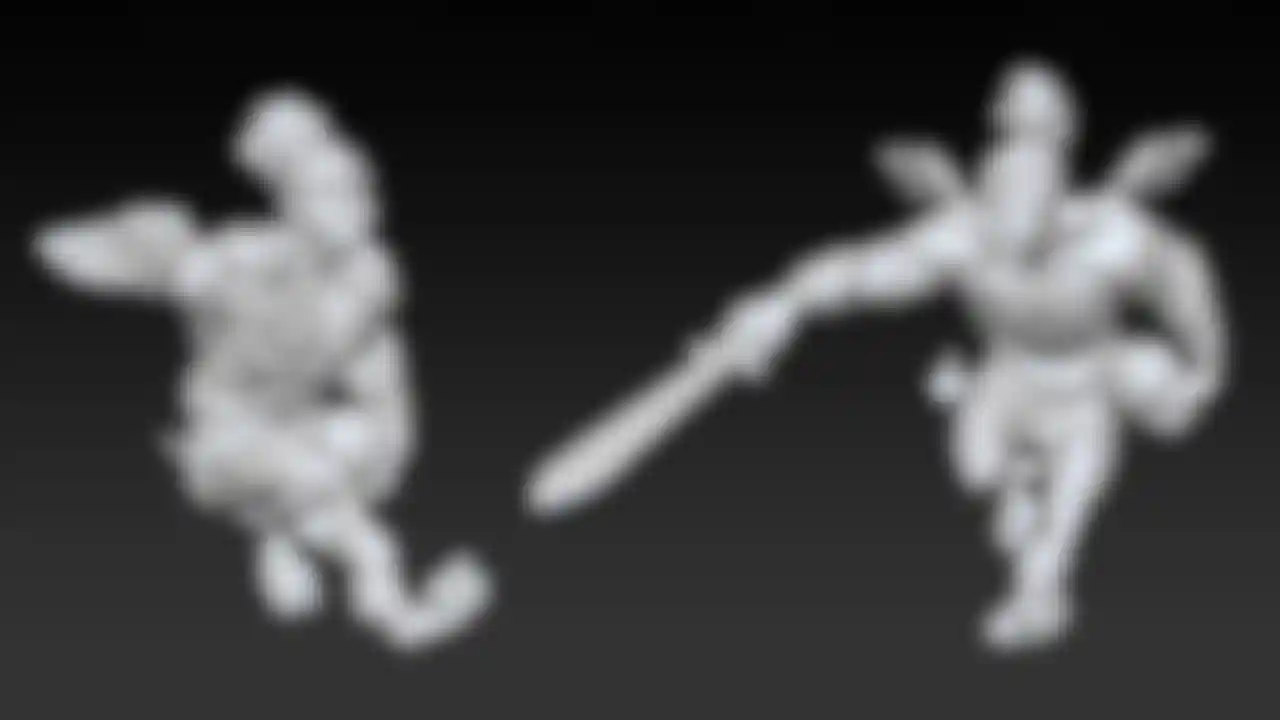
CREATING THE NAPOLEON & NIKE CHARACTERS
NAPOLEON
The Napoleon character was at first modeled standing up.


It was then decided that he would be on a horse, so the existing model was adjusted. To do so, I cut out parts of a horse that I had previously created and I made a collage.


NIKE
Nike character in symmetry.


COMPLETING THE CHARACTERS
MUSE
For the Muse character in symmetry, I reused the body of the Nike character. This means that it was different from the pose of the concept.


MARS


CUPID CHARACTER


AGUSTINA OF ARAGON

A DRUMMER


