Behind the Scenes of ‘Raised by Wolves’ How award-winning prosthetic makeup artist Jaco Snyman used ZBrush to create Billy the killer robot.
Much to fans’ disappointment, Max’s “Raised by Wolves” was canceled a while back, but Ridley Scott’s critically acclaimed sci-fi series remains popular, and for good reason. The imaginative show had it all — a captivating story in which androids raised human children on a distant planet inhabited by mysterious predators and stunning visuals and characters.
Pioneering prosthetic artist Jaco Snyman was brought on board to lead prosthetic design and development on Season 1 and 2. With over 60 film and TV credits, including Oscar and BAFTA award-winning “Mad Max: Fury Road,” “District 9,” “Bloodshot” and more, Snyman has perfected his creative process using ZBrush, Keyshot, Photoshop, Modo and custom workflows for scanning, 3D mold making and printing.
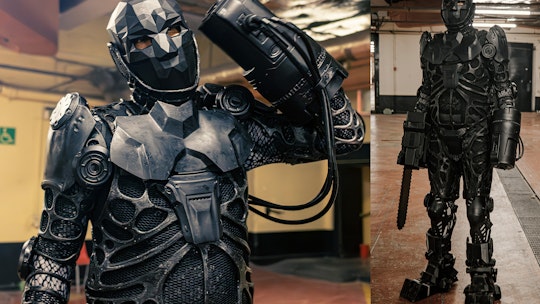
We asked Snyman to tell us about how he created Billy, a menacing robot with a gun for one hand and a chainsaw for the other, including how he worked with his team to craft and manufacture every detail of Billy’s body armor, machine parts and face mask.
Please tell us a bit about yourself and how you got into film prosthetics.
Snyman: I grew up in South Africa watching the horror and sci-fi movies of the 80s and 90s. I was always interested in making monsters and robots so, after high school, I went to California to study prosthetic makeup. When I returned to South Africa, I found work in the film industry and haven’t looked back.

After freelancing for many years and working for various companies, building up my portfolio and client base, I founded my studio, Dreamsmith in 2013. We try to be a one-stop shop offering everything from concept art, prosthetic makeup, specialized props and animatronics, as well as 3D scanning and printing. Our workflow is mostly digital using ZBrush as our primary sculpting software.
I’m interested in the more sci-fi and horror genres of the entertainment industry because you often get to imagine and figure out how to make something that no one has seen before. These things are not necessarily aesthetically pleasing and that’s the fun part of it that allows you to be creative.
Our approach is continuously evolving and we're always experimenting with new methods and new ways to use technology. I’ve been using ZBrush solely for design for over ten years and, about five years ago, I started experimenting with 3D scanning and 3D printing.
I realized that my traditional sculpting and manufacturing skills directly translated into ZBrush, enabling me to create and 3D print molds, mold shell structures and even final screen-ready props. I converted traditional prosthetics manufacturing techniques into a digital workflow and we’re now able to work with greater precision and be more productive than ever before. Our custom digital workflows are now at the bleeding edge of what is possible in this field.
How did you get involved with “Raised by Wolves” and what was that like?
Snyman: I do most of my work through a production company called Film Afrika and when the line-producer, Chery Eatock, asked if I would be interested in working on an original sci-fi series directed by Ridley Scott, I said yes before she could finish her sentence.

It was an incredible project to be a part of. I had a team of around 15 artists, and we got to make so many cool things. We had insanely imaginative scripts from Aaron Guzikowski and were given incredibly descriptive drawings by Ridley, illustrating exactly what he wanted. It was up to us to present concepts that we could realistically manufacture within the time and budget constraints.
What was the context and brief for Billy’s character?
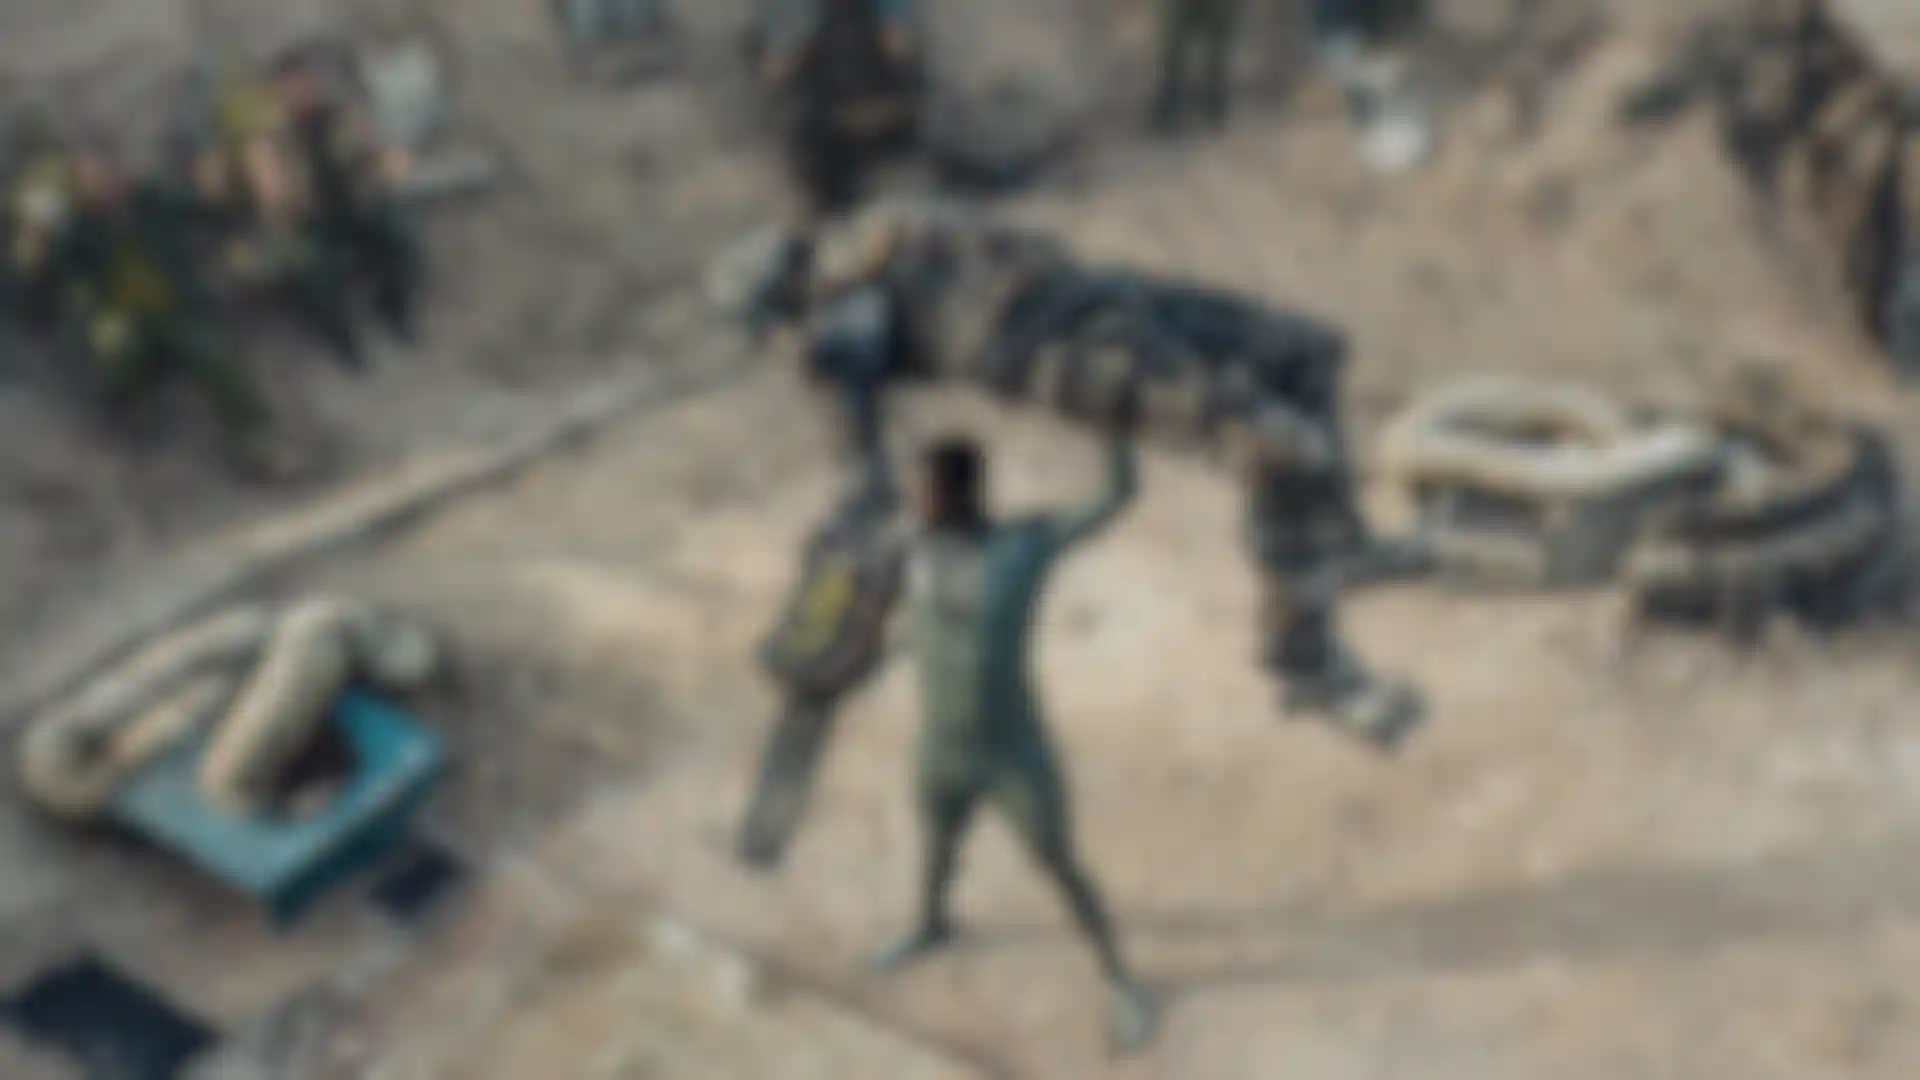
Snyman: In this world there are a lot of different types of androids built for different tasks. Billy the robot, or Chainsaw Billy, is more of an industrial machine and, in the story, is used illegally in fight games. He was made for a specific episode (S2:E3) in which he fights Father.


Ridley wanted Billy to look huge, rough and mostly broken with a rivet gun on his left hand and a chainsaw on the right. He initially wanted the robot to be 10 feet tall, but that was unworkable as a prosthetic suit, so it was scaled down to fit the biggest human we could find. He also wanted Billy’s face to look completely deformed, which we worked into the design.
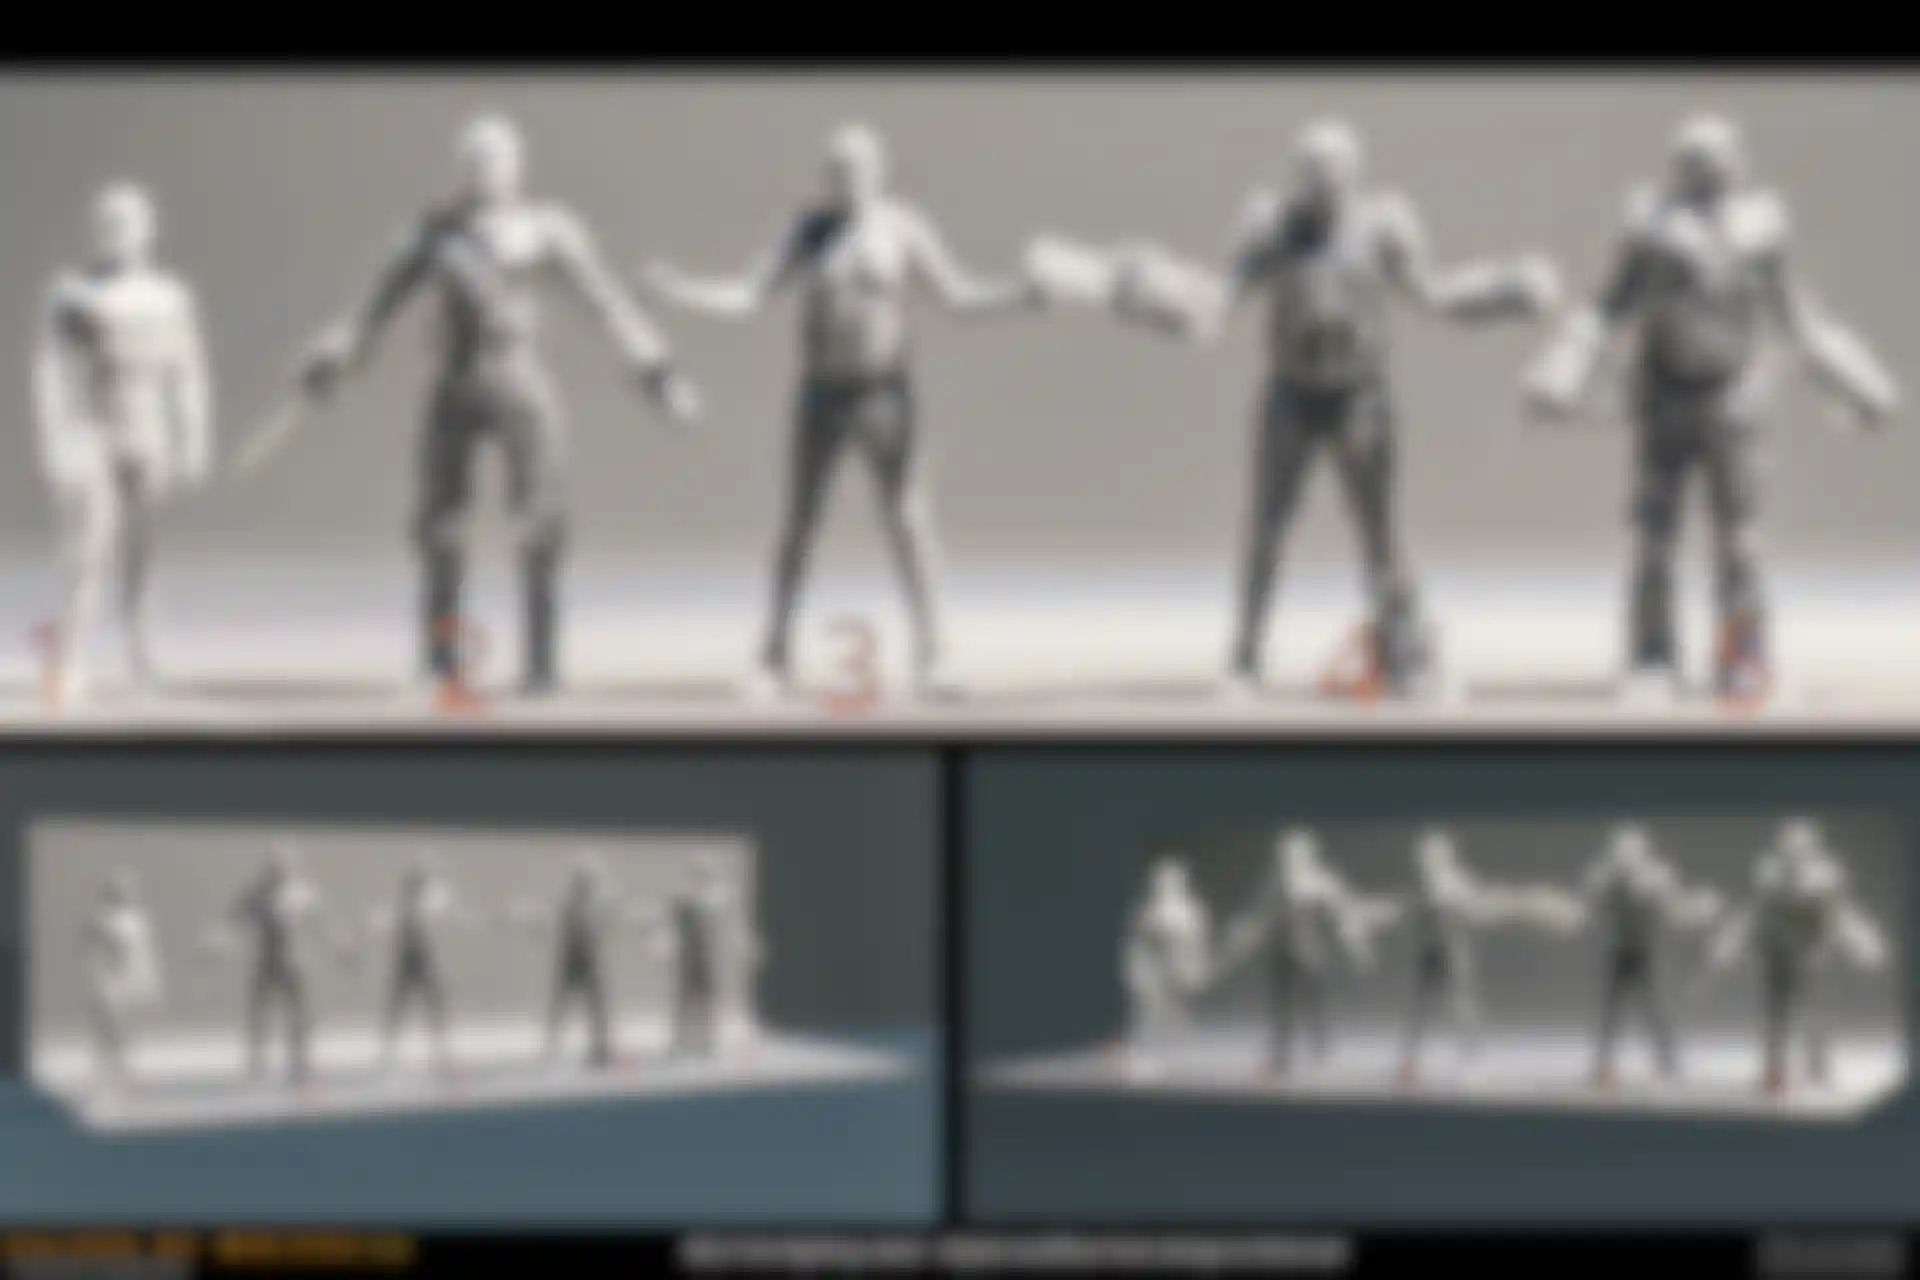
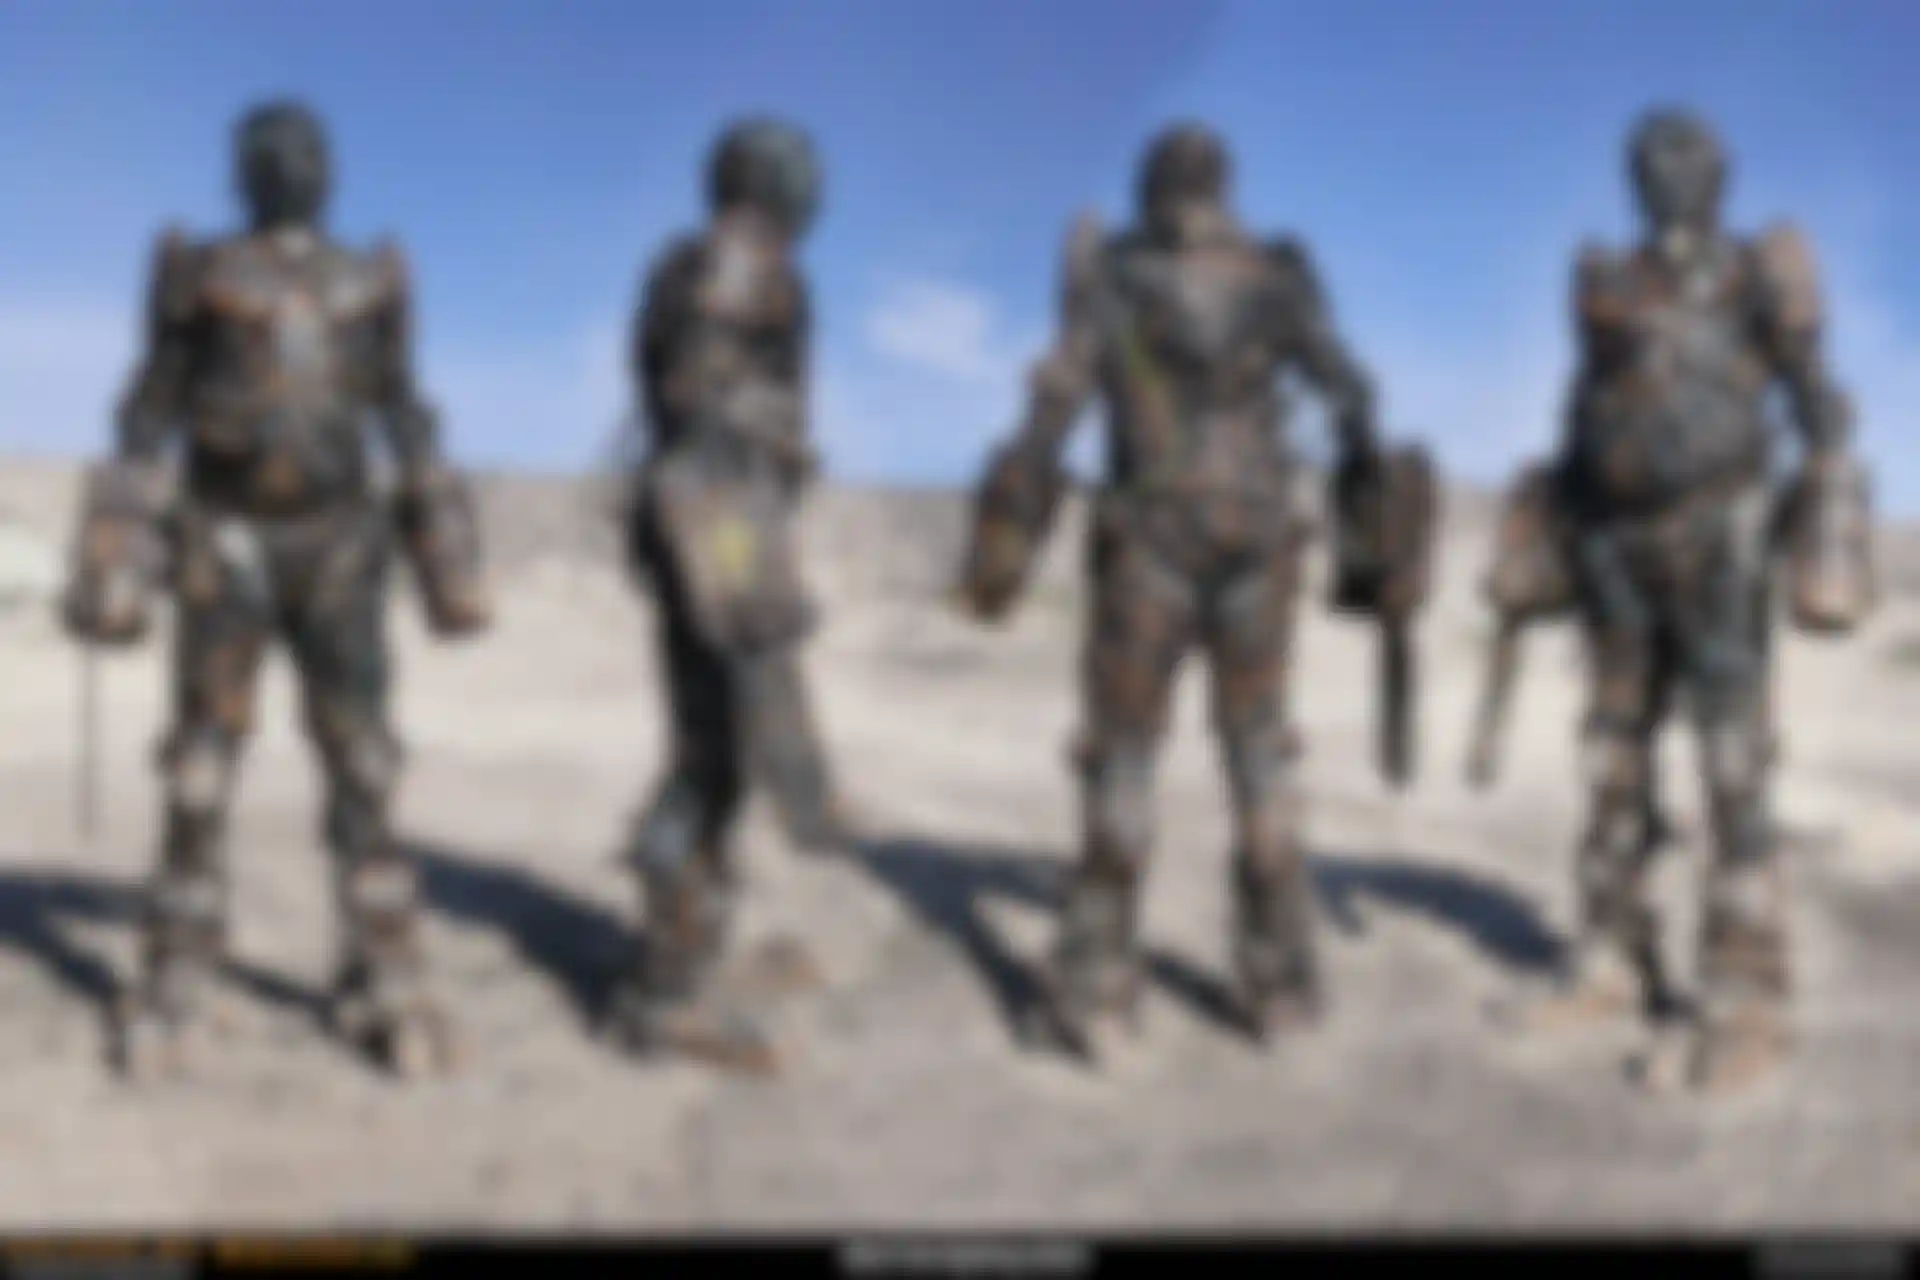
I worked remotely with artist Furio Tedeski. We came up with ideas in ZBrush and sent them to Ridley and the creative team, adjusting as we got feedback. We started with an industrial-looking-machine concept, moving through various organic and sci-fi variations until we got to something everyone liked.
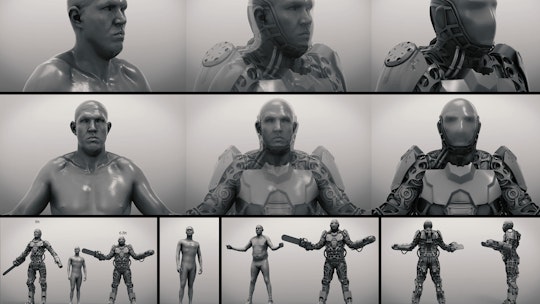
ZBrush was amazing for this workflow because we were able to explore and present our ideas to scale and in proportion using 3D scans of the performer. This meant we could get our designs close to the final real-life version before committing to manufacturing anything. Because it was all done in ZBrush, we were able to use the concept art meshes as a base to start the manufacturing process for all the various parts.
Please walk us through how you made Billy’s exoskeleton.
Snyman: Visually, the suit’s structure was based on an exoskeletal mesh frame. We had to manufacture it be flexible, fit perfectly around the performer’s body and support all the other armor pieces.
To fit the suit design to performer’s giant 6-foot-8-inch frame, I had to stand on a platform and use a handheld structured light scanner to scan his head, upper body and legs in sections. These types of scans give you an accurate shape and true-to -life scale, which you can open as an OBJ or SLT directly in ZBrush. If you set up your scene scale, you can eliminate all the guesswork.

To sculpt the frame in ZBrush, I started by inflating the actor’s scan where I wanted the exoskeleton to allow for a tolerance, then I used the Paint tool to create the shape I needed, polygrouped it and extracted it.
A really cool ZBrush feature allows you to paint a solid shape on something and then turn the painted area into its own group so you can extract it into its own SubTool. To refine the edge, I used the Group Smooth tool and, keeping a small brush size, I went over the edge to get a perfectly smooth line where the polygons meet without distorting the rest of the mesh. Next, I deleted the excess mesh and ZRemeshed the leftover frame base to get clean topology. The last step was to apply dynamic thickness.
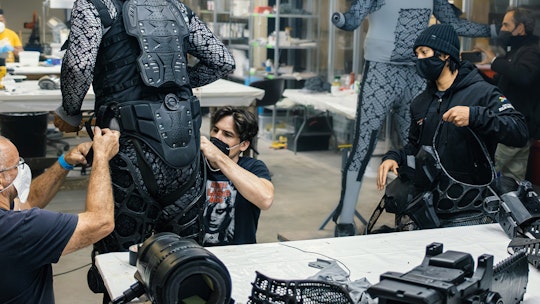

After the exoskeleton was made, we had to split the 3D model into pieces to fit into our printers. We printed them hollow to make them lightweight in a flexible plastic, and the pieces went from the printers right onto the suit after being cleaned and processes by our team of artists. Once the different layers of mesh and robot parts were assembled, we added belts and other elements to make it all look patched together.
Finally, we added the machine parts and armor plates. The chainsaw and rivet gun were 3D printed in nylon and designed with hardcore supported handles inside for the performer to hold onto. The chainsaw blade was laser-cut rubber, making it safe for the actor and VFX were used to bring the blade to life.
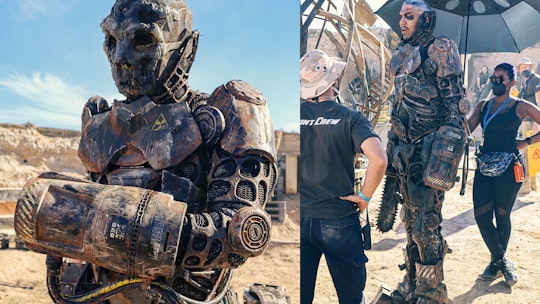


We didn't want any surface to look clean or new, so after final assembly we literally attacked the suit with grinders, cutters, torches and other crazy power tools to make battle-damage scratches, cracks and gouges. We also mixed various fillers with paints and applied them to parts to make them look like old rust and grease, highlighting all the layers so that you could see them all interacting.
Managing expectations was an important part of this job to make sure everyone involved knew what to expect on the day of filming so there were no surprises. The worst thing you can possibly do is show the director something you made for the first time when they are ready to film it on set. It can be tricky at times because of short turnaround, but we always try to involve and update the director, DOP and producers as we progress.
And how about the face mask?
Snyman: I had a blast sculpting the silicon face mask! It was supposed to look beat up with cooling fluid leaking out and I finally found a use for the Blob brush, the perfect tool for the bubbly and blobby messed up gory skin texture.
The mask was made in several parts. The base for the prosthetic appliance was a plastic helmet of simplified polygon design with a clear silicon layer on top to make the horror face. I digitally sculpted on top of the base, making a hollow, digital mold that we printed in resin. We then cast the transparent silicon straight into the 3D printed mold and it fit perfectly over the face helmet.

What is most rewarding about your work?
Snyman: I absolutely love what I do, and there are a lot of motivational aspects to this job, like being creative every day. It was incredible to work on a show I’m a fan of, like a huge fan, and to get passionate about making robots and monsters.
I find it very rewarding to work with my team of artists, to see what they come up with and to see our work come to life on set and on screen. It's really gratifying that Cape Town is being recognized as a cool place to bring projects of this scale to life and that our local artists get to work on A-list projects.
All stills courtesy of Warner Bros. Discovery
Dreamsmith credits
Prosthetics Designer/HOD: Jaco Snyman
Workshop Supervisor: Mathew Howard-Tripp
Junior Designer and Sculptor: Ashley Powell
Concept Artist: Furio Tedeschi
ZBrush artists: Filippo Ubertino, Andrea Chiampo, Josh Wallace
Coordinator – Peter Goosen
On Set Supervisor #1 – Natasha du Toit
On Set Supervisor #2 – Anja Rechholtz
Senior Prosthetic Artist – Penny du Plessis
Junior Prosthetic Artist – Marike Liebetrau, Andy Huang
Mould Maker – Richard Woodborne, Monde Mambinja
Junior Mould Maker – Jonathan Baartman
Finisher – Zania Gerber
Trainee – Yvonne Kushamba
Helena Swahn is a writer in London, UK.