Sculpting
Turn your models into digital clay
Model organic surfaces and easily increase the level of detail on any object with the fully-integrated Sculpt system in Cinema 4D. Simply click Subdivide to increase the level of detail, transforming your mesh into digital clay. Mold your mesh with intuitive sculpting tools that pull, smooth, flatten, knife and pinch the surface. Take advantage of advanced symmetry options, stamps, stencils and masks to create complex sculpts and surface details.
Organize in Layers
Organize your sculpt project in layers, each with its own Sculpt level, mask and strength settings. Simply click any layer to activate it and jump to the appropriate level of detail. Arrange layers in any order and even within folders, so it’s always easy to find and activate the right layer. You can freeze your sculpts at any time to release the memory being used by sculpting and view the effect of deformation on your sculpted mesh.
Flexible Tools
Mold your mesh with Cinema 4D’s flexible sculpting tools, each of which have unique size and pressure options that can be interactively adjusted or linked to the properties of your tablet pen. Smoothly paint continuous strokes with the Steady Stroke option. Use special drag options to precisely place Sculpt Stamps, and easily create repetitive stamps with the Repeat tool. Sculpt finer details with the help of masks and stencils. Create and share your own stamps and stencils, or take advantage of the extensive preset library provided in Cinema 4D. Finally, you can create your own sculpt brushes or take advantage of Cinema 4D’s extensive developer community to extend the power of the toolset even further, with extensive Python and expanded C++ support for the entire Sculpt system.
Pull Brush
The Pull brush lifts the vertex points (or lowers them) in the average direction of the Normals (in the region of the brush’s preview). This brush is also well-suited for use with the Stamp and Stencil functions.
Grab Brush
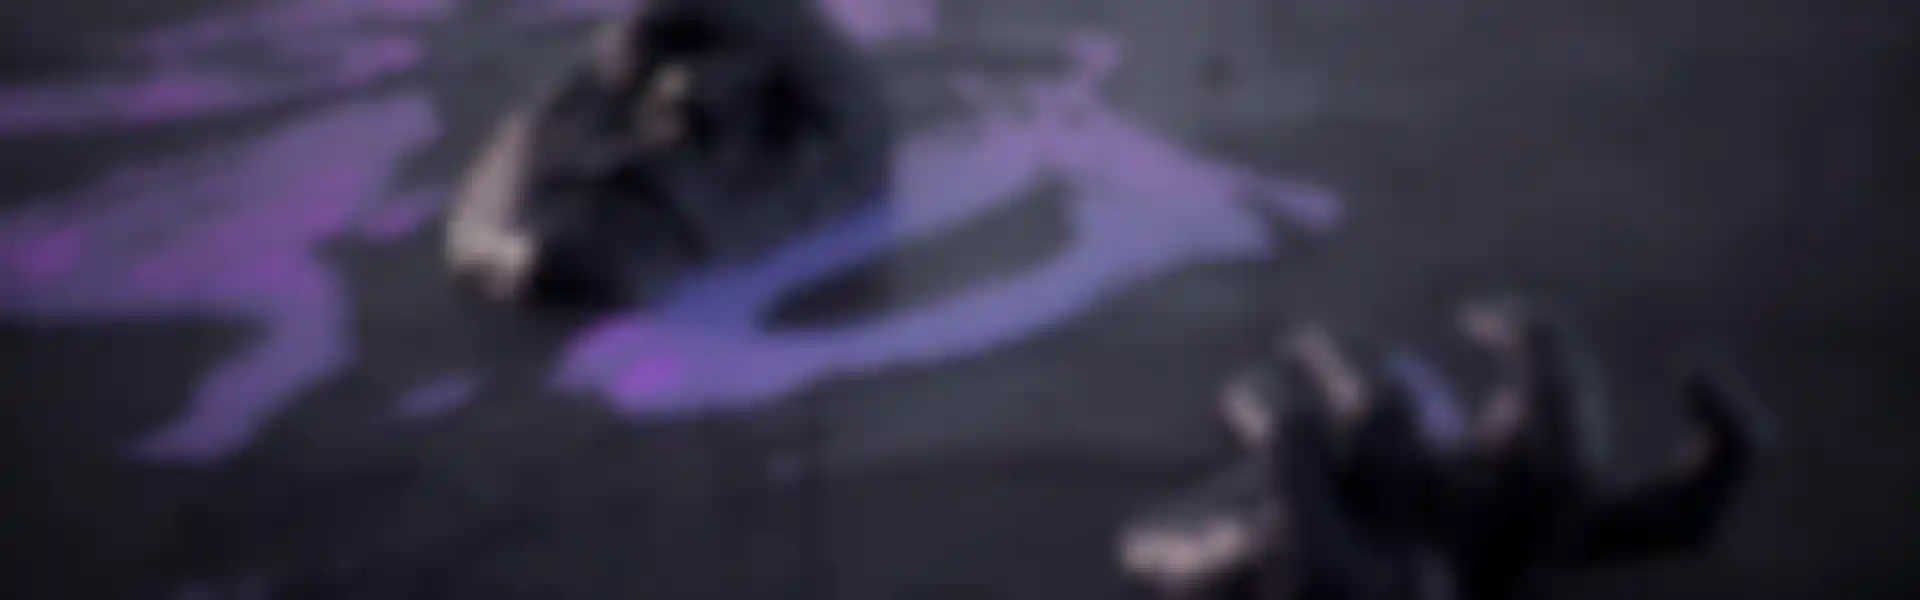
As the name suggests, this brush can be used to grab part of the mesh and pull it into the desired position. Great for shaping a character’s chin or head, or creating spiky bits.
Smooth Brush
The Smooth brush is one of the most important sculpting brushes. The Smooth brush - with a low Strength value - is ideal for relaxing the mesh and removing artefacting.
Erase Brush
Use the Erase brush to delete sculpted regions of an active Layer, i.e., wherever the Erase brush is applied, the sculpted regions will be reset to a neutral state.
Mirror and Masking
The powerful Symmetry options within each sculpt brush now support Cinema 4D's workplane, so you can easily mirror strokes across an offset axis. Keep your strokes fast and fluid by focusing on one side of the model, and use the new Sculpt Symmetry option to mirror strokes across the mesh or even equalize the sculpting on both sides. To further focus on small sections of the sculpt, simply hide polygons using a mask.
Base Meshes
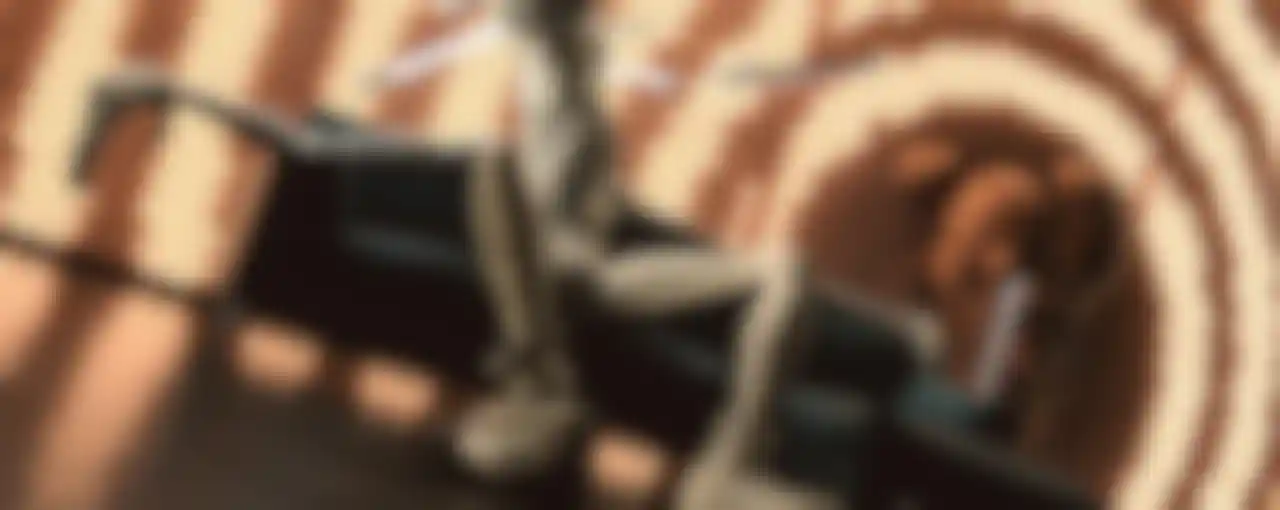
Use your own models or one of the base meshes provided in the Sculpt presets library. The library's generic human, animal and dinosaur forms provide a great start for many sculpting projects. Simply double-click any mesh, click Subdivide a few times and start sculpting.

Mesh Projection
Combine multiple Sculpt objects into a single sculpt with optimized edge flow using the Project Mesh feature. Whether you need more edges to sculpt appendages or just want to optimize the mesh for animation you can model a clean topology over your existing sculpt and quickly adapt it to the final shape with all the sculpt details intact, based on the defined subdivision settings.
Unsubdivide
The Unsubdivide command allows you to quickly convert high-resolution meshes from other sculpting applications to low-resolution Cinema 4D objects with Sculpt tags containing all the same detail. This makes it easy to modify and work with meshes from any source.
Baking
With Cinema 4D’s integrated sculpting you can freeze and deform your sculpted creations without the need to bake them. Optimize the scene and prepare it for export to game engines or other applications by baking the sculpt to lower-polygon geometry with automatic creation of Ambient Occlusion, displacement and normal maps.