Deus Ex Human Revolution Character Artist Sébastien Legrain talks about the creation of the hugely anticipated prequel to one of the most loved action rpgs of all time.
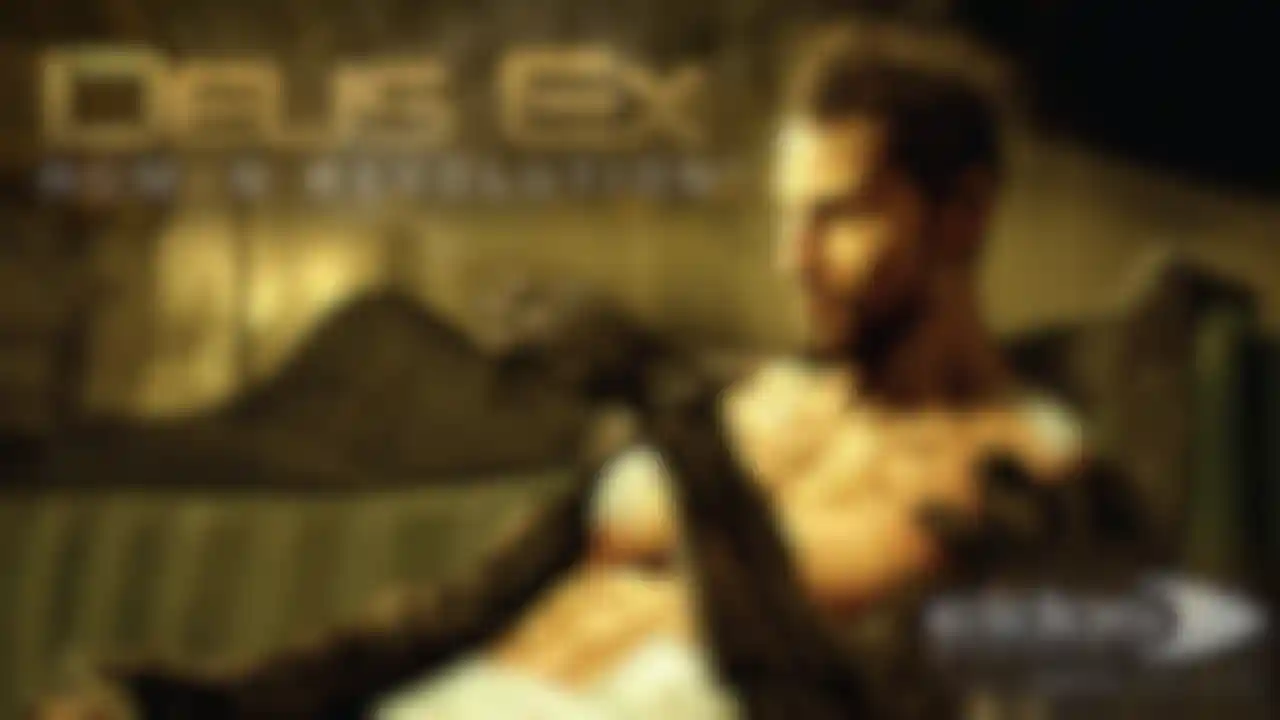
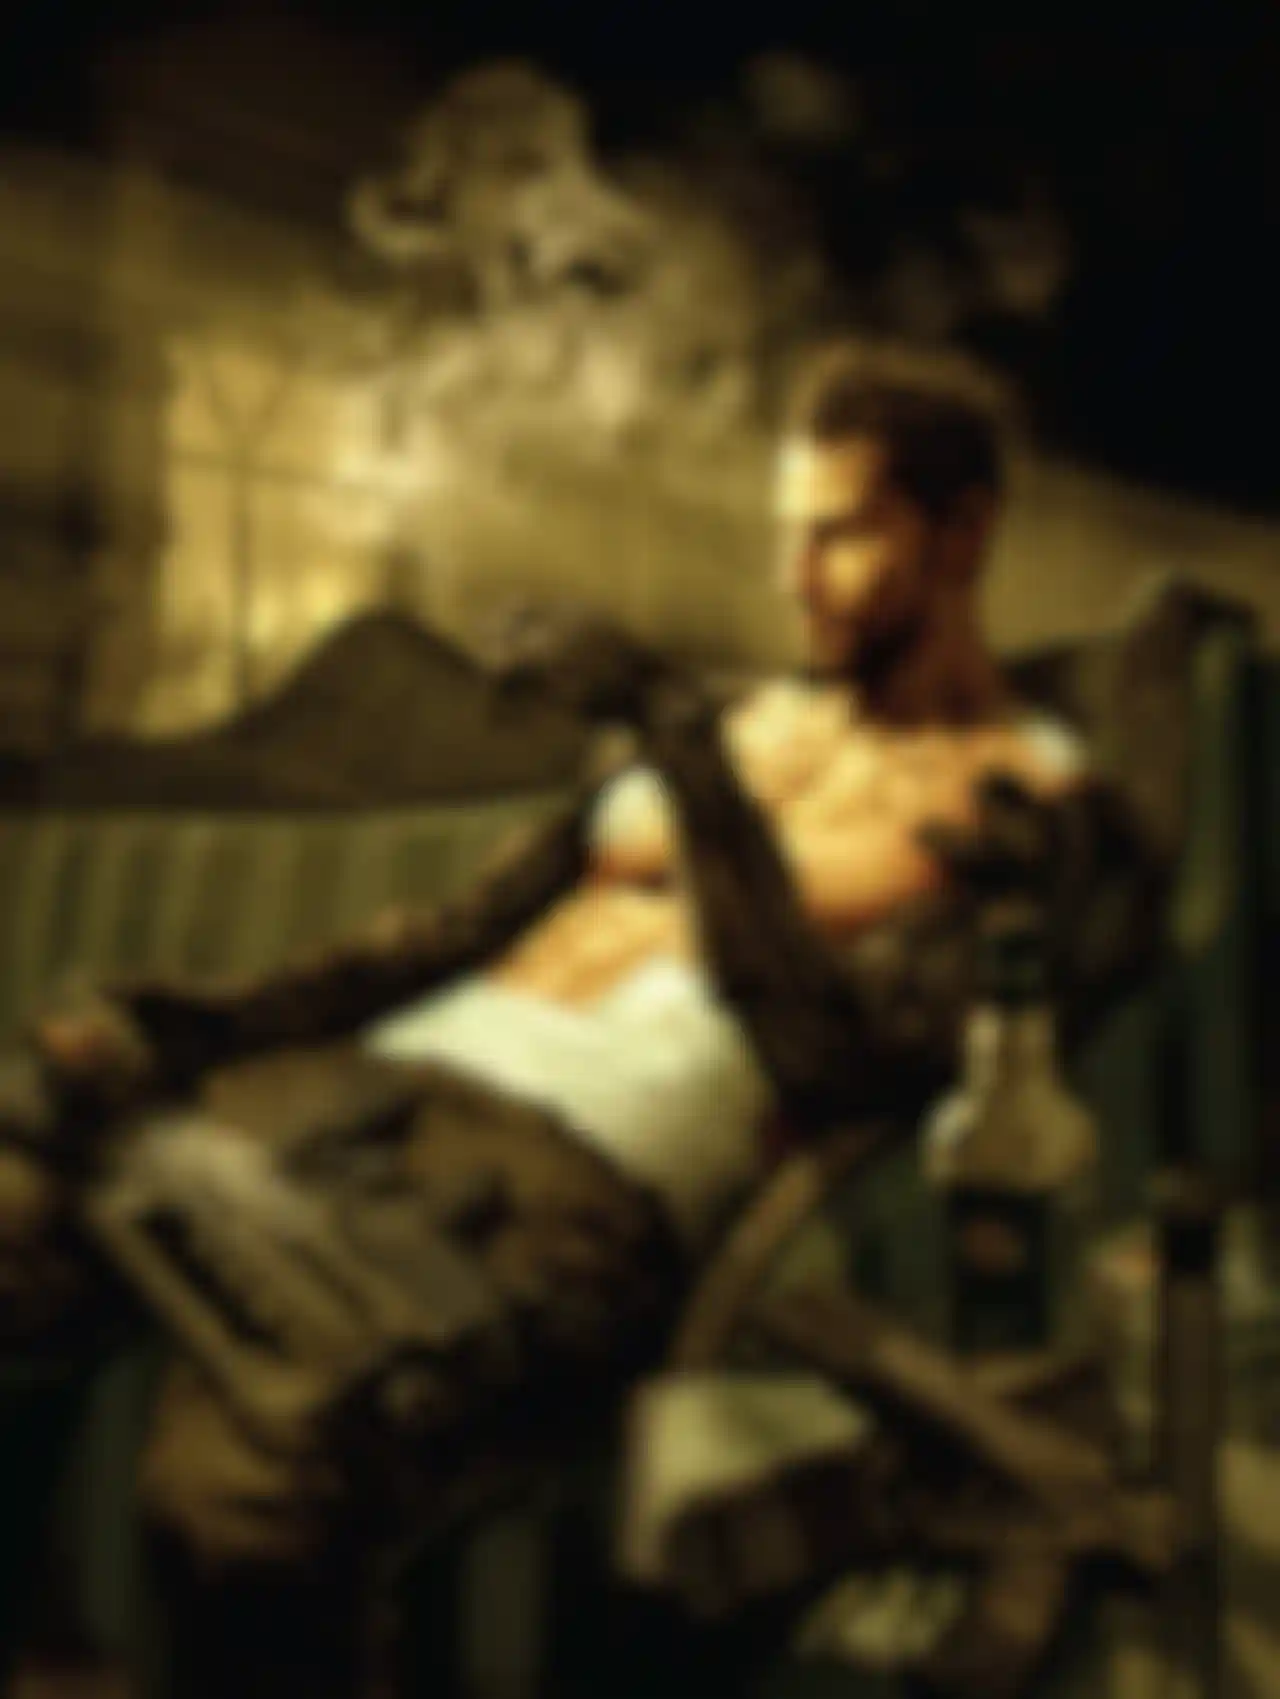
As we’re putting the final touches on this interview, Deus Ex: Human Revolution is about to hit store shelves worldwide. By the time the interview goes live, it’ll be here and many of you will have already begun your exploration of its rich environments and storyline. Developed by Eidos-Montreal, the hugely anticipated game was released on August 23, 2011.
For those not familiar with the franchise, Human Revolution marks the third title in the first-person RPG series. While it is the most recent title, it is actually a prequel and set 25 years before the original title.
Today we are pleased to bring you an interview with character artist Sébastien Legrain – best known on ZBC as sebcesoir. A long-standing advocate of ZBrush, he has never been shy about sharing his techniques with the community and that is reflected in this interview. We hope that you enjoy it!
Let's start with a little overview. Could you tell us about Eidos-Montreal and the Deus Ex series?
Eidos-Montreal is quite a new studio in the city. It’s been crazy, exciting and challenging! We started with an empty concrete office space and maybe 5-6 people. They had to build a friendly environment and hire a complete development team able to produce AAA games almost from scratch.
That’s quite tricky since Montreal is getting competitive. All the more so when people haven’t worked together before and the game is being built with a technology that is different from common engines, like Unreal. But Eidos-Montreal has grown a great deal since its conception and I think Deus Ex: Human Revolution proves its success!
Deciding to revive Deus Ex was another big challenge -- especially for a first project. Type it on Google and one of the first pictures you’ll find is this motivational poster that says, “Deus EX, every time you mention it, someone will reinstall it.” I think that says a lot about this game!
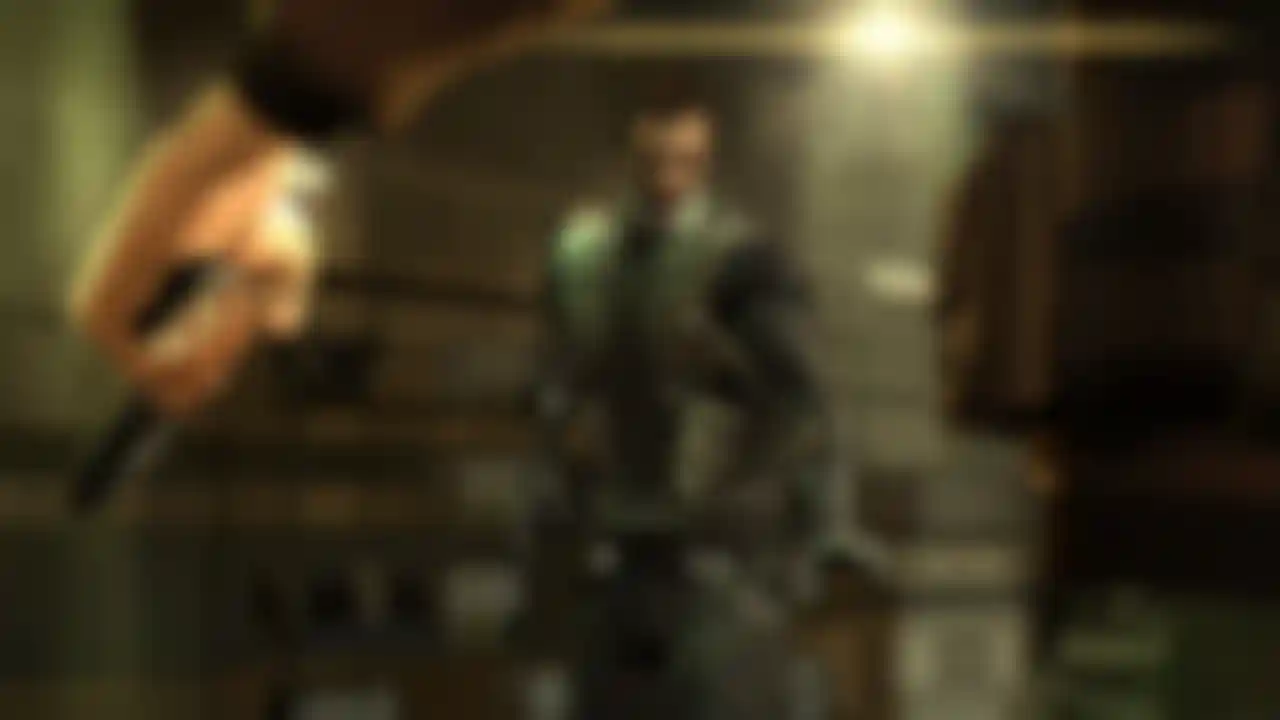
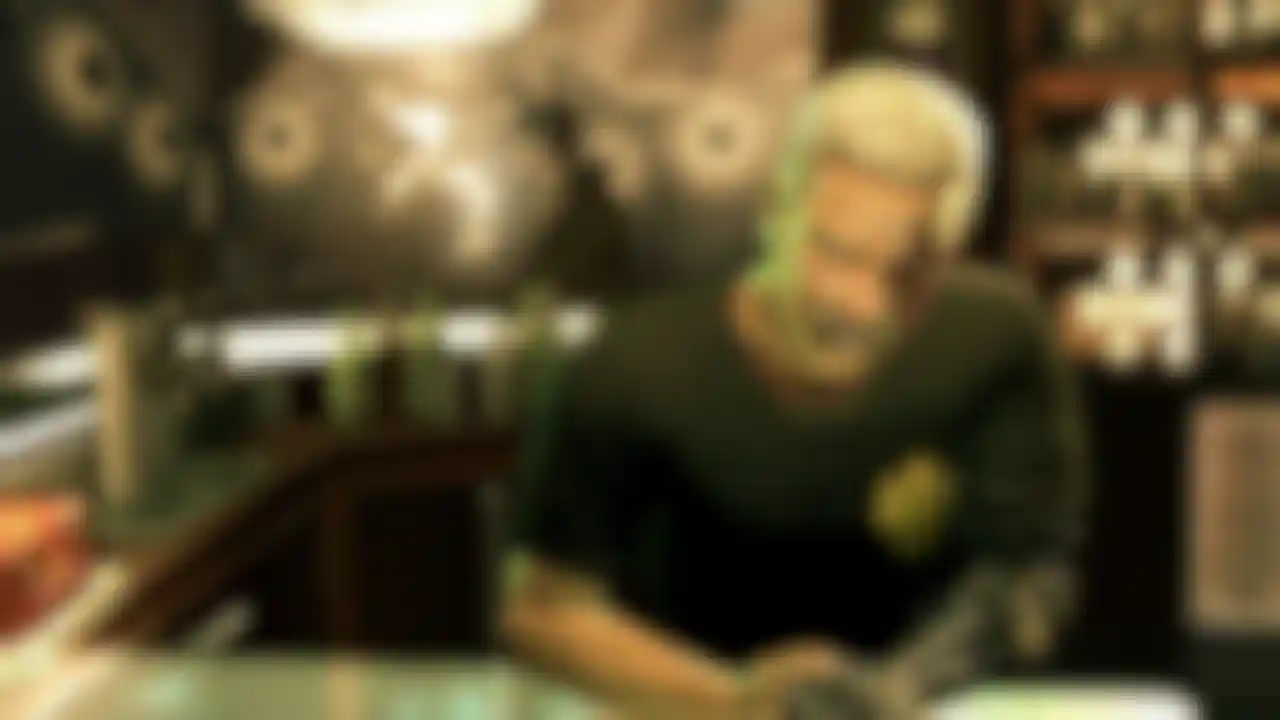
Despite it being pretty old, it was one of the deepest and most loved RPG/action games of its time, if not even of all time. Human Revolution takes place in 2027, before the original game. We focused all our efforts to respect the diversity and complexity of this franchise. Yet we also added our touch, another layer of storyline, new characters and a unique visual style that makes Human Revolution stand apart.
What is your background? What is your role in Human Revolution and how did it come about?
Having originally planned to work in the film industry, I moved with regret to video games because of a lack of opportunities. That turned out to be a lucky break, actually! Since the arrival of next generation consoles like Xbox 360 and Playstation 3 the gaming industry has gotten very similar to film. Both use similar techniques with high poly modeling, sculpting and increasingly complex lighting.
I was in Australia, wanting to come back to Montreal when David Anfossi gave me the opportunity to join the Deus Ex team, and be part of the studio’s adventure. I then accepted leadership of the team to structure the different areas: main character/NPC production, pipeline, as well as working with the outsourcing team).
Looking at work you've done in the past, photorealism is something you've always taken a great deal of pride in. Are there any "secrets" you'd care to share on achieving that?
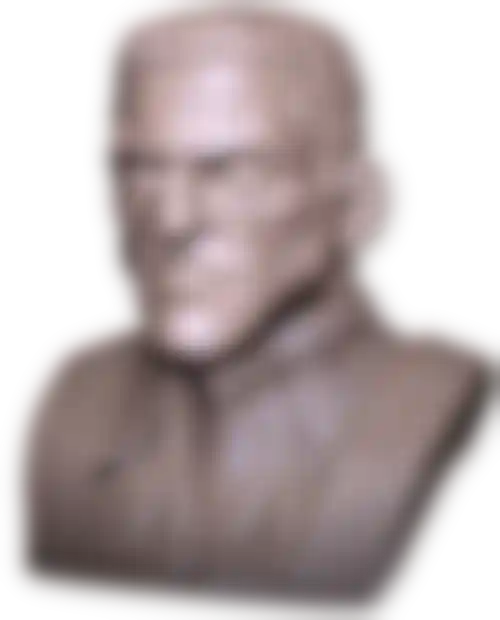
Yeah, I’ve always been fascinated by reproducing humans in CG in the most realistic way possible. What has now become rather common since the arrival of ZBrush and advanced rendering using subdivision surfaces was considered like a Holy Grail a few years ago. But even now I still love to make simple but accurate and elegant, realistic faces.
I was asked to spend a month on human faces for a tennis game. What sounded like it would be pretty boring at first was revealed to be another bit of good fortune! Sculpting faces en masse forces you to improve and analyze more.
What’s most important is to take time to analyze the base volumes. Get the shape right and understand the relationship between bones, muscles and flesh. I spend most of my time in this phase. Adding details is then much easier and faster. I always use the same skin pore alpha made by Rick Baker (monstermaker). I like to use the Spray stroke with very subtle intensity and different radius settings to add imperfection on the skin and simulate irregularities. I finish my model by randomly adding moles, marks and small scars.
Could you introduce us to your team? (Names, backgrounds, etc.)
Sure, the size of the team changed during the production to five people (including myself):
Arman Akopian, who was a colleague at Ubisoft and is now specializing in concept art.
Laura Gallagher, a talented artist fresh from school who rapidly evolved to work on a lot of the main characters and complex mechanical elements.
Tony Yang, who collaborated with Arman in the past, worked on some main characters and NPCs.
Steven Shmuely, who worked at Ubisoft on games like Prince of Persia. He’s now a character modeler on Thief.
What were your artistic goals for this project?
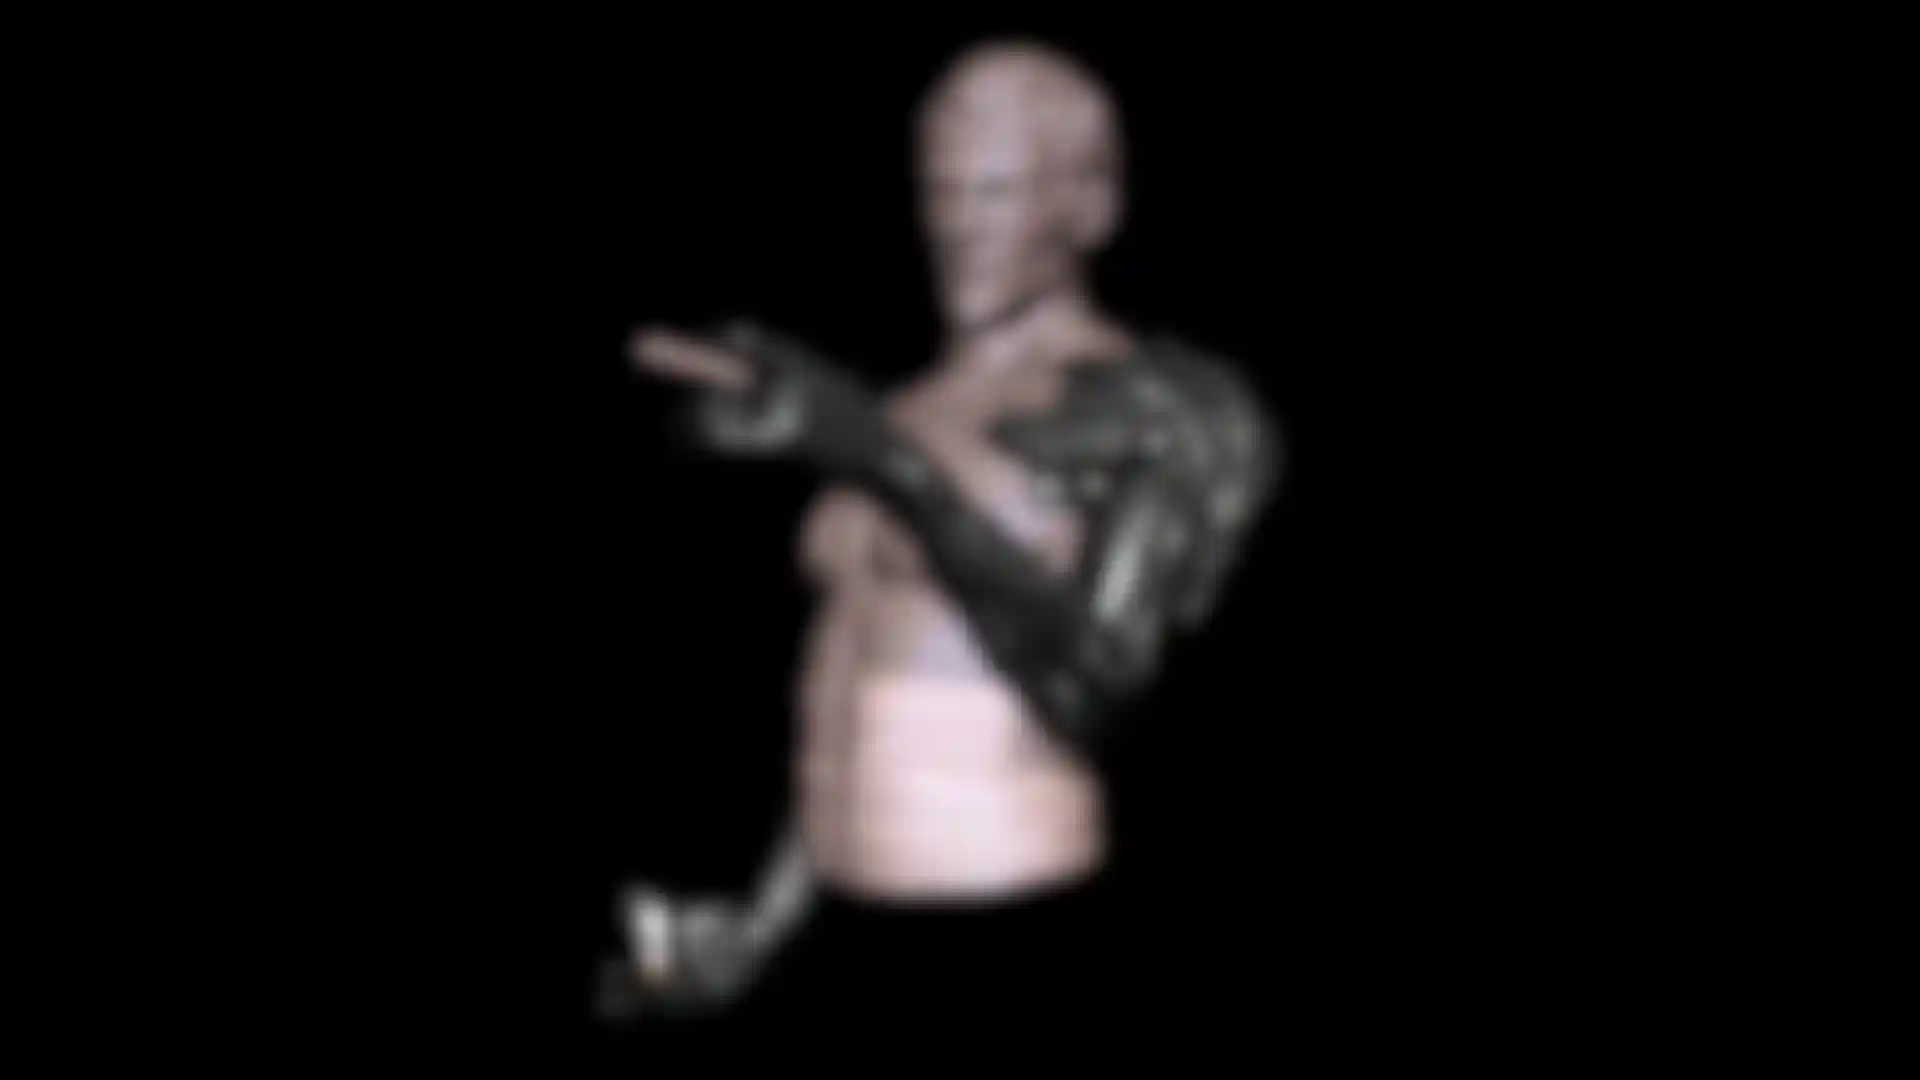
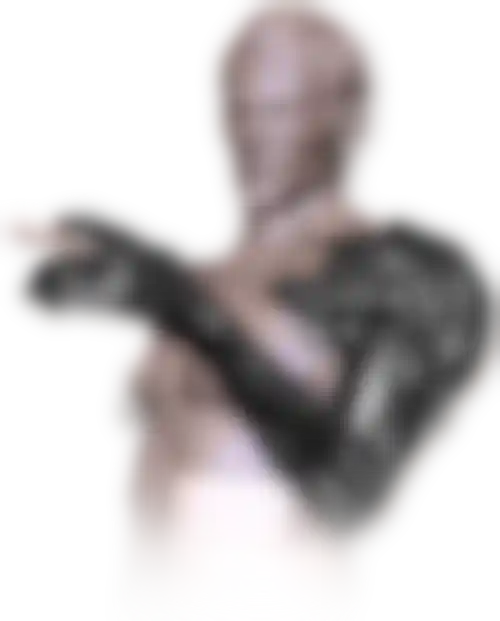
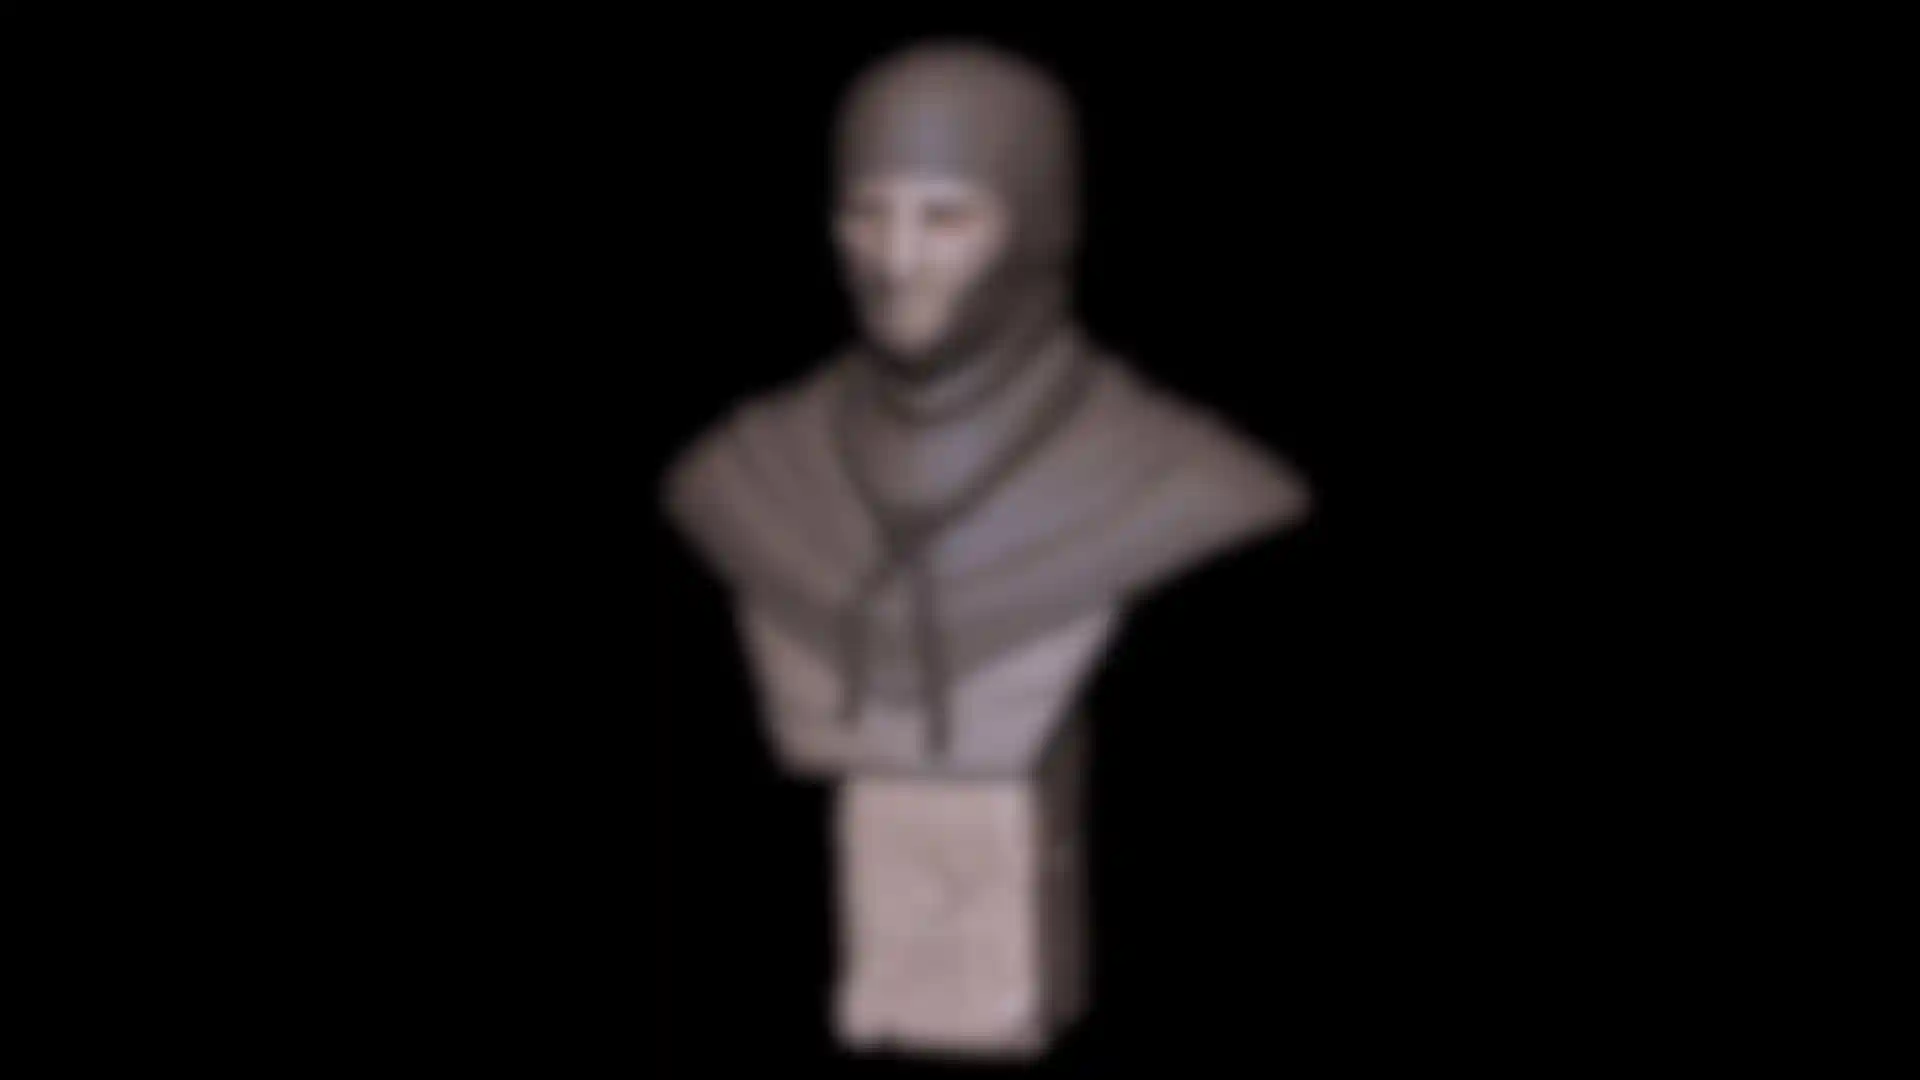
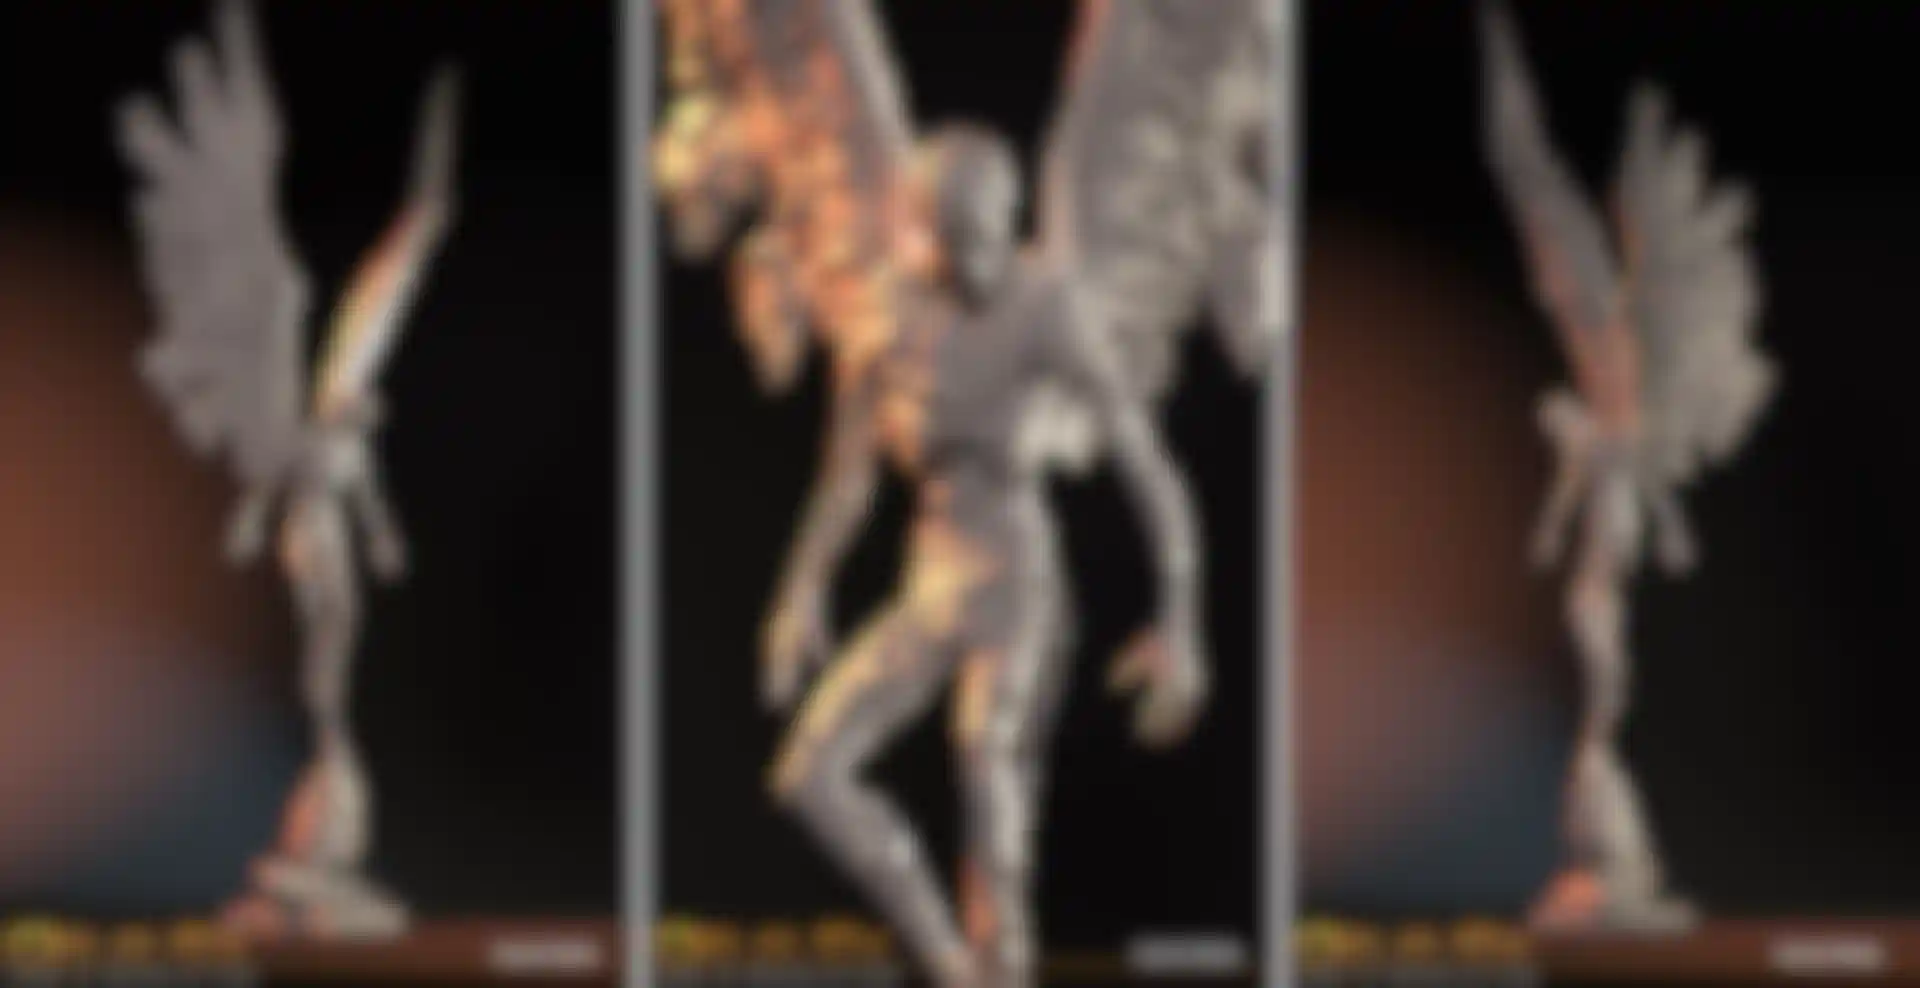
There were two major targets for this project. The first was to respect as closely as possible the art direction from the franchise’s history. We had very accurate concept art I wanted to respect, as well as the visual of the released game. We decided not to go in a photorealistic direction, but more stylized. At the beginning we went for something very stylized, getting close to cartoon-like but it didn’t work well in 3D. Especially in real-time! So we had to turn it down a bit. It’s somewhat similar to Burne Hogarth drawings in that it’s accurate anatomically but some edges of the facial structure are accentuated and sharper.
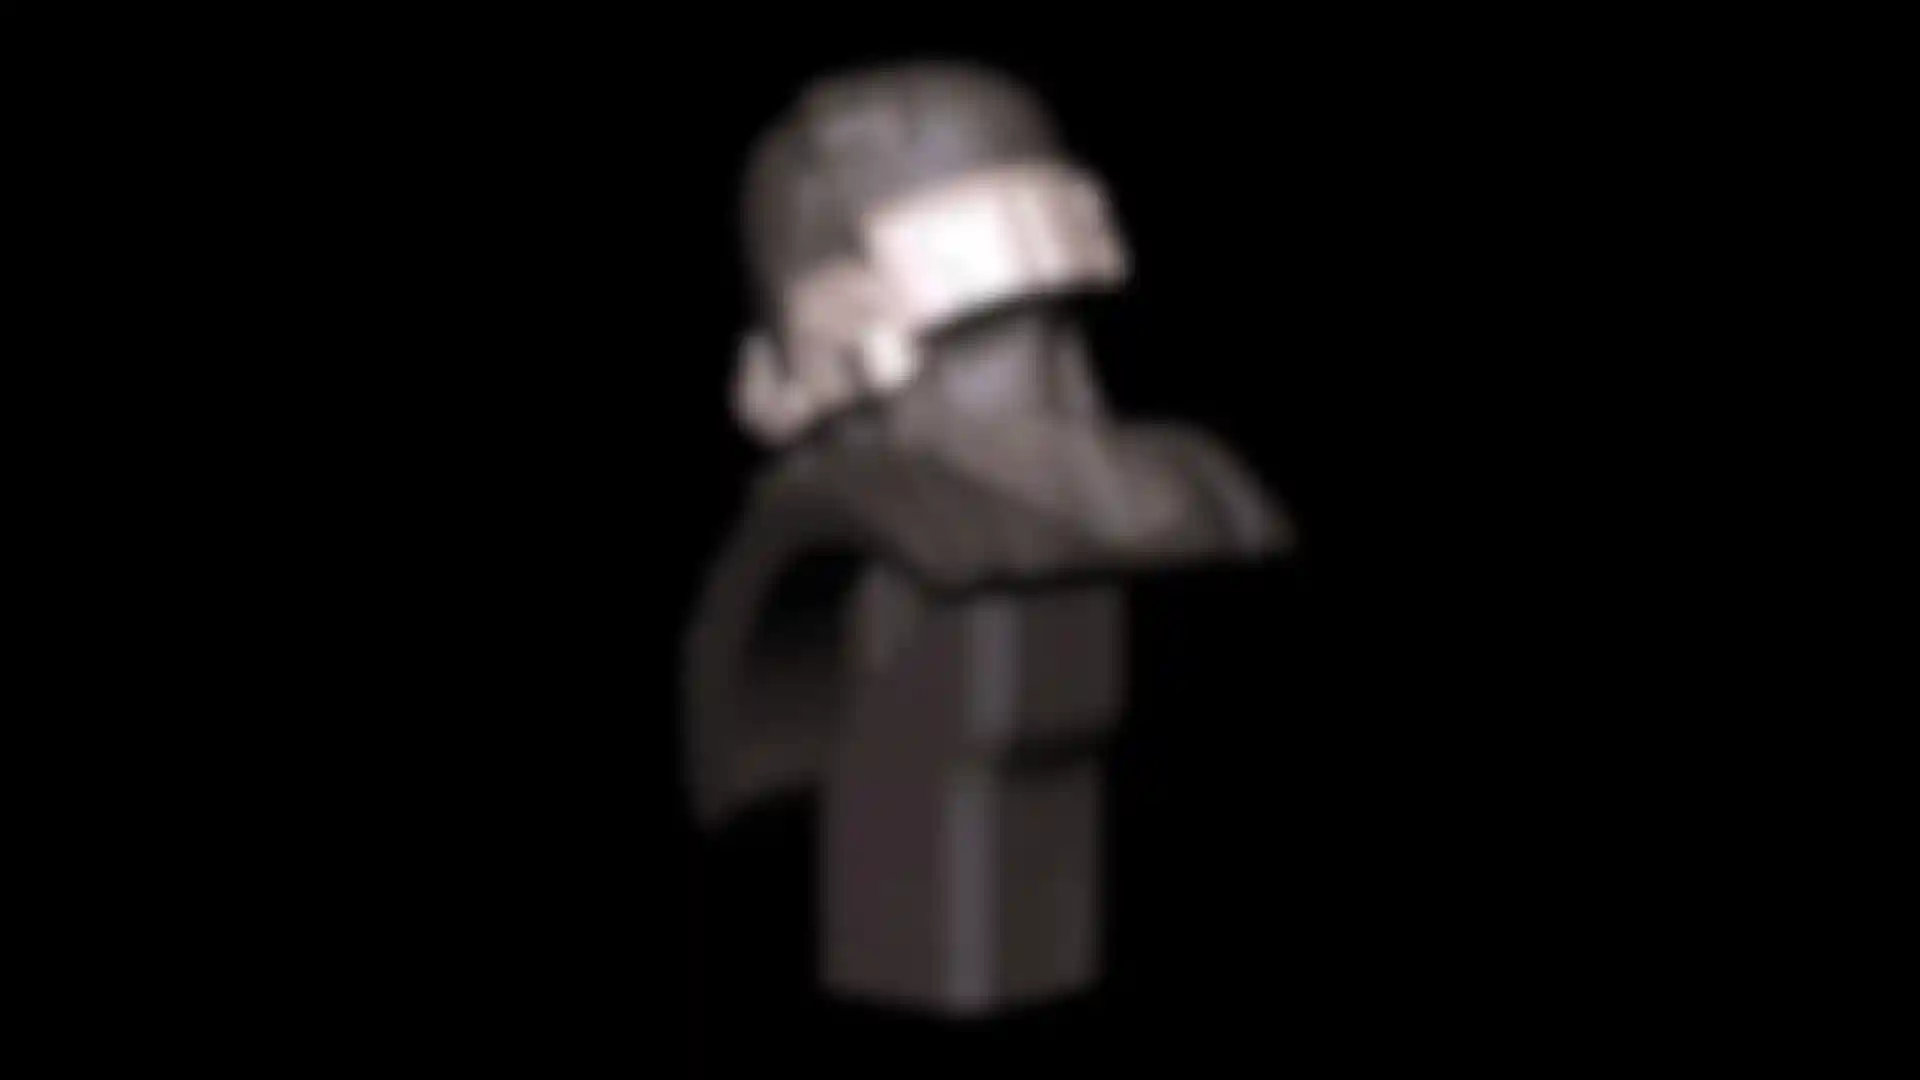
The second goal was technical. We had very hard technical constraints. We have quite expansive city streets where we can talk to any character. So we had to be able to display a lot of characters, which meant they should be optimised to the maximum amount possible.
You've said that you had two production pipelines. Could you elaborate on this?
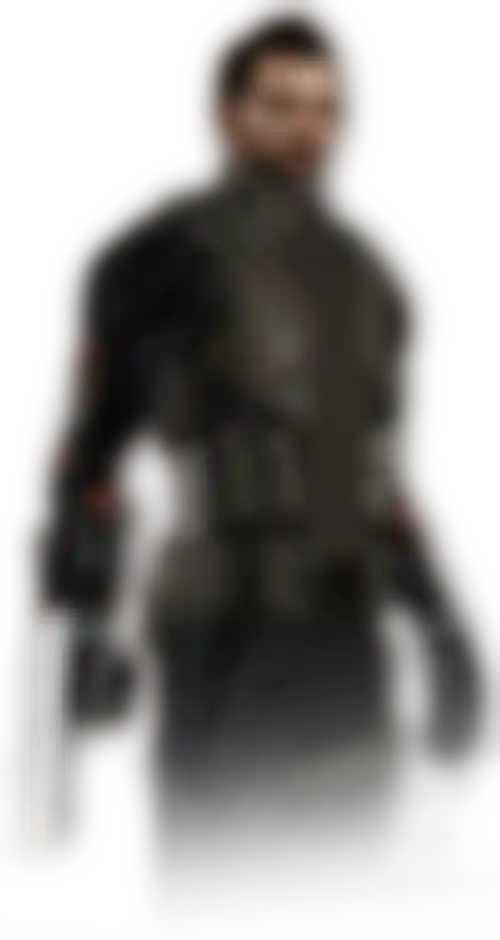
We had two major types of characters: main characters (dialogue/story characters, bosses) and general NPC’s (non-player characters).
Main characters are rarely seen together in the game and usually in closed environments. This allowed us more freedom in terms of memory. They can be much more complex and unique.
For the NPC’s, you are able to see many characters plus enemies of different classes, all in big environments with long distance display. That meant very high memory restrictions to get everything in the scene.
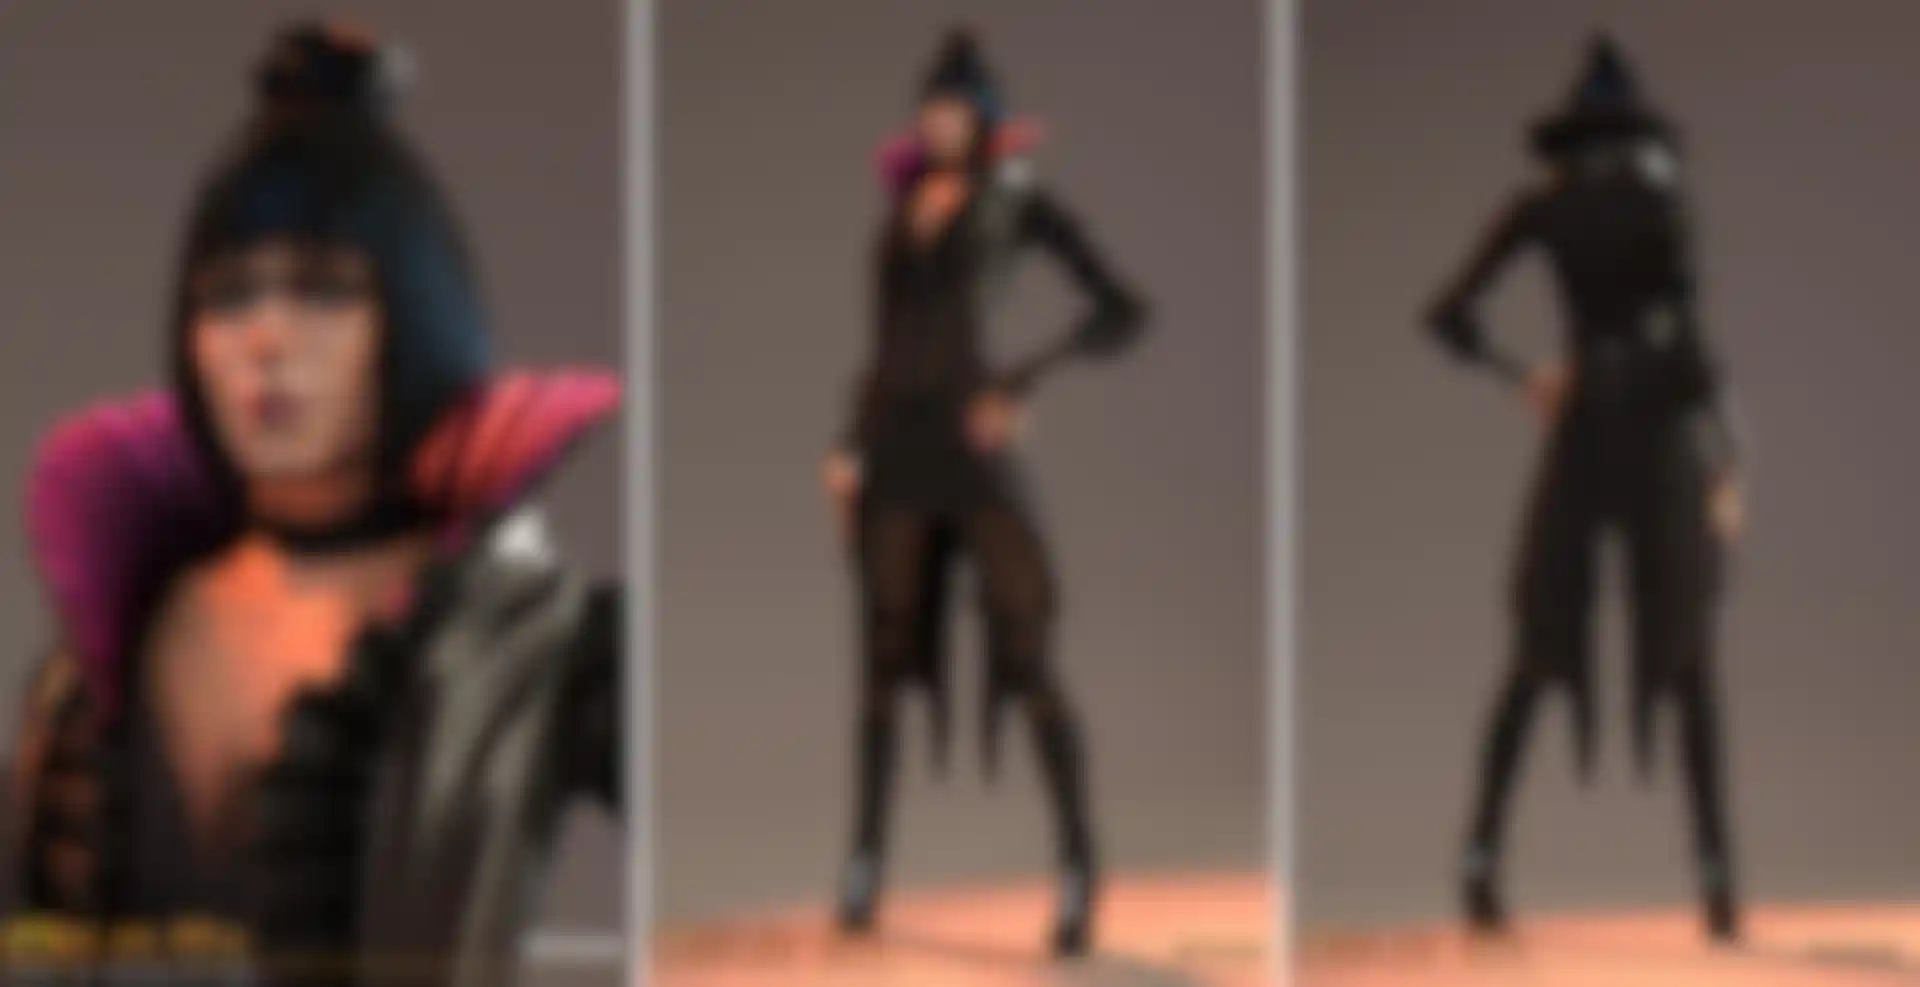
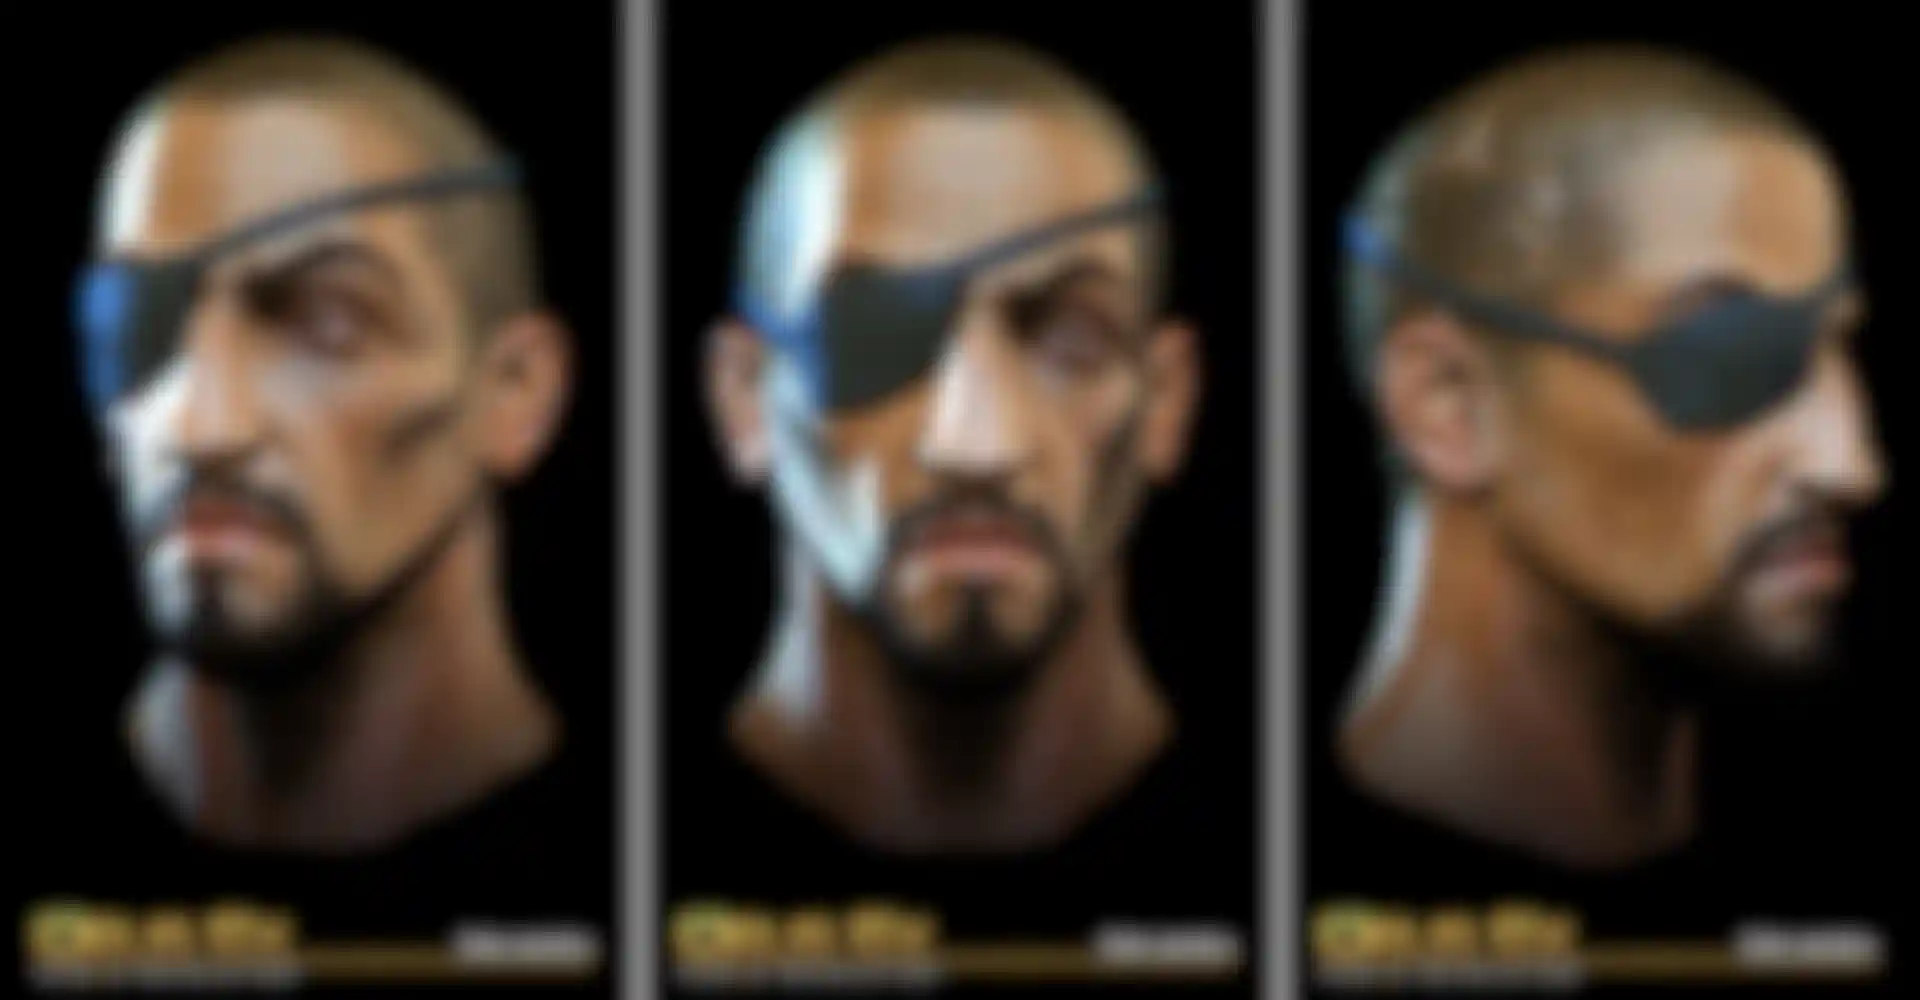
In order to be efficient, we decided to make multiple faces reusing the same base textures (diffuse/normal). Variations were made in the shape, the hair and in the shader. This allowed skin tone variations, decal variations (like the possibility to add scars) and different types of eyebrows including adjustments in their position.
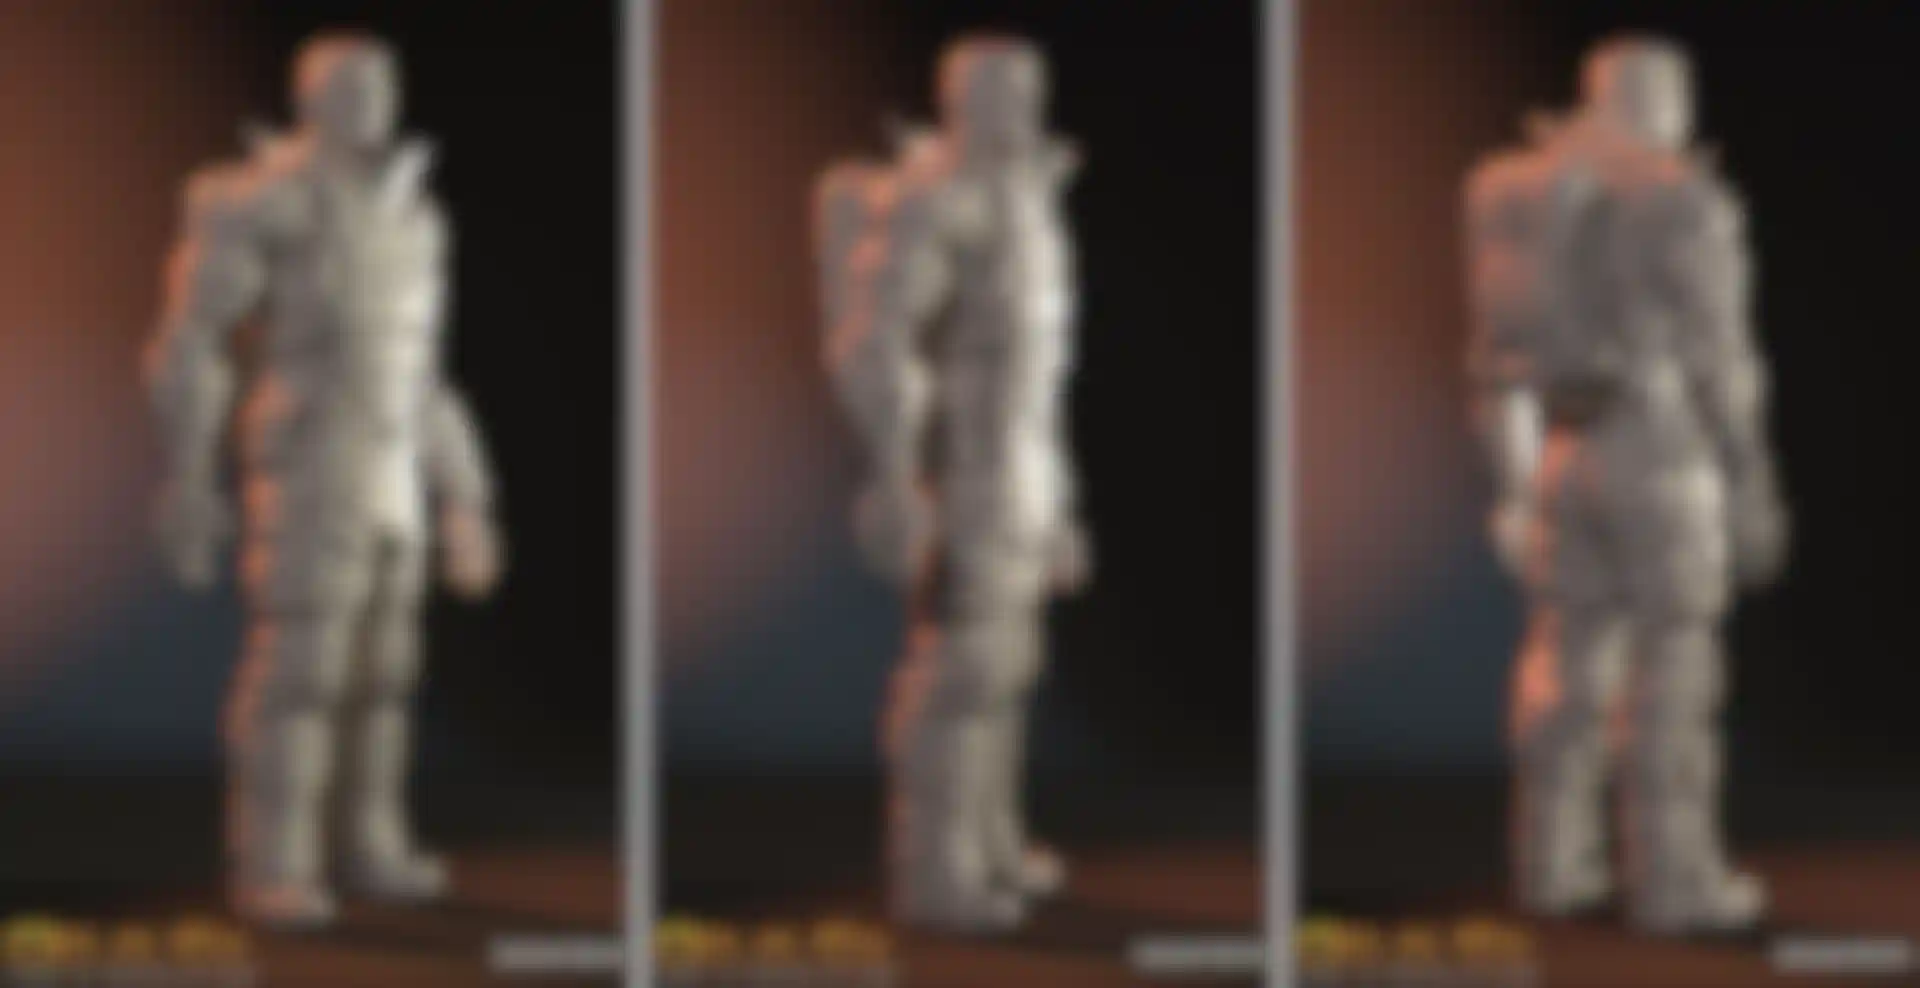
For the body, outfits were made of kits. With only one 512 normal map, you must be able to produce a huge diversity of outfits. This texture contained a base model -- let’s say a jacket -- and a small collection of pouches, straps, collars, etc. So when you make a model, you can add different pouches, change the length of the sleeves etc.
In addition, we have very powerful shaders. We use tiny textures that tile to add fabric patterns and normal map details.
This technique has a few disadvantages. It’s a bit tricky to handle. Faces look more generic; you have less freedom than when you make a custom unique head. And for the clothing, since we often cut and combine normal map parts, it makes sharp edges around those details.
But despite that, the advantages are huge. It’s extremely memory efficient. It also allows almost infinite diversity and once you’ve made the base normal map kit it’s much faster to produce new outfits. Also the use of detail maps allows having micro details on characters when you see them from close up.
What are your techniques for detailing characters in ZBrush?
For clothing I use a lot of masking. It’s really great to have masking symmetry in ZBrush 4, making it very efficient to create layering. Combined with Projection Master in double sided mode with the normalized option active, you can quickly make complex and deep details for the soles of shoes. The Slash 2 brush is also very handy to quickly simulate overlapping straps. If you use it at a lower subdivision with smoothing it can also be use to create folds. I also have a bank of 3D shapes I use as SubTools or as stamps in Projection Master: straps, belt clips, geometric shapes, pills, arches, etc. For faces I mostly add details in Projection Master using the Spray Stroke, or custom Alphas.
For hair, a nice technique I found is to use the Deco brush in PM. Turn off RGB and the texture, enable Zadd and choose Alpha 1 (the blurry sphere). You can paint very sharp and clean hairs. It does miracles for eyebrows or refining a beard and the hairstyle. With a bigger radius, it helps to add more subtle depth to a haircut.
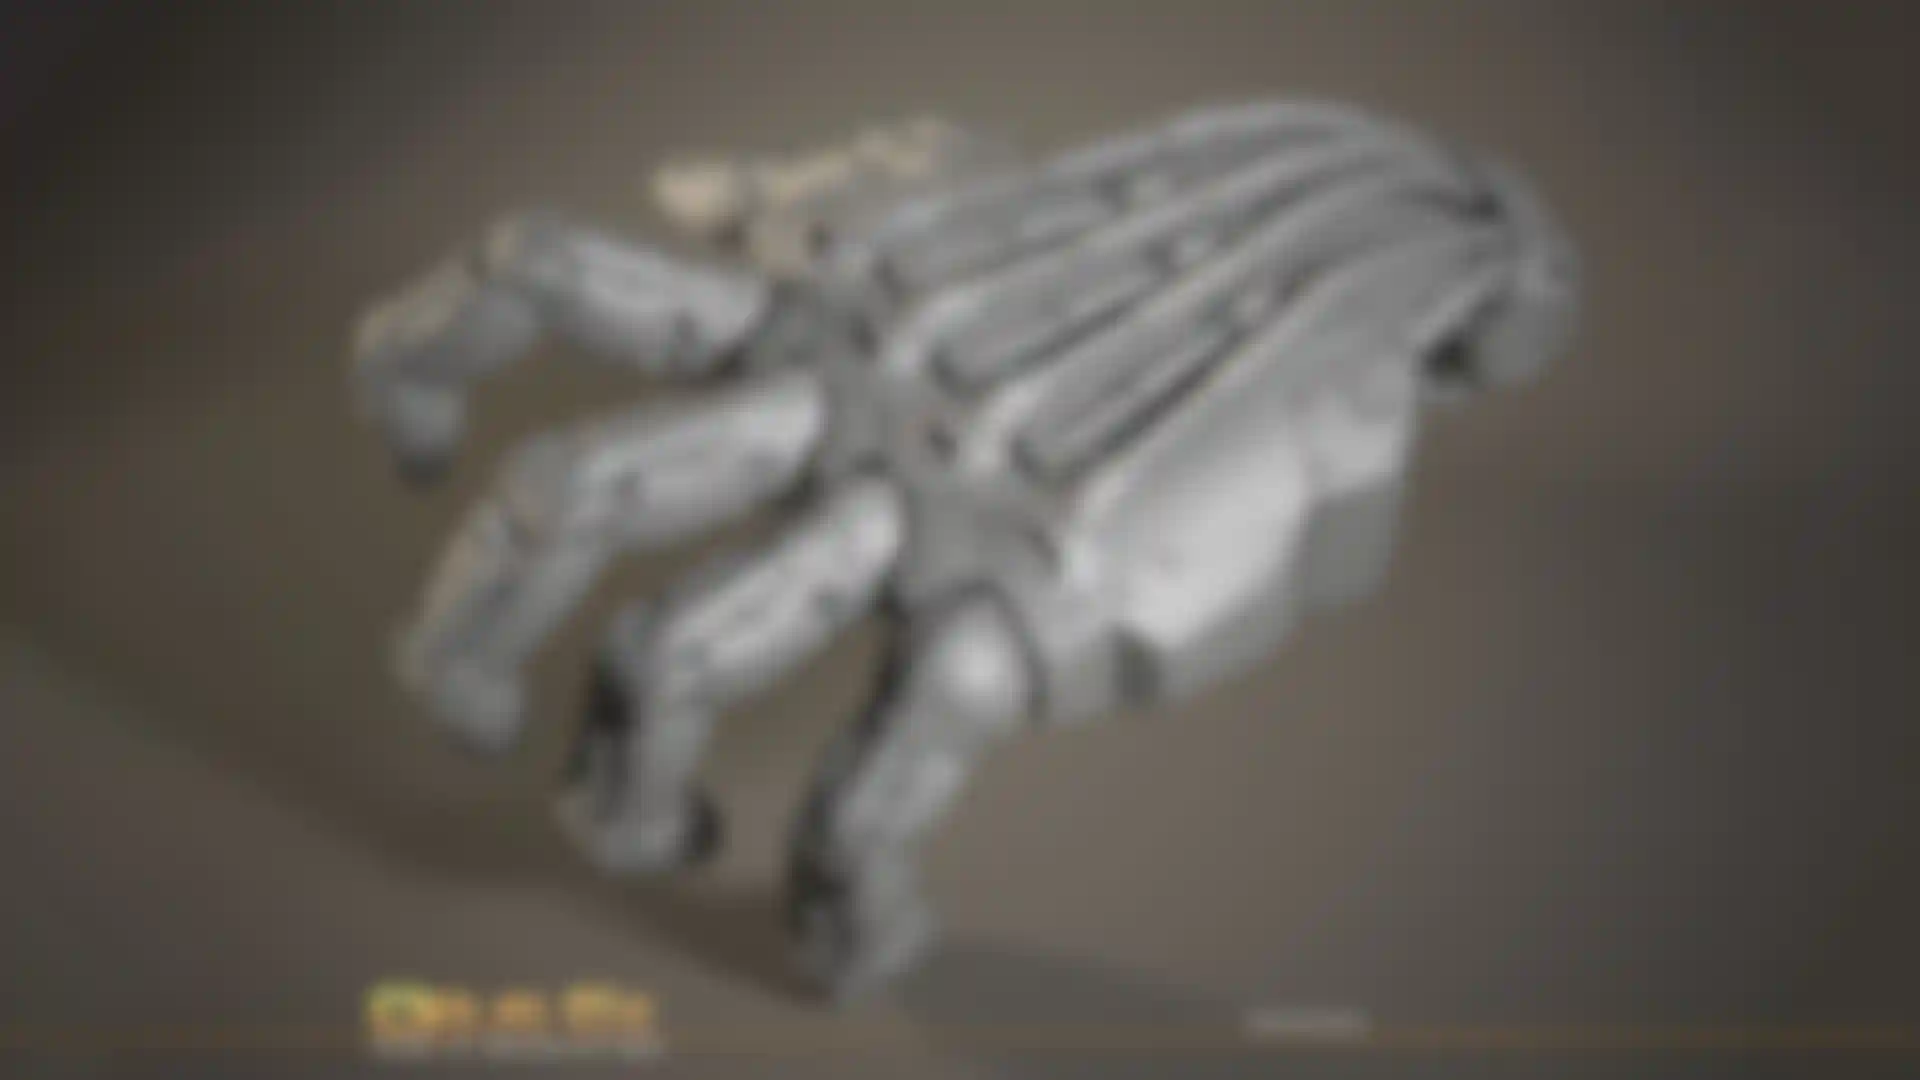
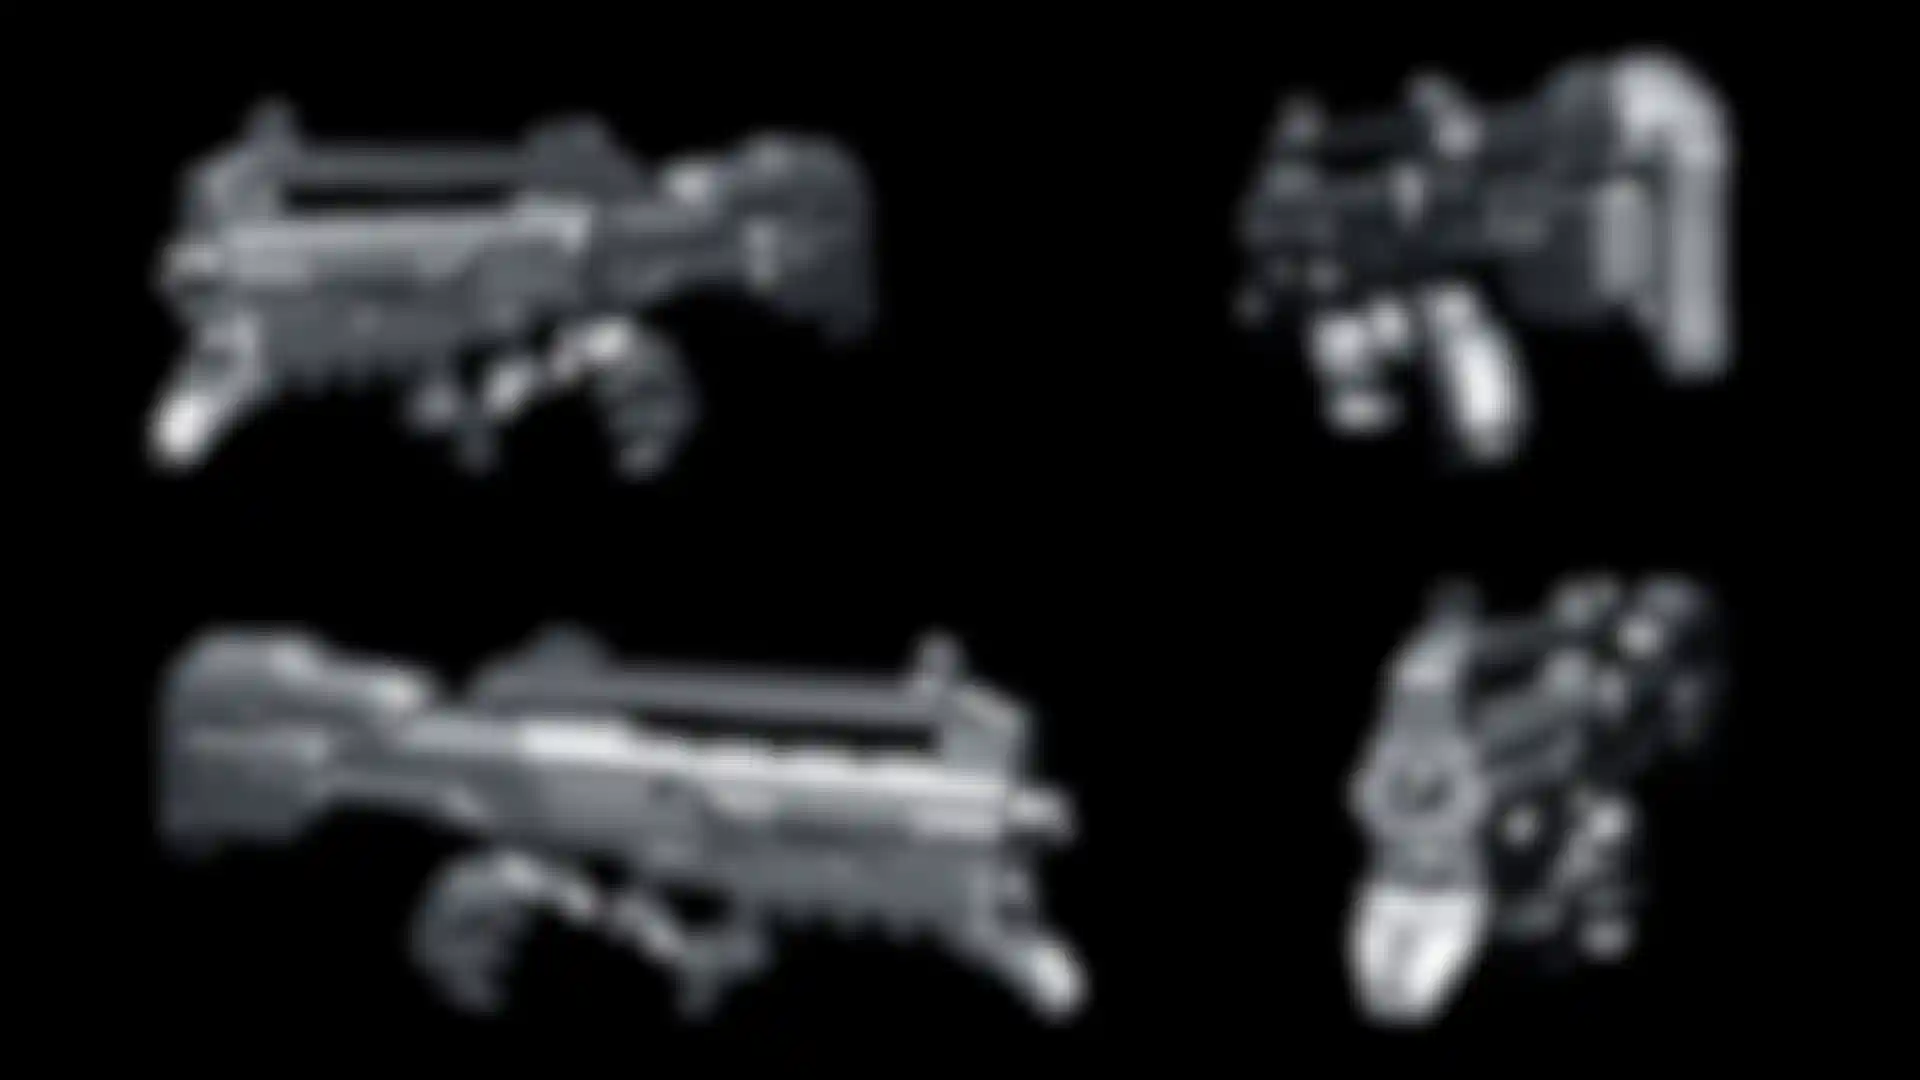
How did you do your hard surface sculpting? Any special techniques or brushes that you used?
I used mostly masking in 3D. I’d either paint the mask by hand or drag a custom alpha. I then use a brush with large size or TransPose to move portions of the model, leaving the geometric shaped carved in.
Everything else is done in PM. I enable Double Sided and Normalized with the Single Layer brush to draw assembly lines that will slice the whole model with a constant depth. One thing I love in this mode is that after you’ve drawn a stroke you can move it, scale it or adjust its depth. Another cool technique is to use ZSpheres. This way you can quickly paint tubing and interesting wires.
What were the advantages of using PolyPaint for texturing?
The major advantage of PolyPaint is to be able able to texture without thinking about the UV’s. You can also convert a texture into PolyPaint, change your model’s UV mapping and then transfer the texture back.
We used PolyPaint heavily to project our concept art directly on the model’s face to quickly get a good base, adjust the shape or as feedback to the concept artist. You advance quickly this way.
MatCap - since it can't be exported from ZBrush - isn't something many people think of for a production pipeline. How did you use it and what advantage did it give you?
The primary use of MatCaps is of course for rendering. That sounds obvious, but when it comes to validation time you would be surprised how a good render can make a difference.
Being able to render advanced shaders simulating flesh or more complex materials like reflecting metal, bronze etc. in real-time and also with real-time shadows is a big plus.

In terms of pipeline, it’s really great to be able to use cavity as masking. You can either sculpt this way or convert it to a texture (such as a specular map for wrinkles).
Also, even if it’s not 100% accurate you can bake MatCaps into a texture. I made a small tutorial a long time ago about this technique, using displacement maps, but you can also use ZAppLink for this. I actually use this technique a lot to quickly make textures.
We often also use the NormalMap shader to quickly make geometric elements like bolts and seam lines which we then integrate in Photoshop to our already existing texture.
How did you use TransPose and why?
TransPose is really a major addition to ZBrush. First, it’s great to adjust character proportions in real-time. This becomes essential when you want to validate characters’ proportions. Most times when you see a character in a “T” pose, something is wrong and you can’t put your finger on it. It’s often because this pose is the least natural possible. Putting a body in a more organic pose with asymmetry and bit of attitude makes a world of difference!
Even just a bust: Take a rigid symmetrical bust for the shoulder, turn the neck of your character and make him look from an angle and it will instantly bring him to life.
How long have you been using ZBrush? What drew you to it and what advantages does it give you?
I’ve been using ZBrush for maybe 6-7 years now. It was the first sculpting program able to handle millions of polygons on regular PC. Today it’s still the most advanced of its kind and the 2.5D technology makes it unique. Sculpting is the most appropriate and intuitive way to create organic shapes – much better than moving vertices. Being able to create complex and detailed models in a short time makes ZBrush essential in video game production.
What is a typical day like for you and your team?
A typical day starts around 9:00 (or 8:00 if you want to leave early). When we arrive, it’s cafe time. We discuss recent news, what gadget we just bought, what film we’ve seen or game we’ve played.
Around 11:30, it’s time to work. I’m kidding! Tasks are assigned regularly. As soon as one character is finished, the artist should know his or her next tasks. We usually have concepts and we spend the day sculpting texturing our characters.
We have some free time to play the game and enjoy the facilities. We have a vast cafeteria with punching bag, pool, hockey table and TV with consoles. Our office is comprised of open space desks. This makes communication with other departments easier. We are located in the center of the city, so it’s very nice to have lunch outside or do a bit of shopping before heading home.
There are a number of studios in Montreal. How long have you been there now? What's it like living and working there?
It’s been more than 5 years now. I still love Montreal. It’s a very relaxing city. People are easygoing and there’s great night life, good food, markets etc. There really are a lot of activities to do, even during the long winters.
It’s great to have a lot of studios here. There’s less pressure on people to leave or lose their job. It somehow helps to build a videogame/artistic culture here, which benefits everyone -- both employees and companies.
How would you describe the Eidos-Montreal "corporate culture"?
From the beginning the aim of the studio was to grow, but to keep it a human size and to try to maintain a certain “family spirit”. Of course we are here to work and the aim is to make high quality games that sell well, but we stay small enough to know most people and be able to organise activities like soccer, etc.
At each studio meeting, Stephane D’astous (our GM) takes the time to introduce any new employees. It’s nice, even if it takes a while when people are impatient to get the traditional Friday beer!
Is there anything else you'd like to share or say while you have our attention?
First thing is I have been amazed by how Montreal turned into a capital of the video game industry, almost form nothing. It’s great and I hope this will develop even more. I would be really happy to see a European country invest as much in this major industry.
Second thing is I’ve been using ZBrush for a while now and I could see how it revolutionized the video game and the graphic industry in general, thanks to its innovative creators. It has been great to follow those big changes. I hope you guys will keep the energy to invent even more of the crazy cool features that make ZBrush so unique and inspire us so much.
Thanks a lot!