John Carter Learn how Kevin Hudson and his team at Double Negative used ZBrush to breathe life into the world of Barsoom.
Once the concepts were handed off, it was up to Kevin Hudson and his team at Double Negative to rebuild them as something that could actually be animated and rendered. This was far more than simply reworking the polygons in the concept models with a few new edge loops. In fact, Double Negative invented entirely new ways of creating displacement maps to simulate the interaction of muscles, veins and skin.
In our interview with Kevin we learn how ZBrush played an integral role to breathe life into the world of Barsoom!
How did you come to be involved with the John Carter project? What was your role in the production?
I was recruited by Double Negative Visual Effects in London from Los Angeles to head up the modeling effort on this major Character piece. To date, it was the largest project they'd tackled. While in California, I first tried out ZBrush while working on Ghost Rider. I expanded its use to build the sixteen Zombie creatures for I Am Legend. I then used it to sculpt Dr. Manhattan for Watchman. But with over forty characters, John Carter was going to be the largest scale ZBrush character project that I'd ever attempted. It was also going to be Andrew Stanton's first foray into live action filmmaking, which meant we had to do an outstanding job.
My main role was taking the concept sculpts that came from Legacy Effects and expand upon them to create the production models and their corresponding displacement maps.

How large was the team? How did their strengths and skills come into play?
We had a Character Modeling team of about thirteen people. Some had a lot of background in character creation, while some had only worked in ZBrush a little bit and had to be brought up to speed. We had a couple of amazing character sculptors that brought their backgrounds to the project. Others brought a strong knowledge of anatomy that proved useful as we moved further into the project and began redesigning a lot of the anatomy of the characters. A solid knowledge of anatomy and a sculptor's eye are tantamount to success in this field. A couple artists had a good grasp of the character engineering aspects and helped in the ongoing development of the topology used in the characters.
What were your personal goals for John Carter? How did you set out to challenge yourself?
My biggest goal was to take a group of people who hadn't worked that much in ZBrush, get them up to speed quickly. Then to create more characters than I'd ever attempted in a relatively compressed period of time. All for clients that hadn't ever done a live action film and an effects company that hadn't done this large a quantity of characters and therefore had a largely undeveloped character pipeline at that time.
How many characters were created? How did that challenge you?
We did four primary speaking characters, nine outrageous creatures, as well as a large number of secondary characters and variations.
The biggest challenge was the scope. There were so many characters to do that we needed to hit the ground running and get right into it. Luckily, I'd done a large number of zombie characters for I Am Legend, so I was used to taking a primary concept sculpt, extrapolating it out to large numbers of characters, and then maintaining them throughout a production. This was just going to prove to be larger and more challenging.
What was the overall pipeline for your work on this project?
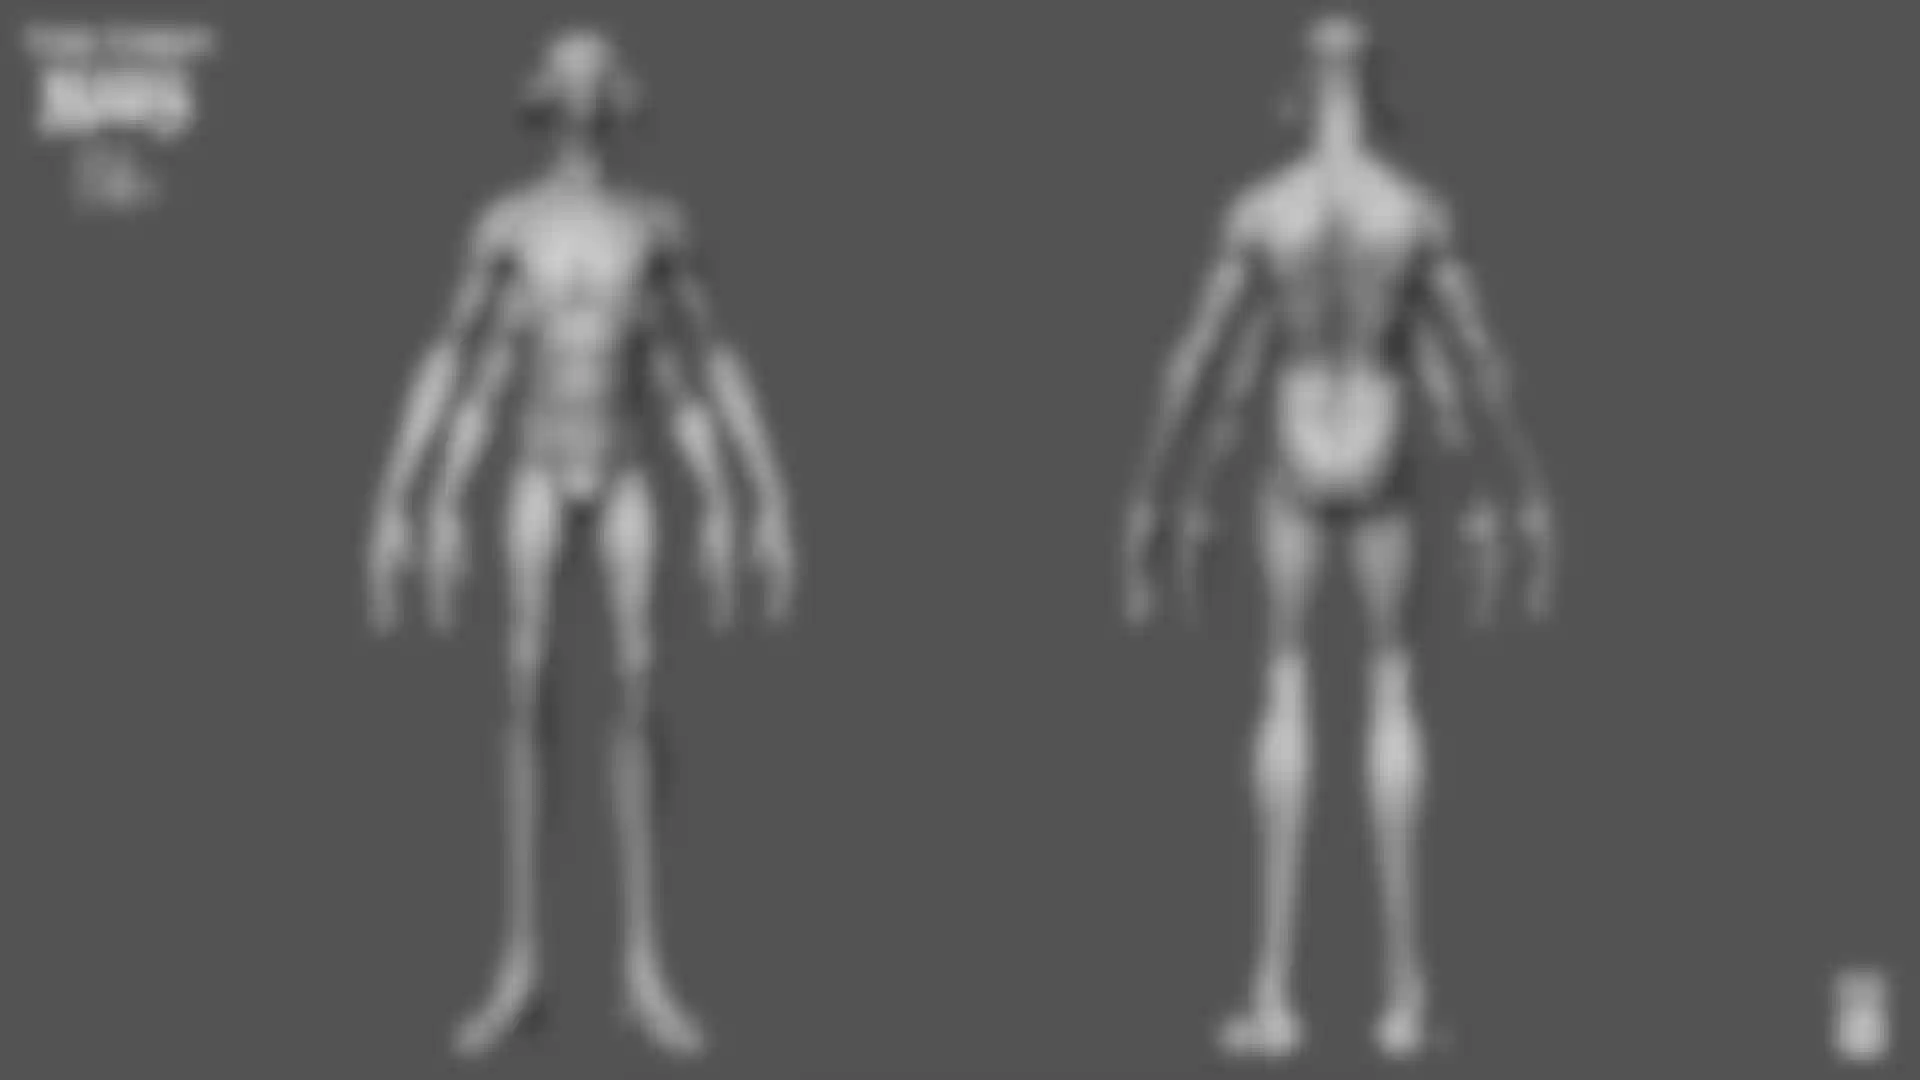
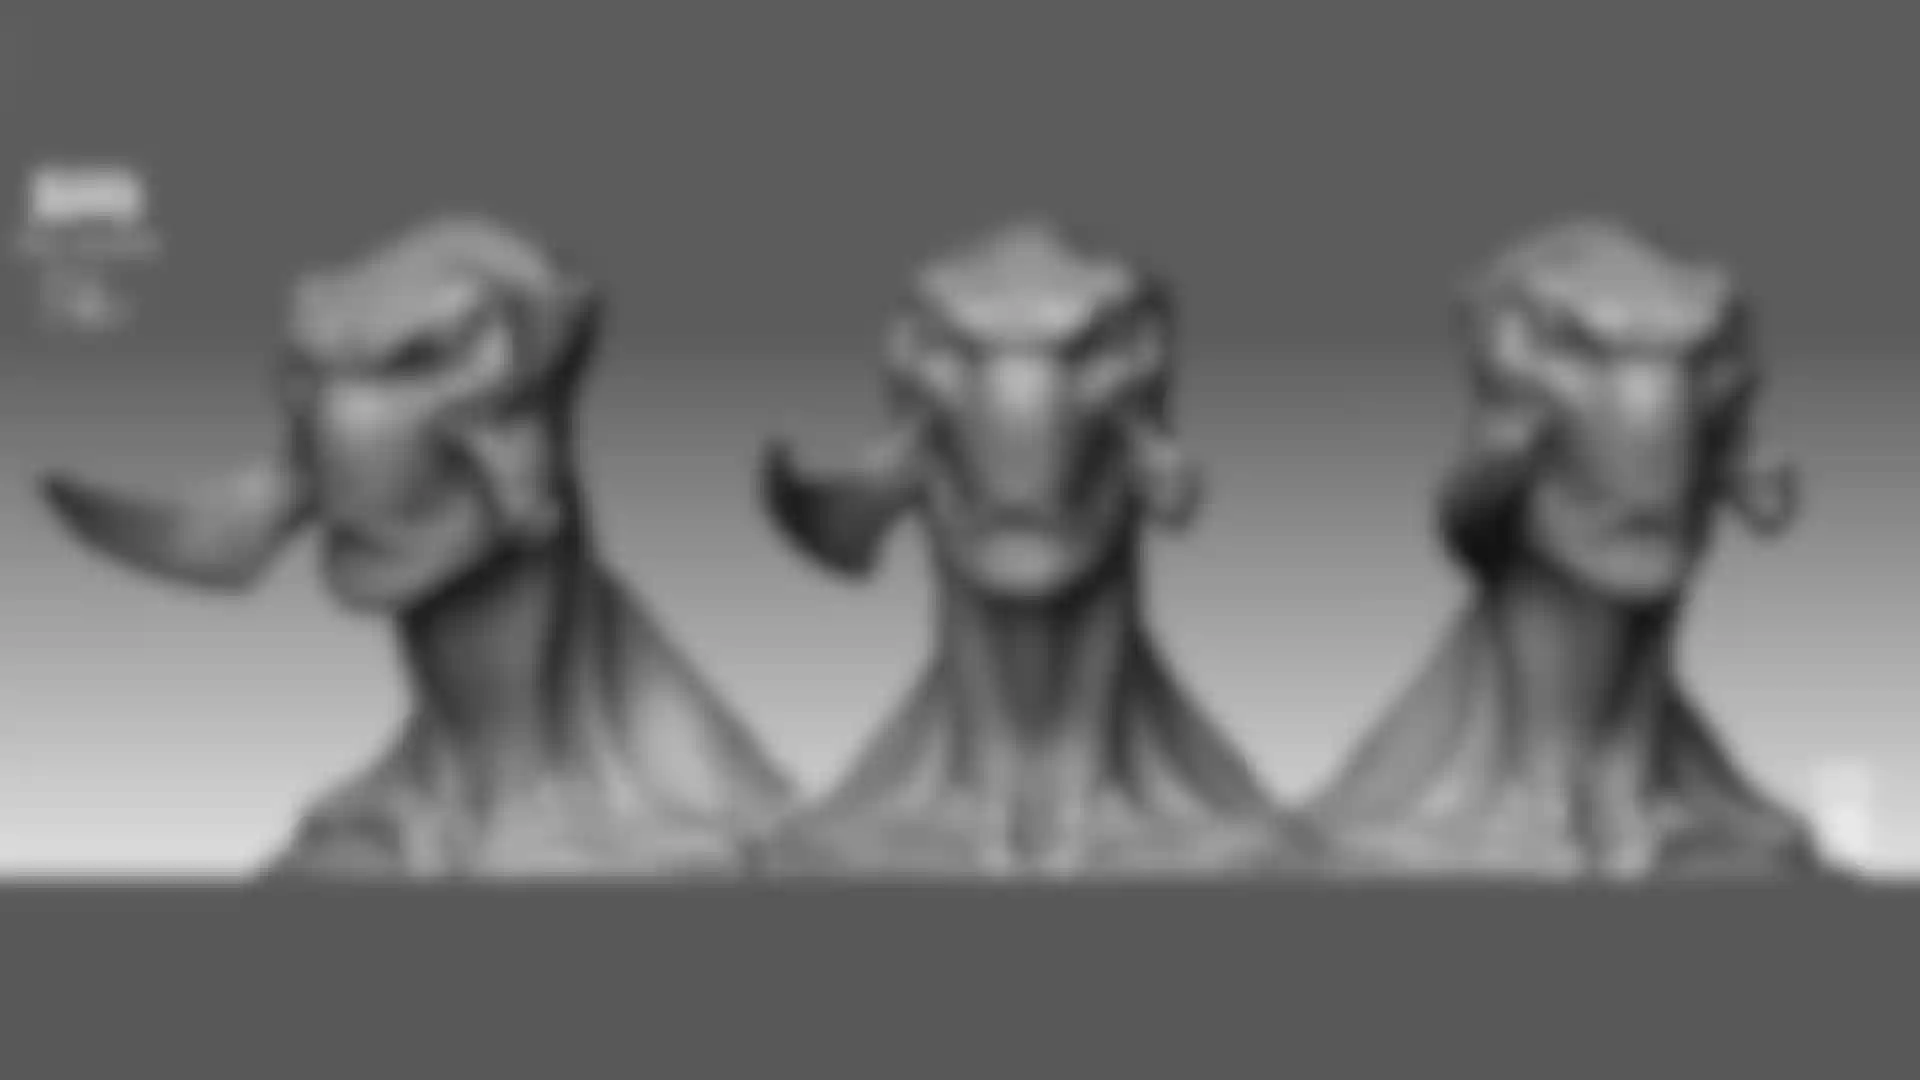
We received ZTools of character concept sculpts from Legacy Effects that had been developed with Andrew Stanton in California. We then took these and retopologized them in Maya using some basic Maya shrinkwrapping tools. I don't use anything tricky for my retopologizing, but use Maya's World Space Transfer Attributes tool to shrinkwrap my retopologized model onto the concept sculpt.
We then used ZBrush's Projection tools to extract as much data as possible from the initial concept sculpt. The model was then reposed into a more standard pose and we began resculpting with an eye for preserving as much of the concept sculpt's intentions as possible. Everyone would have a say at this point and often revisions to the anatomy to better serve rigging would be done.


Was ZBrush used for environments at all?
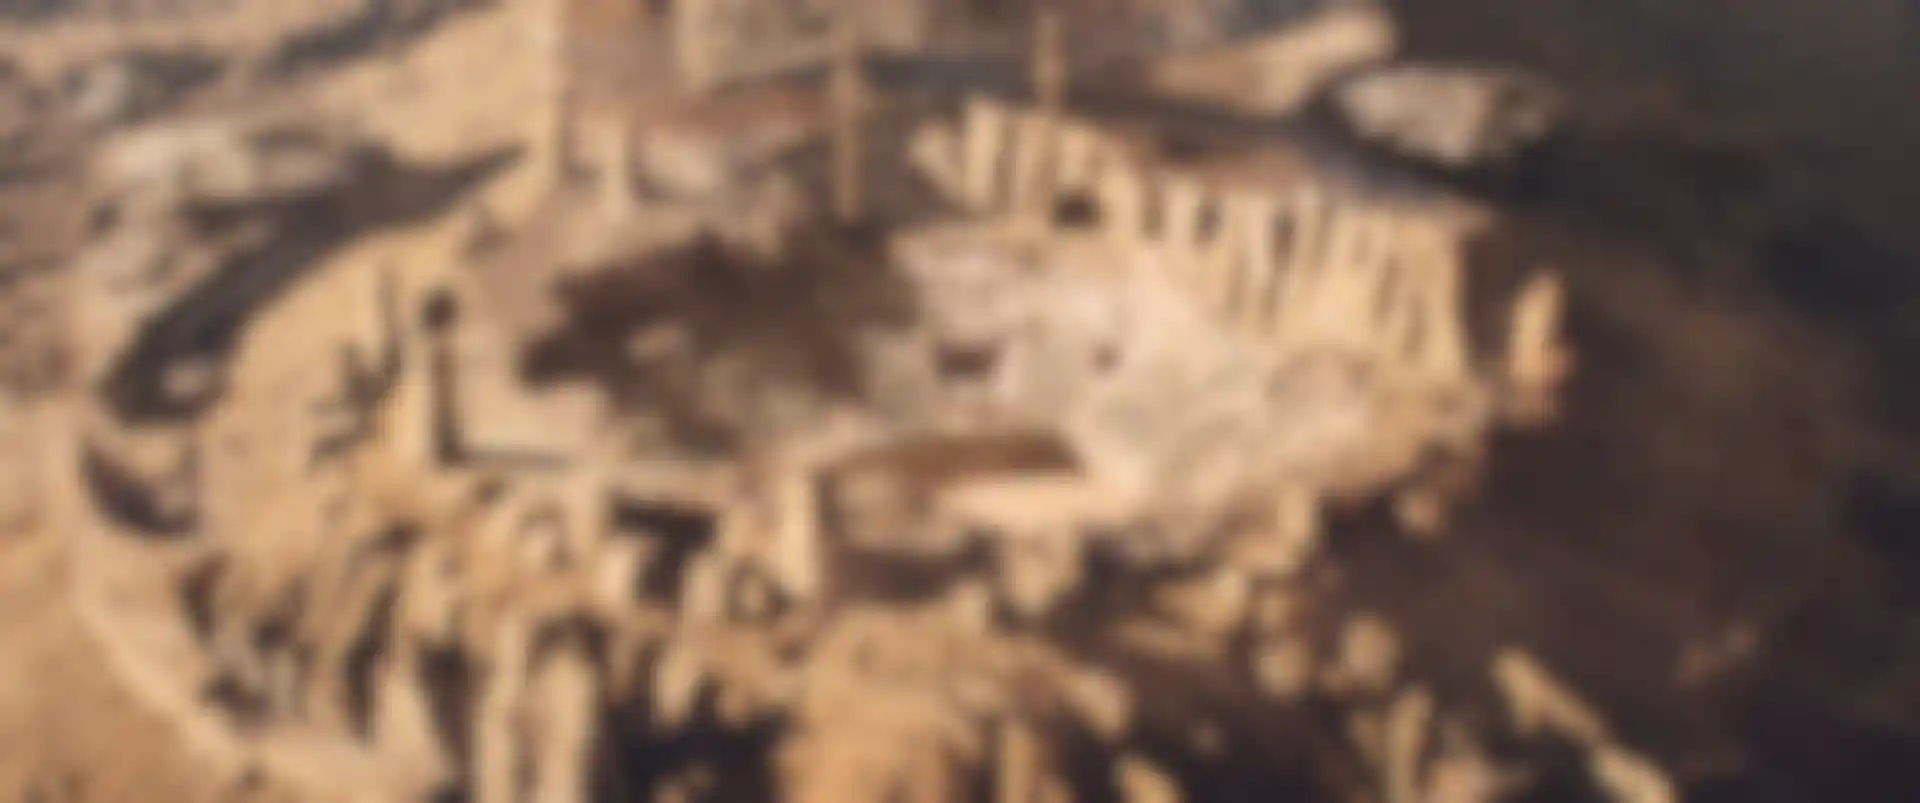
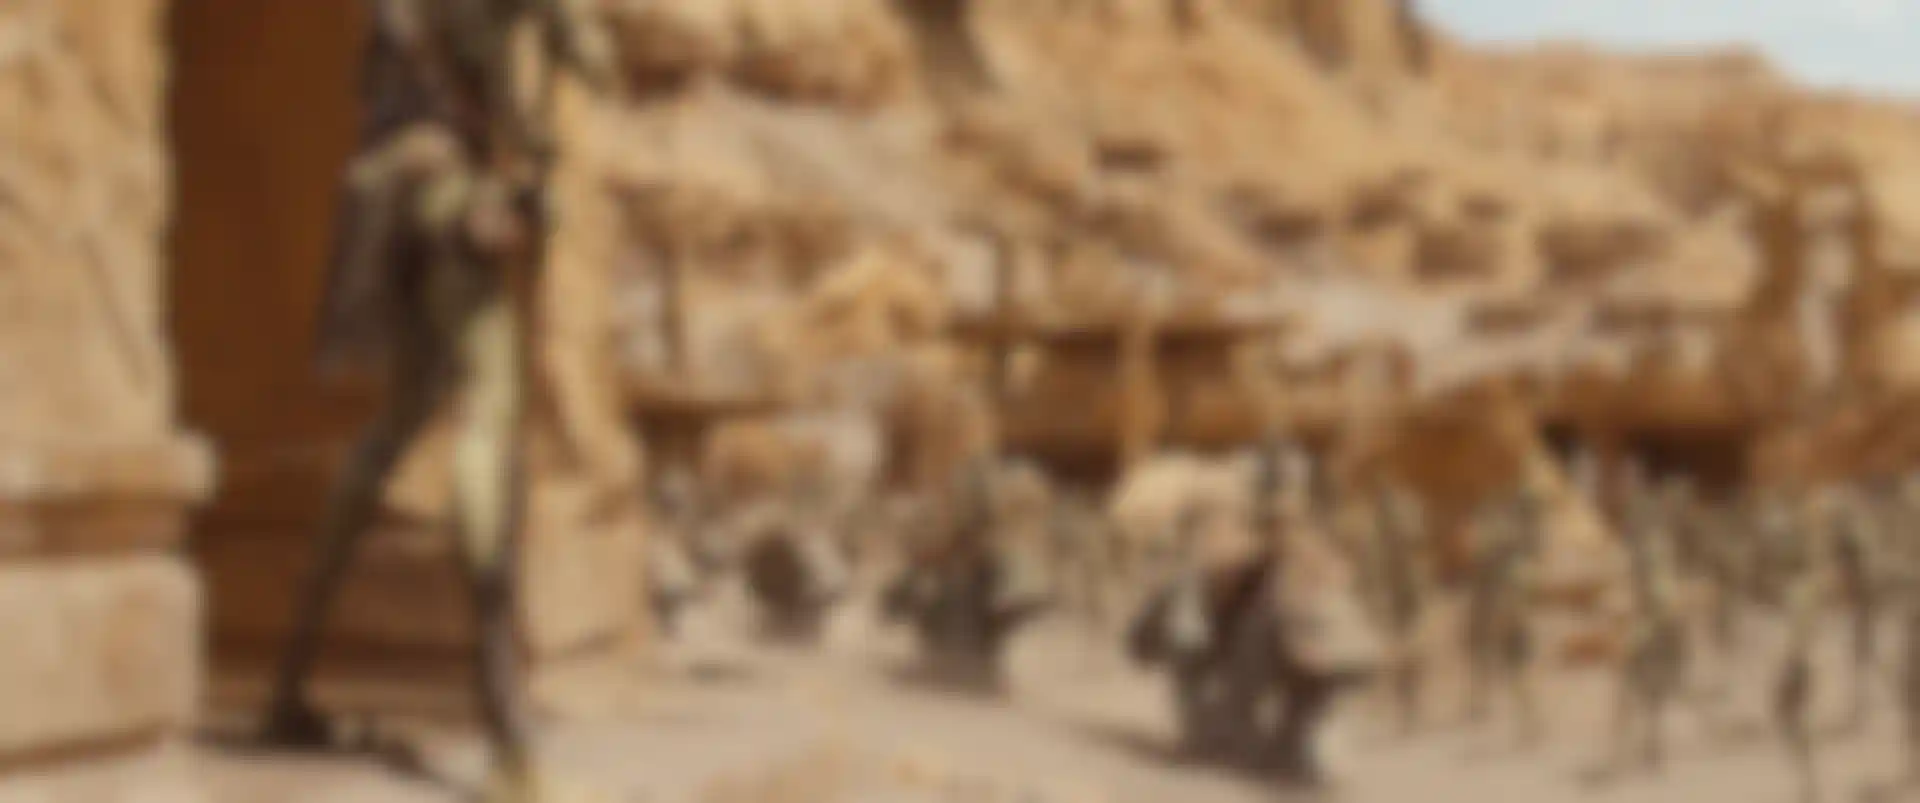
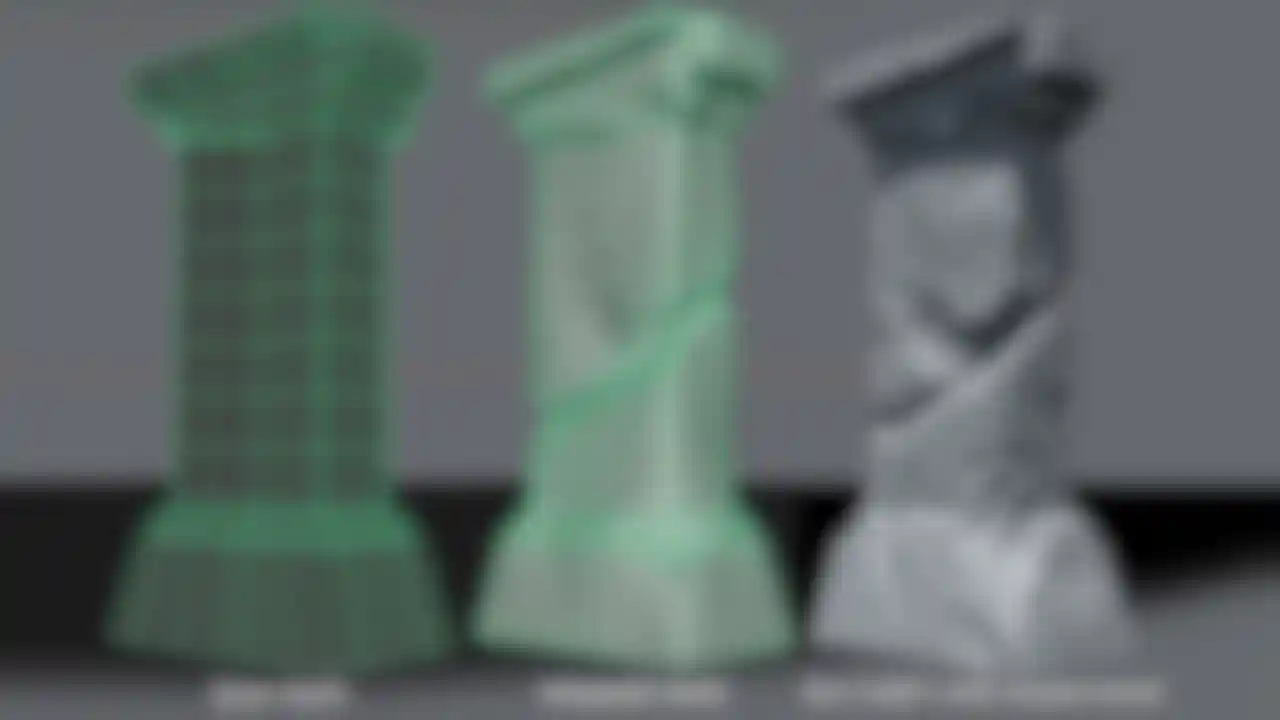
The Environment team - headed by Guy Williams - also used ZBrush to touch up all the environments to give the stone a weathered and chipped look. They built intact structures, then used the Clipping brush to chip and flatten sections in order to make them appear old and broken. These chunks were then retoplogized before more subtle weathering was done.
Did you read any of the Edgar Rice Burroughs books for inspiration or did you rely solely on the concept art?
I actually read the first book upon which the movie is based. When I was a kid, I was a huge E.R.B. fan and I spent one summer reading a lot of his Tarzan books. They were good fun pulp reading. I think the film owes a lot to some of the classic cover artwork used on the books, as the designs for the costumes are realizations of a lot of these covers.
We also made modifications to proportions based on animation tests using the basic model. All of this would lead us towards our final production models and sculpts.
ZBrush did a great job when reprojecting new topology onto our sculpts over the many generations of revisions throughout the show. I found that by taking the Blur setting down to 1 we preserved a lot of good detail. Andrew, who had spent a lot of time with Scott Patton at Legacy Effects, was very much in love with his characters and was always there to smack us if we varied too much from the original concept.
The costumes for the characters were modeled in Maya based on real-life costumes created by the production's Costume Designers. Surprisingly, the biggest challenge in the costumes was not the intricate leather pieces on the costumes, but rather the simple loincloth that the characters wore. It wasn't as clearly envisioned at the start of the production and was rebuilt numerous times over the course of the show. The "nappy" or "diaper-like" cloth was explored and reinvented numerous times.
You've mentioned maintaining the characters. What did that involve?
Sculpting the character and building the initial topology is always only the beginning. After that initial build, the changes begin. At time, it is easy to get disheartened when everyone down stream from modeling begins making requests for changes.
Many of the characters have multiple limbs and this increased the amount of sculpting and retopologizing each time a change was requested.
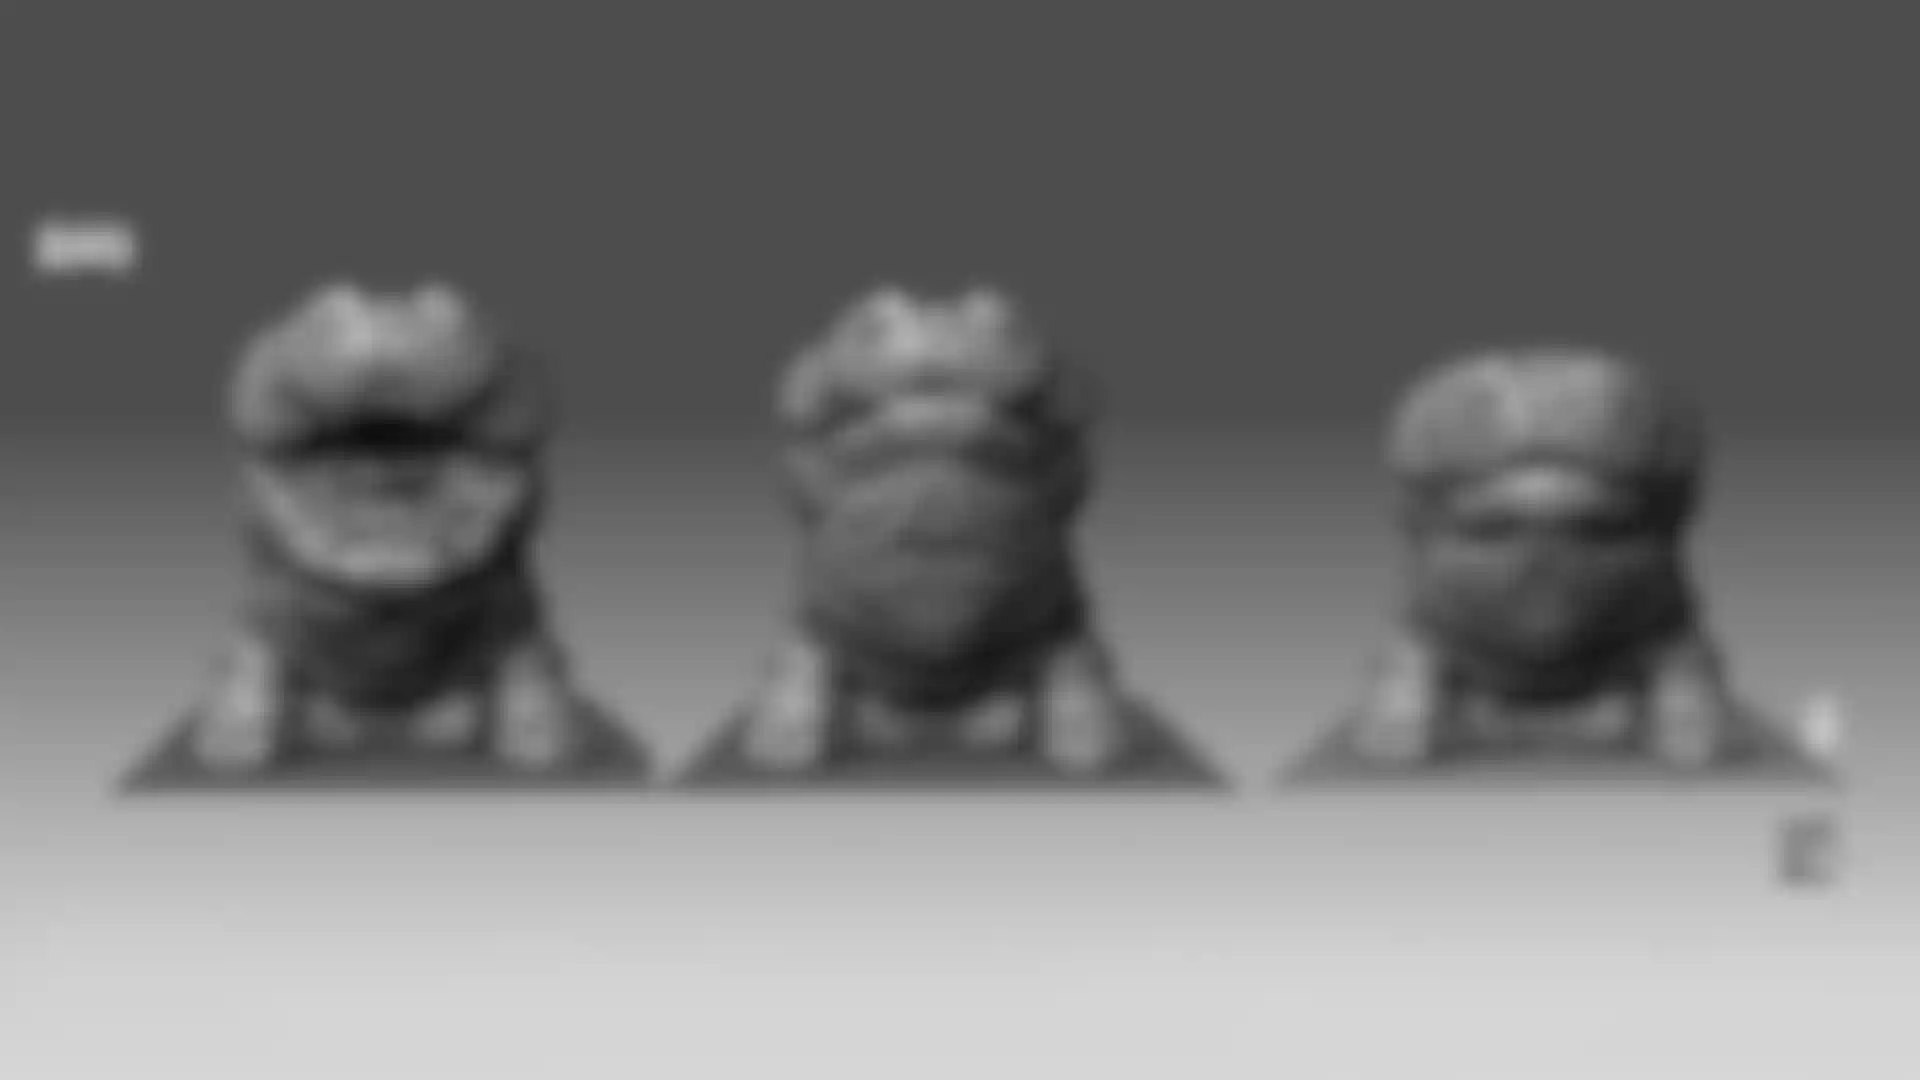
Many of the characters also have these sizable tusks on their heads. At one point it was felt that it would be easiest to render these if they were separate pieces of geometry. The call was made to roll this approach out to the 35 or so characters that had this design element. Later we discovered that this assumption was unfortunately wrong. All these characters then needed to have a major overhaul to reincorporate the tusks back into the main body geometry and then reproject and touchup all the characters with this new base.
Which characters were your favorites?
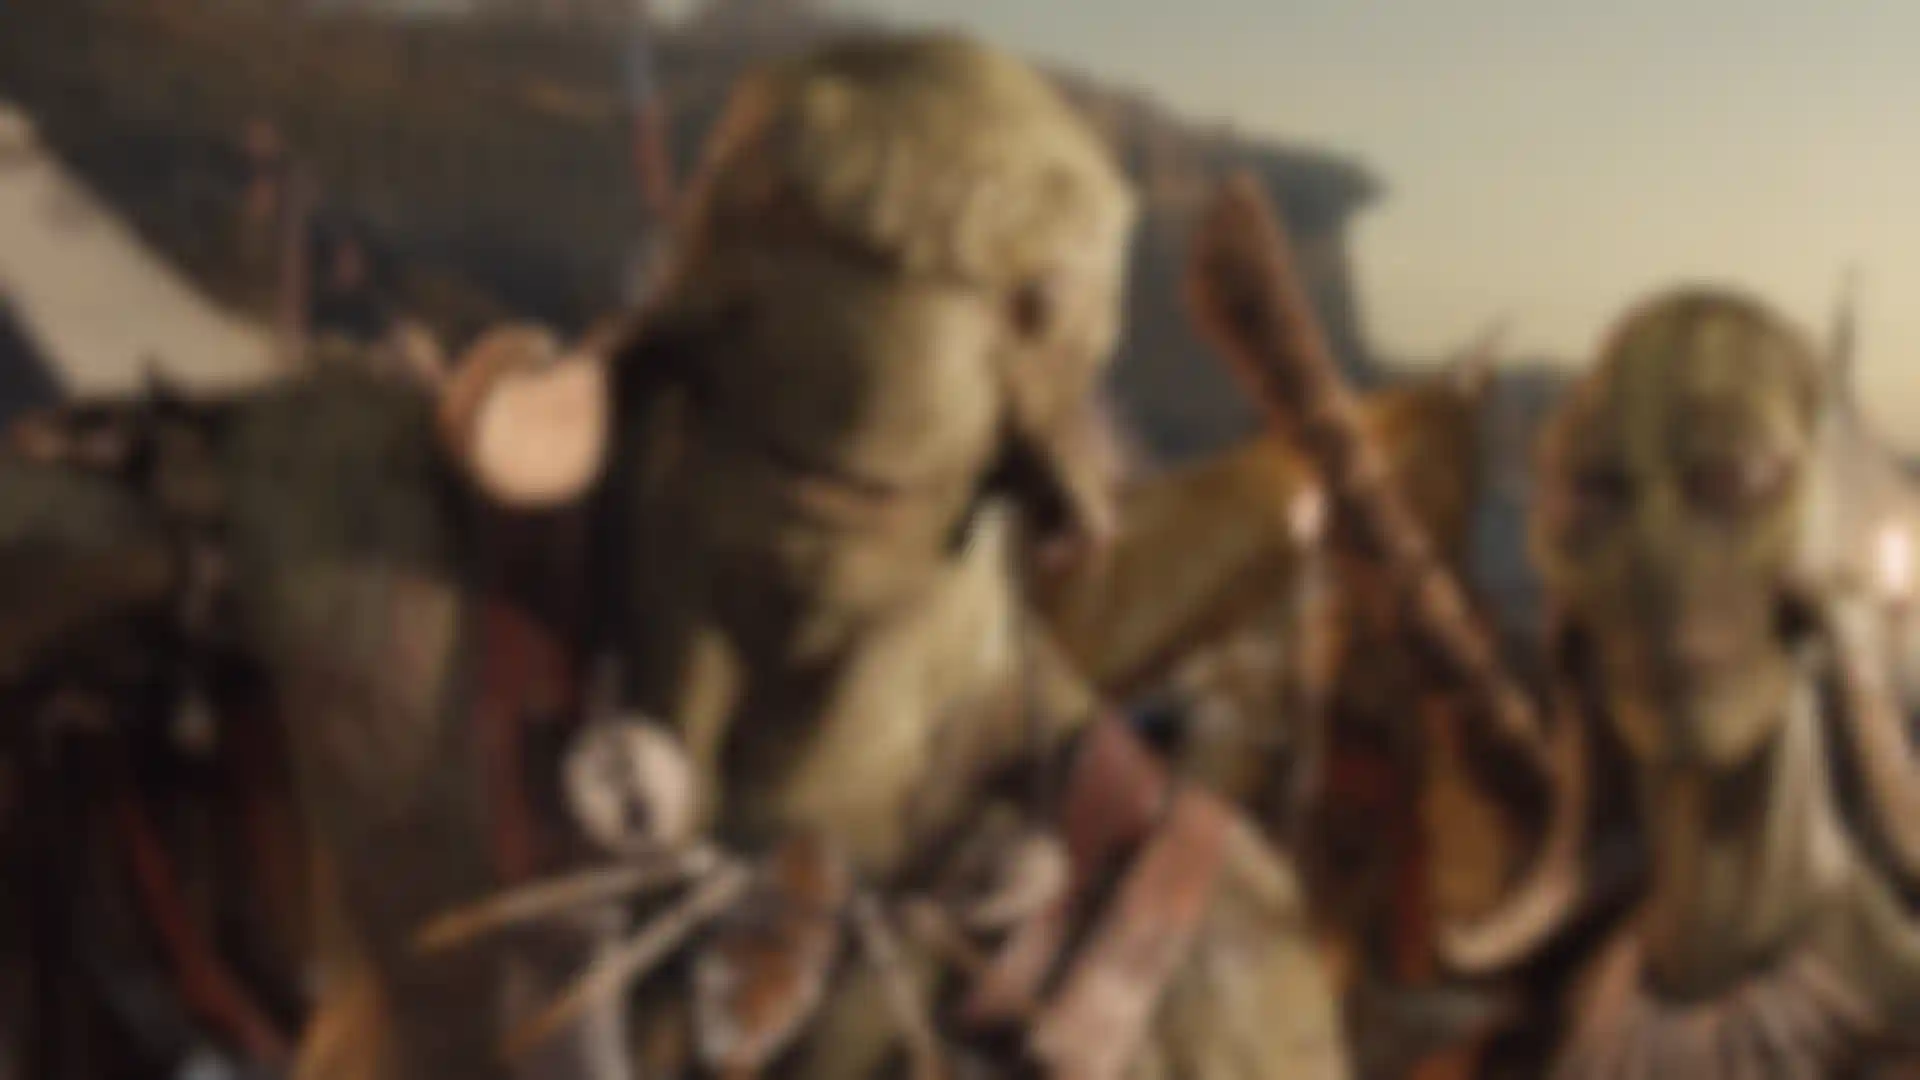
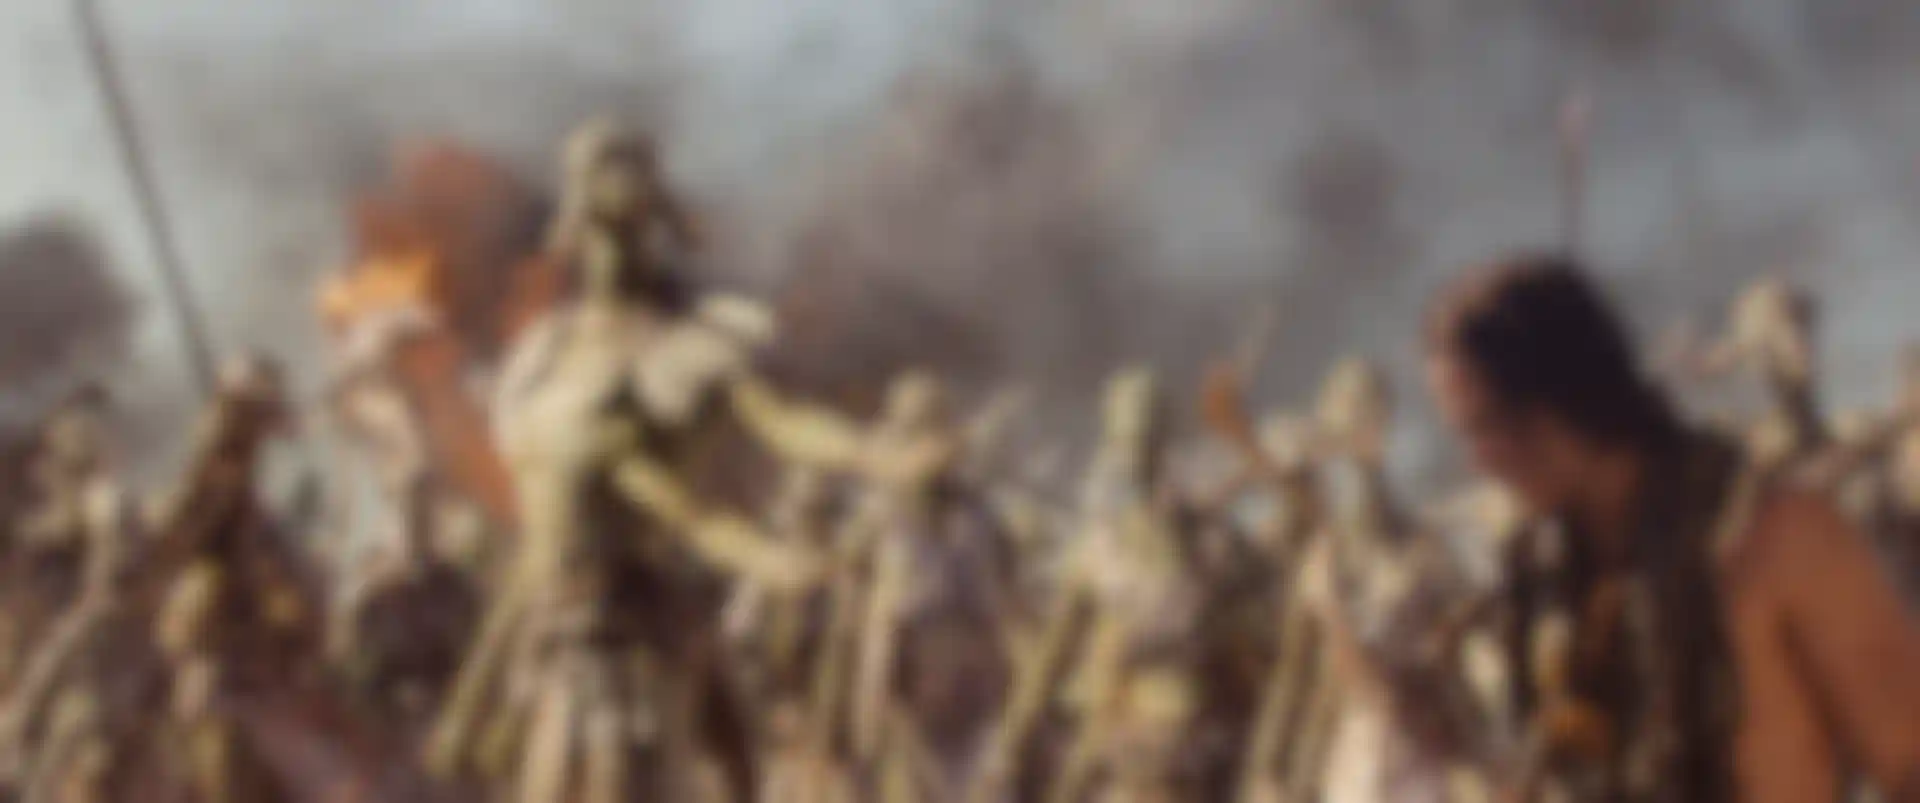
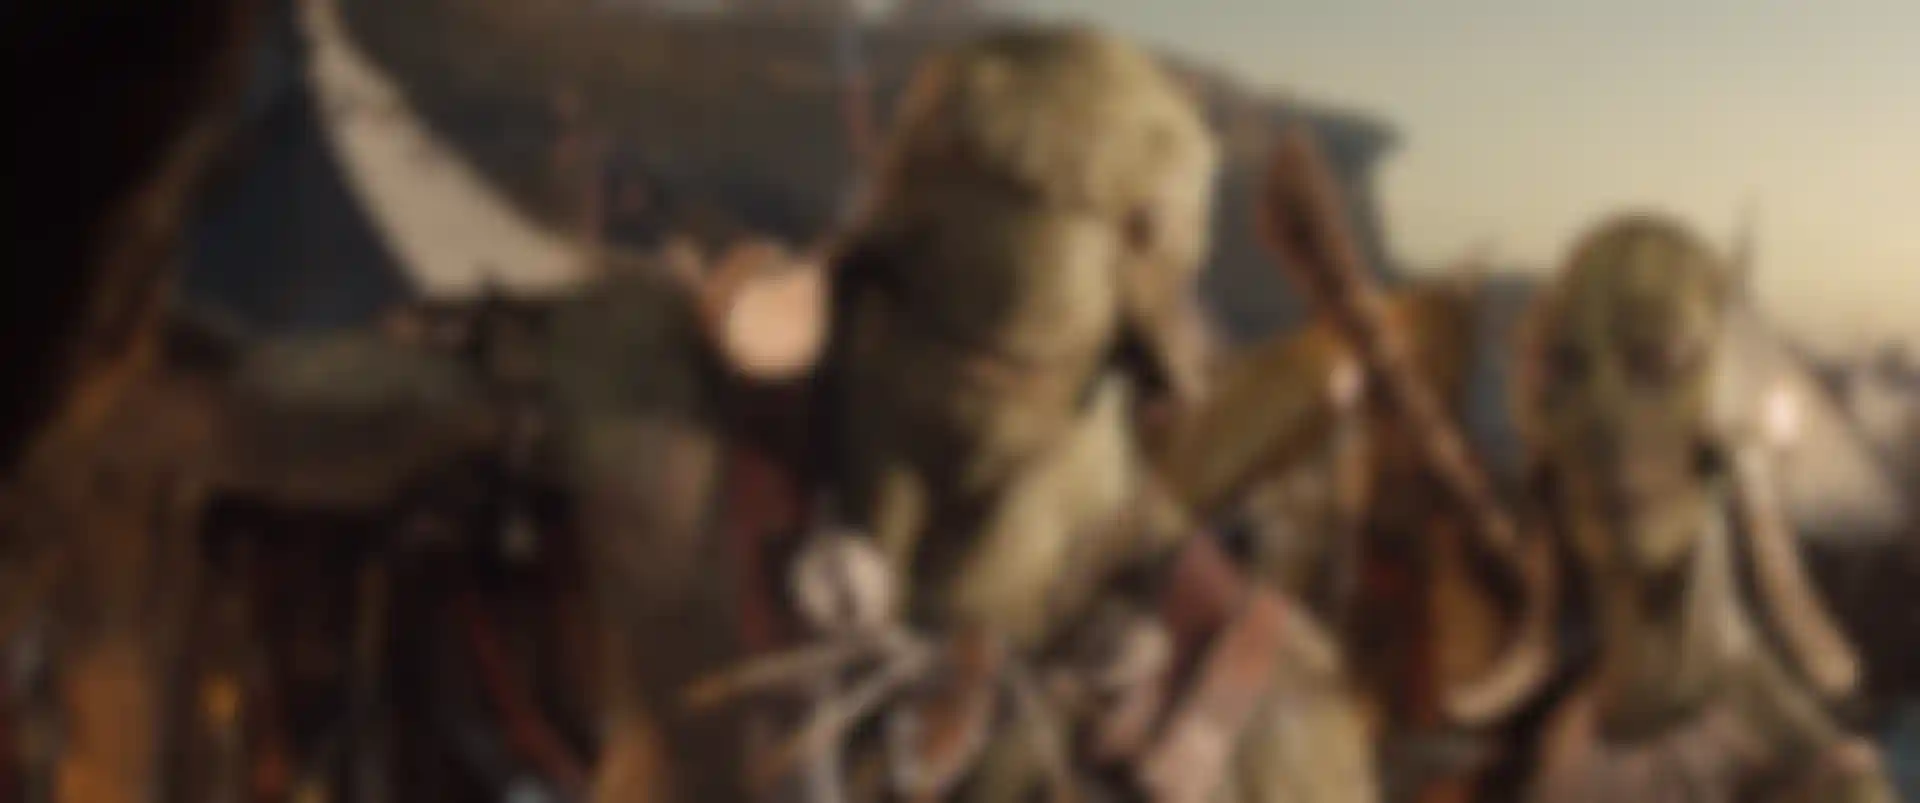
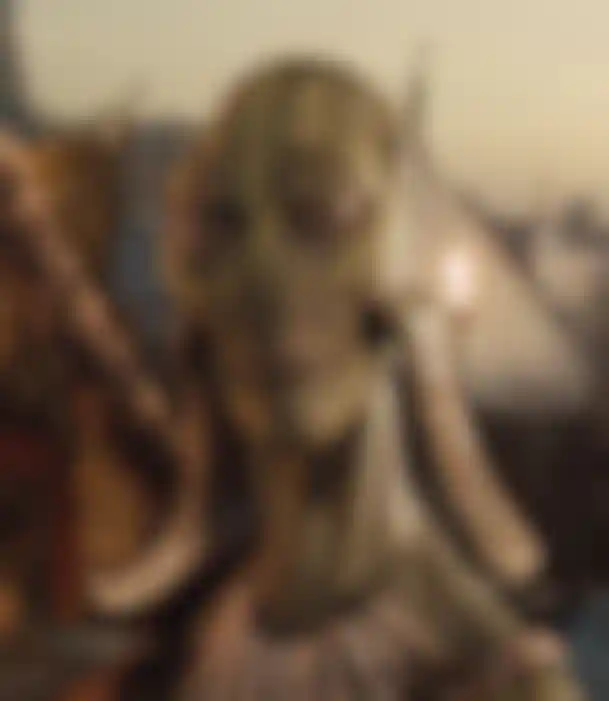
My favorite characters on the show were the Warhoons. They are these very primitive, hunchy, violent characters. They were the least developed of the concept sculpts and there needed to be a whole lot of them, so I had fairly free range to create a diverse range of variations for them. They are also some of the more outrageous characters in the film. We ran all of the Warhoon variation concepts past Andrew for approval. In the end I designed and modeled twelve Warhoon variations for the film. I also had the opportunity to help design the costumes for them based on production's concept of a bone costume.
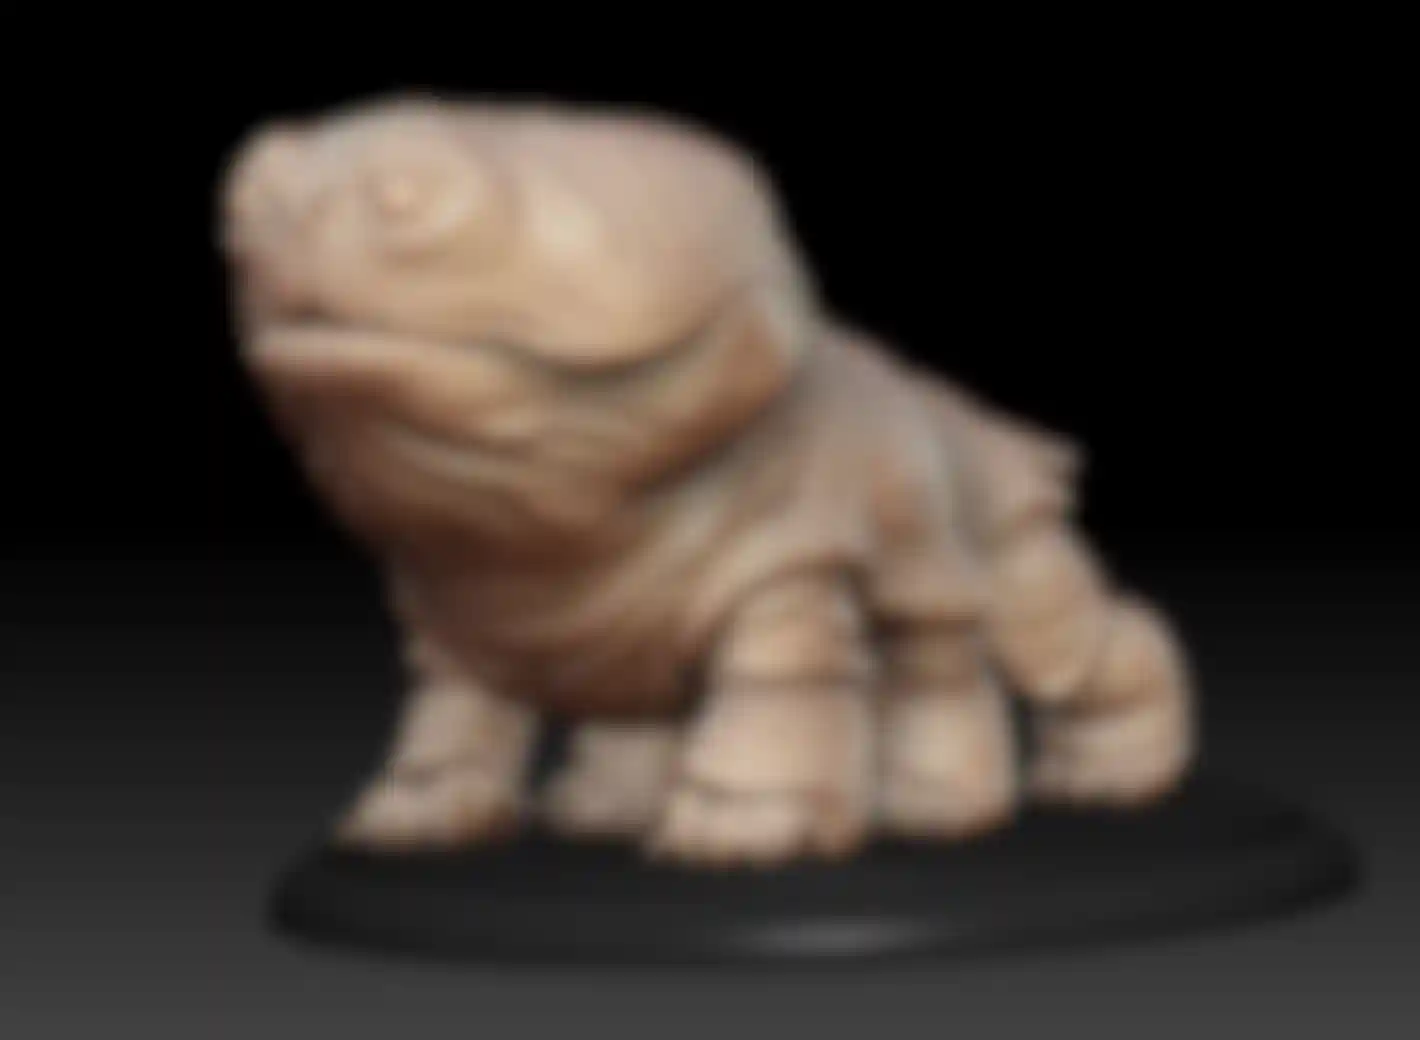
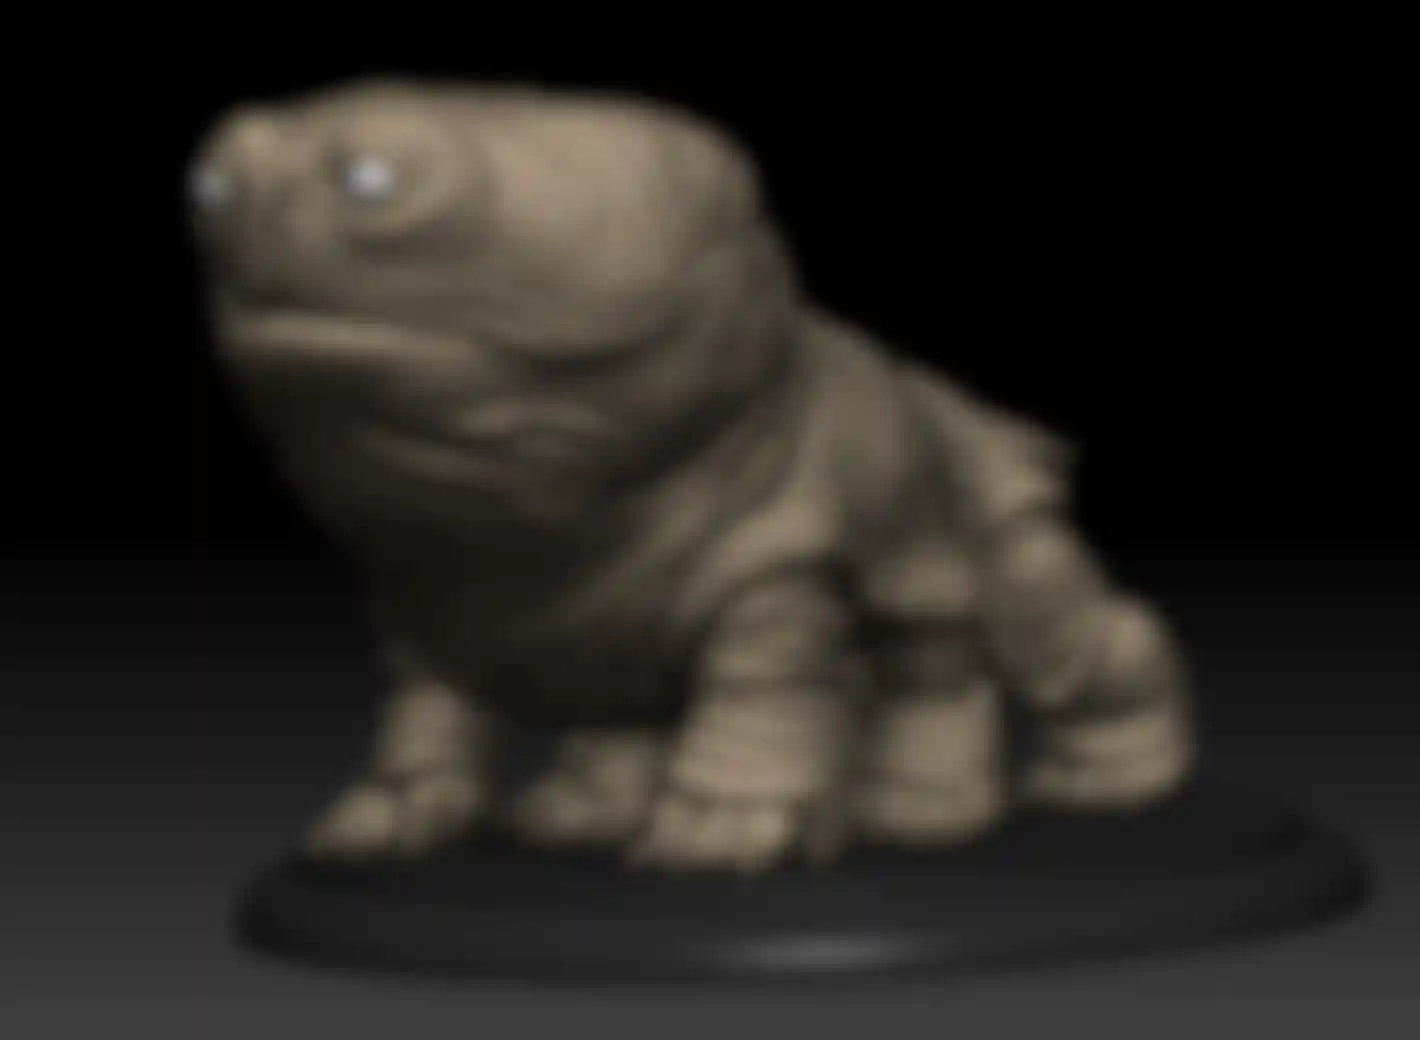
The other character that was a fun challenge is the ten-legged Woola character. It looks and behaves a lot like a dog. As a dog owner myself, I attempted to put a little of my pug's facial details into the character model. Some of this was snuck in under the radar, so long as it didn't vary too far from the original concept from Andrew.
ZBrush's projection tools are great, but each time you reproject a little bit gets lost. It is a bit like making a fax of a fax of a fax. When detail is lost, it then needs to be recreated again.

The lesson to all of us in production is that the more initial prototype testing can be done in advance, the less reworking will need to be done on the back end. It is always less expensive to explore and test and revise on one model as opposed to 35 models. This sort of mass overhaul occurred a couple times over the life of the production. The end result is terrific, but it was a tedious journey getting there.
Most of my maintainance was centered around making sure the topology was getting updated and that all of the corresponding displacement maps also got revised and published each time there was a revision pass.
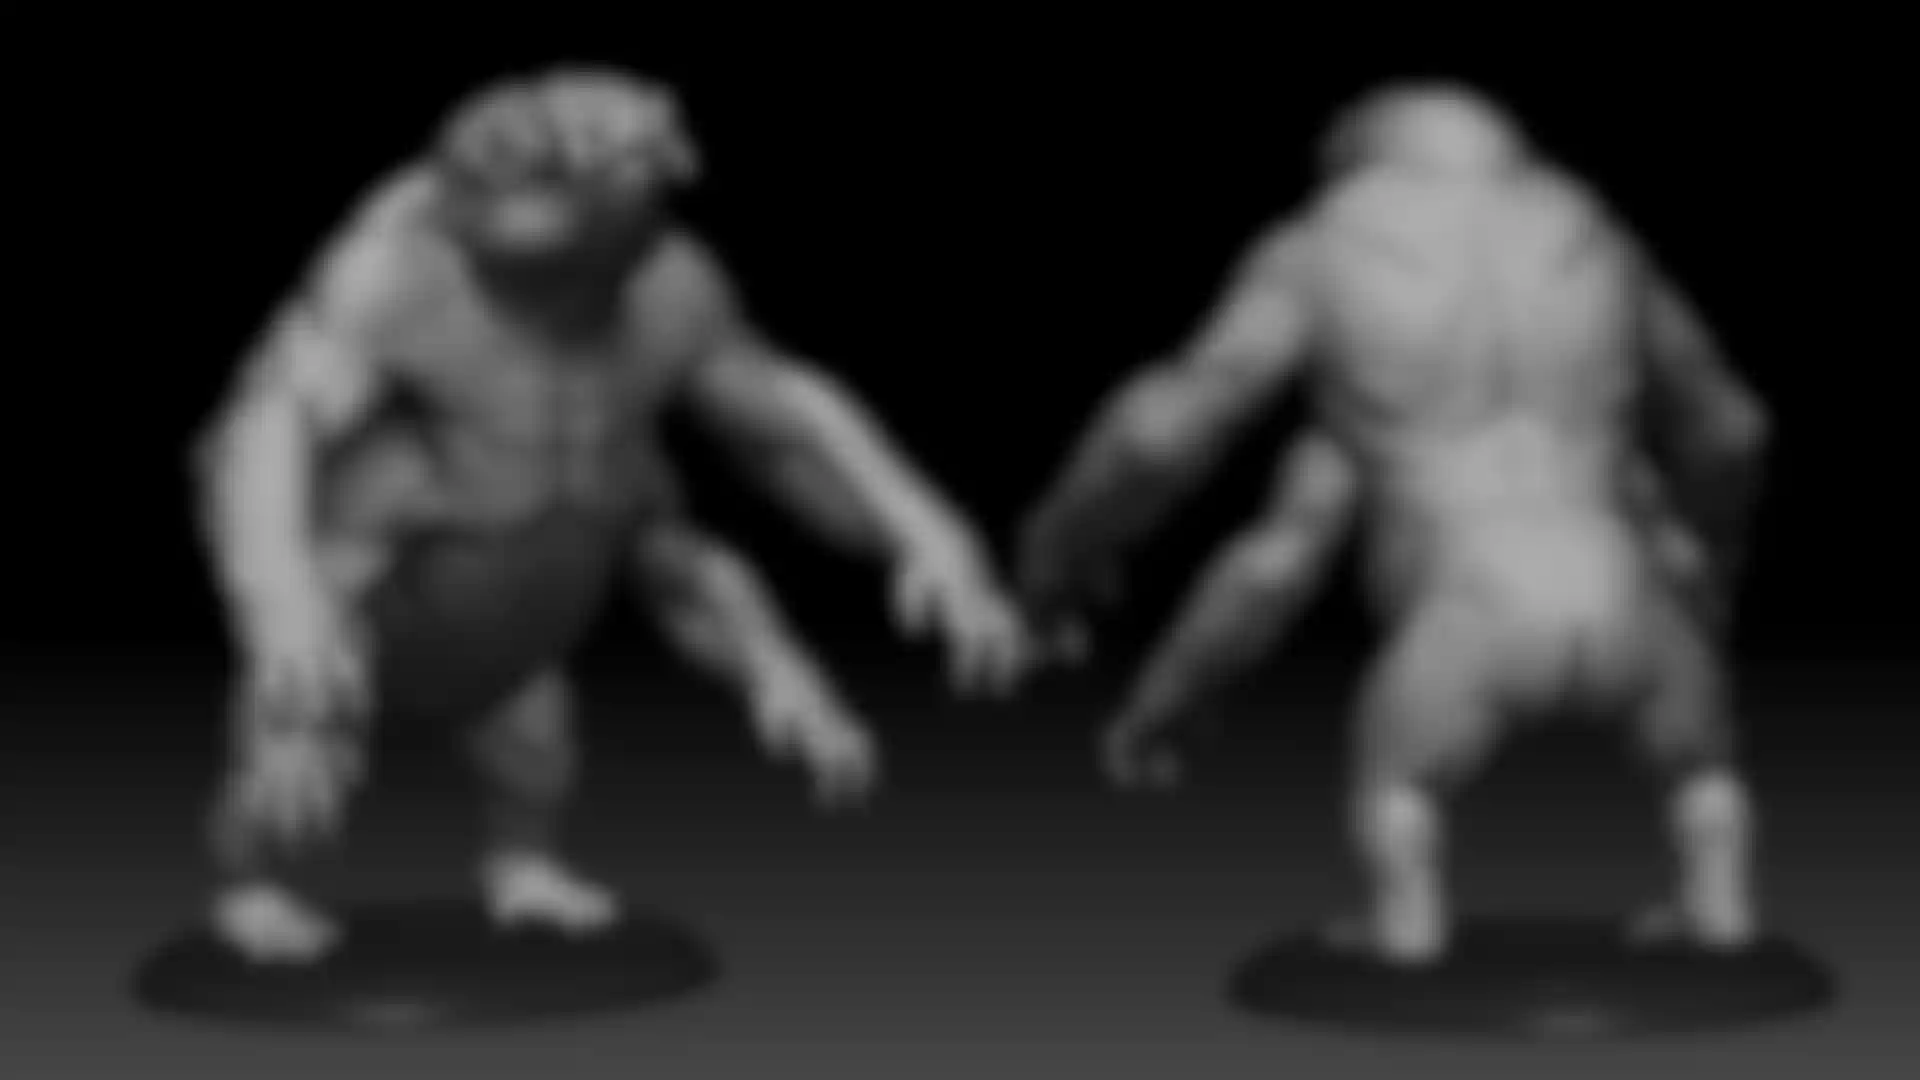
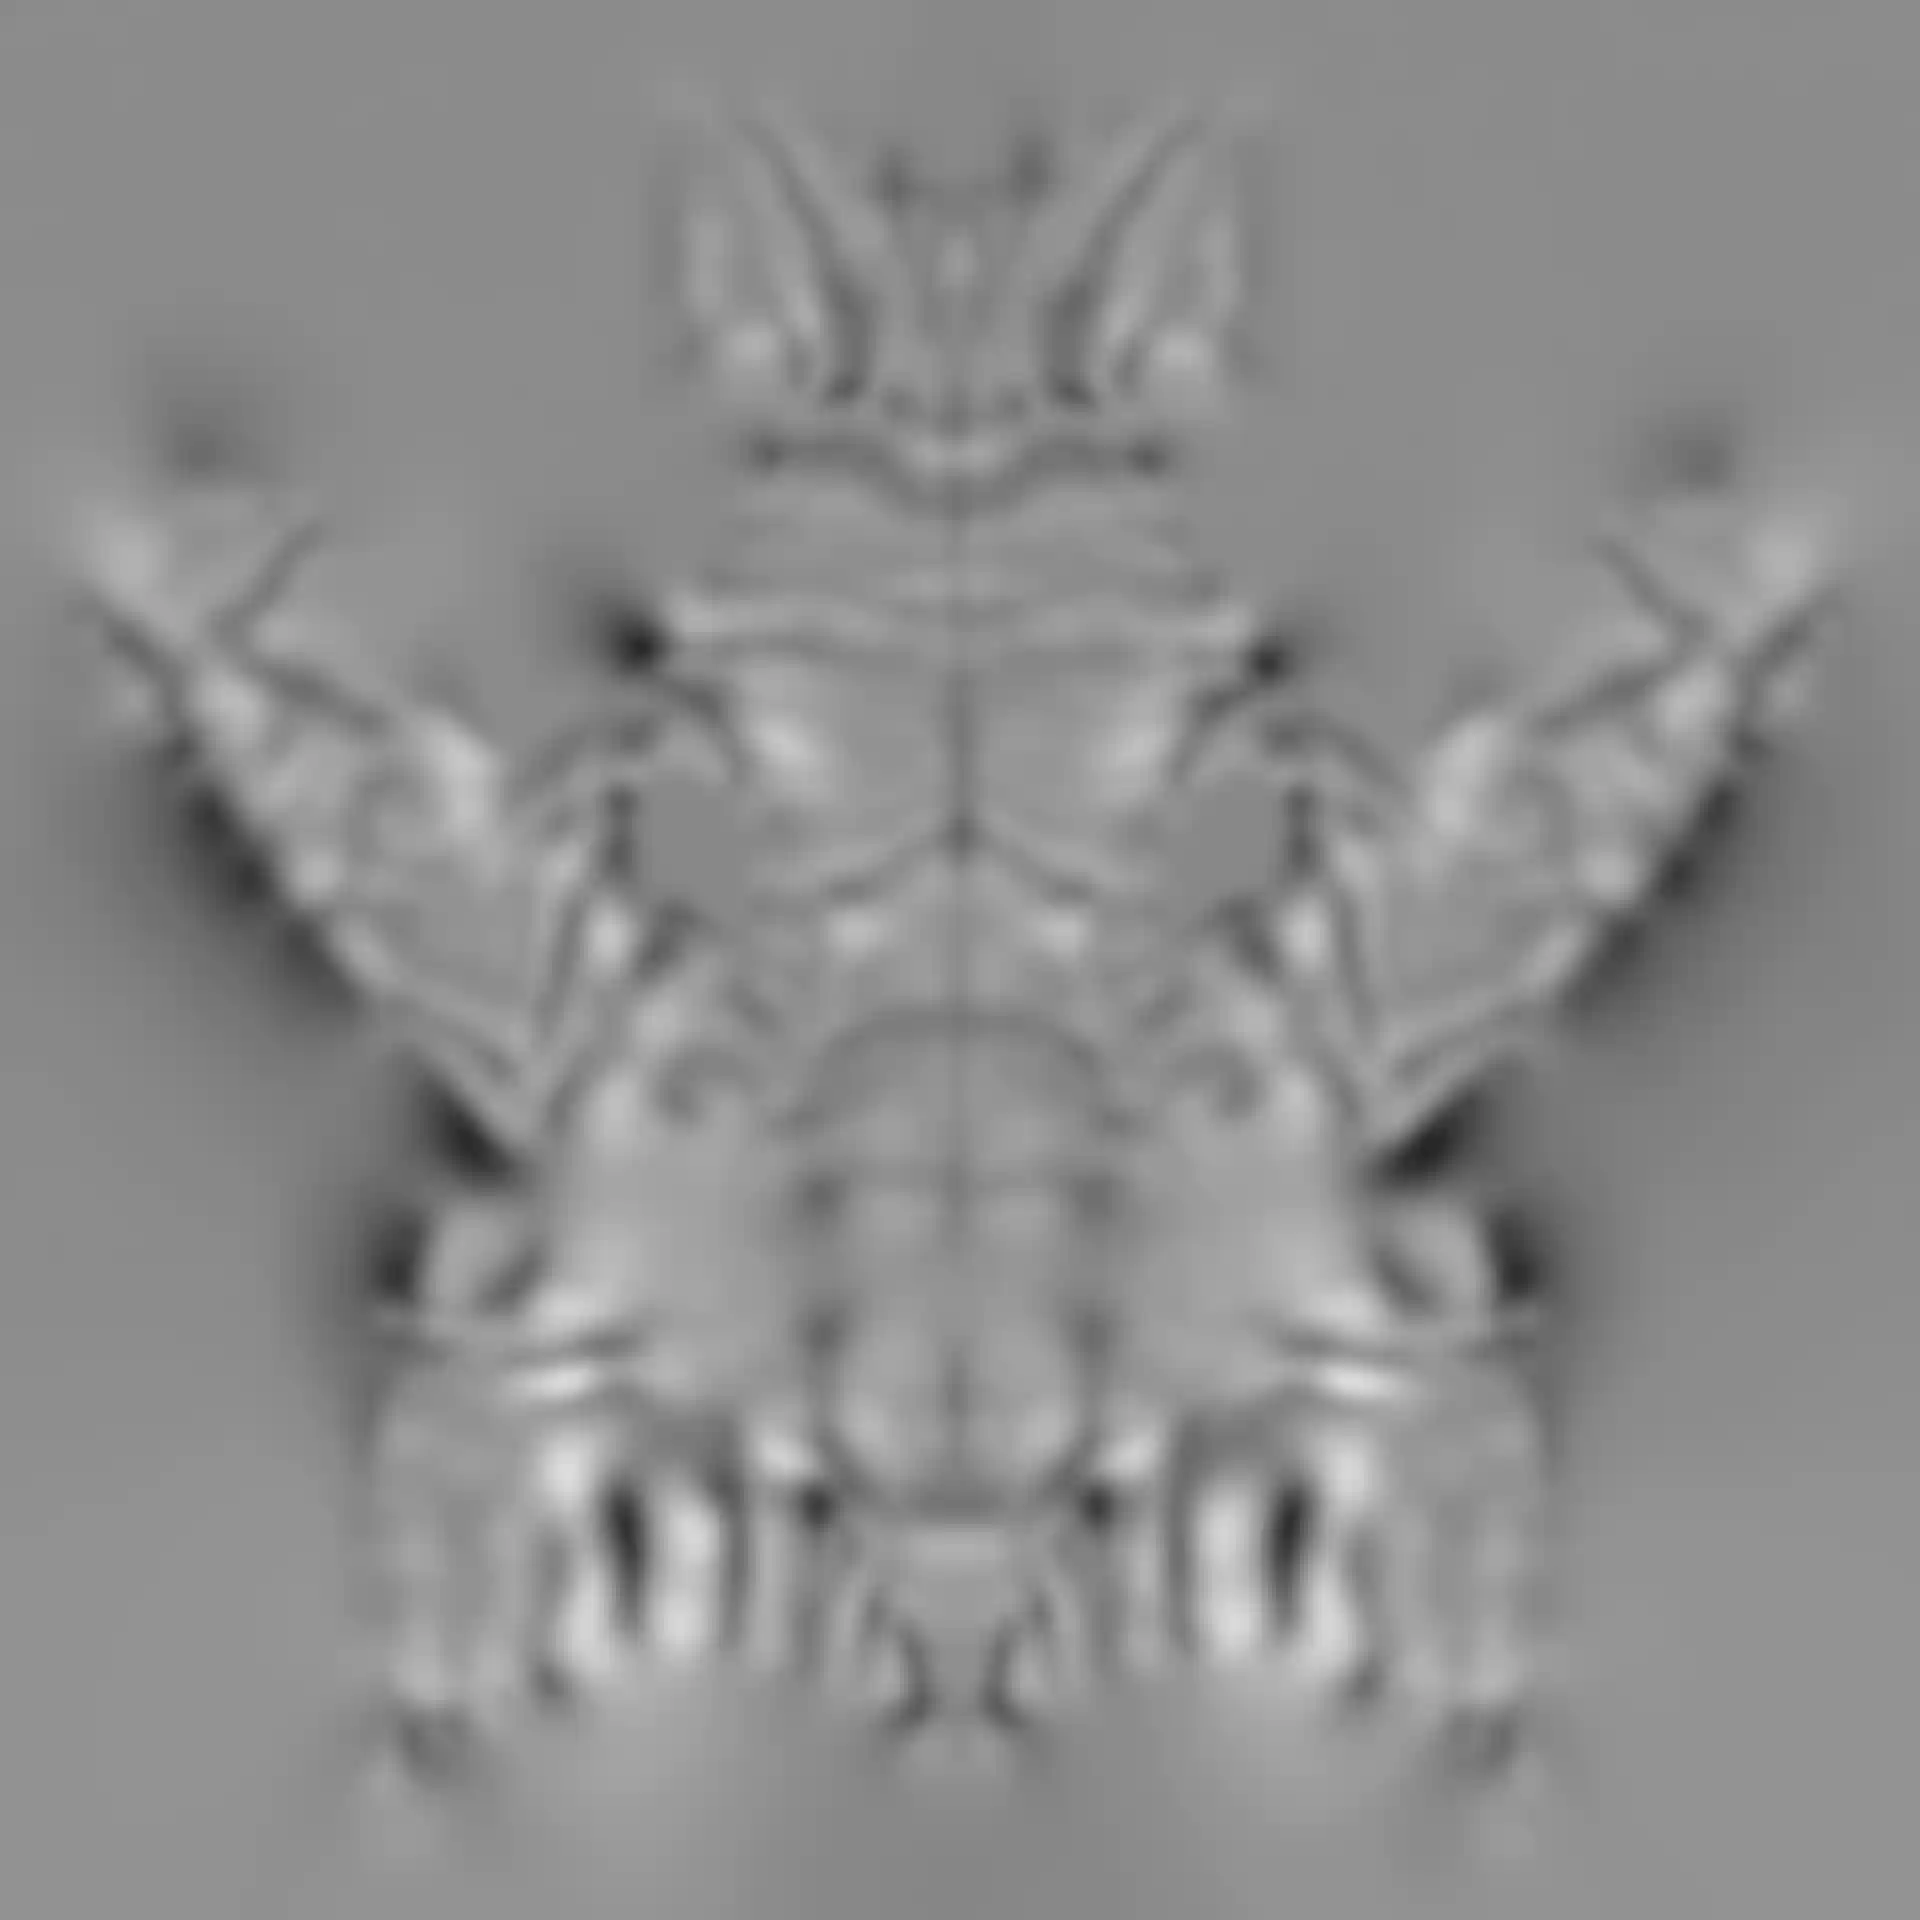
The largest, most violent characters in the film are the White Apes. I built these based on the Legacy maquette. These required the most reworking as the base pose ended up being the most different from the orginal maquette's pose. They needed a large amount of anatomical reworking as a result, so they proved to be a good sculpting challenge.
The main characters were also challenging, but as an artist I'm particularly engaged when I get a chance to get involved creatively with the design process and feel that I've contributed artistically to the realization of the characters.
What character posed the greatest challenge for you?
Tars was the biggest challenge and a lot of modelers all had an impact on Tars. He is on screen a lot, and there was a lot of talk about the character looking like Willem Dafoe, or at least his essence. We did a lot of exploration on how much it should look like Willem Dafoe -- at one point we did a reworking of Tars to incorporate a lot of Willem Dafoe's facial characteristics. This was often refered to as the "Eleven" version. Ultimately, we backed off from this almost completely and returned to the original concept.
In the film industry, this process of coming back to the original concept isn't uncommon. Sometimes, the director needs to explore all the variations to confirm that the original inspiration was the best. Or at least, what they really wanted.
The White Apes were a technically challenging character because of their size and ZBrush poly count. I really took ZBrush to the limit and ultimately had to break the model up into separate UDIM pieces in order to export the displacement maps. For the most part, all of the characters were able to be exported using the Multi Map Exporter from ZBrush, but because of the high poly count on the Apes we couldn't do this. I used the Group UV tool to create separate groups for each of the UDIM tiles. I then then used the Groups Split tool to break the White Ape mesh up into separate SubTools. Even with splitting the model up, it was a challenge exporting the maps, as I maxed out the RAM on my machine.
The Vein layer could also be increased or decreased in amplitude to create the appearance of bulging veins.
By breaking the skin off to a separate level of displacement, it could appear to remain consistent despite all the changes happening to the muscles and veins.
To make this technique even more complicated, the muscle groups needed to have very minimal cuts to avoid splits in the middle of the different muscle groups. This meant the addition of a second set of UVs, or what we called the UVM (UV Muscle) set. This required the replacement of the base model in ZBrush each time the UVs were exported to get either the muscles, the skin, or the vein displacement maps out.
The biggest challenge of this technique was that the results couldn't be seen without rendering the character. We developed inexpensive means to preview render animations to see if the tensing and relaxing of the muscles and veins was working.
What was the actual process for creating these maps?
The actual process was quite involved. The model had five levels of subdivision with at least three separate layers: Main, Skinless, and Vein.
I would save out a base Level 1 .obj file with the UVM UVs as well as a base level with the standard skin detail UVs. (We called this the UVT or UV Texture set.) When I went to do an extraction of the three different layers of displacement, I would load the ZTool of the character, turn on the skinless layer at the highest level, return to subdivision Level 1 and import the UVM base model. I would then export out the UVM or Muscle set of displacements. This was the easiest displacement to export.
For the Skin detail, I would save out a Level 3 subdivision version of the character, without the super-tense sculpting and with smoothed UVs. We were working with a standard with internal Smoothed UVs, but linear edges. I would then load the ZTool of the character, go to the highest level of the displacement and make sure the Skinless and Vein layers were deactivated. Then I would go back down to the Level 3 subdivision and import the saved out Level 3 UVT model. From this I would export the different UVT (skin) maps.
You developed an unusual approach of using multiple displacement maps. What was the advantage of this, and how did the idea evolve?
We worked with three separate layers of displacement maps in order to get all of the displacements for each of the characters. The three layers consisted of Muscle, Veins and Skin Detail. We exported full displacement maps for each set.
The idea was to use masks to increase or decrease the the amplitude of the different muscles within the Muscle Layer displacement. The masks would, for example break out the bicep from the rest of the arm.

A special group, headed by Richard Clarke (who developed this technique for the show) would then increase the amplitude of the displacement to create the appearance of the muscle tightening. This meant that we built some very hyper-taught versions of the characters so that the displacements would appear very sinuous and tight.
For the Vein displacement, I would export a presmoothed Level 4 subdivision version of the character minus the veins. I would load the ZTool of the character, go to the highest subdivision level and make sure the Vein layer was on. I would then go down to Level 4, import the presmoothed Level 4 base and export the maps using this base. Because the Level 4 base did not have veins, and the level 5 had the veins, we would get a map where the only element that would appear in it would be the veins.
It was a complicated process and when I'd start on it I'd put on my headphones (without music) to minimize distractions and keep everyone away. This was especially true with the Apes, where I'd need to be swapping out my base model sections on a displacement by displacement basis. The Apes were by far the most complicated characters from which to export the maps.
I'm one of those crazy people who likes to tinker with things and find crazy workflows. This was far and away one of the craziest systems I've sorted out. I'm sure eventually, all this will be a simple button push.
How did ZBrush integrate with your other software?
ZBrush integrated very well with our other software. I found that the 32-bit maps gave me very good results in the displacement, especially in regards to micropolygons in Renderman. I've used it with applications that tessalate the model to achieve a resolution to displace, but micropolygons give me the closest thing to my original sculpt and seem to hold detail the best I've seen.
We also used ZBrush to develop subtle facial and skin deformations that could be triggered by the gross rotations of joints. Shot sculpting was done where additional deformations of all sorts could be done within the context of shots to create the impression of interaction compression between the characters or objects they are interacting with. One of the most extreme examples of this is when Sarkoja grabs Sola's face during the White Ape fight. This was pushed and pulled on an almost frame by frame basis. ZBrush lent a hand in sculpting here.
Thierry Nguyen also used ZBrush to make a bunch of fine wrinkle maps. These were triggered in the dynamic facial system to create small strain lines and wrinkles to add an extra level of realism.
ZBrush has grown quite a bit even in the relatively short time since The Watchmen. How has this helped you?
The projection tools in ZBrush for extracting detail from Concept sculpts continue to get better and better. The sculpting brushes continue to improve. I can't wait to start playing more with the auto retopologizing tools for creating concept sculpts, as this all looks revolutionary.
John Carter is planned to be the first of a trilogy. If that happens, are you going to be back for the next films? How would you like to advance your techniques moving forward?
There is always room for improvement. I know I am always looking for ways that I can do my work more effectively and efficiently. ZBrush has become a vital tool in my work, both professionally and personally. I use it more and more these days and I am constantly looking for new ways to incorporate it into my workflow. I'm hoping at some point to try doing some Hard Surface modeling in it, as that would be a new challenge.
If you could go back in time and start over on The Watchmen, what would you do differently at this point? How would your techniques have changed?
I think if we were to go back to Watchmen, I would love to use the Three Levels of Displacement trick for that. We did Dr. Manhattan with only the one displacement extraction and although it looks great, it doesn't give the incredibly organic look that can be achieved with three levels of displacement. However, Dr. Manhattan is ultimately a construct, and he is not organic. The sinuous effects achieved with the tri-level extraction might not prove appropriate for him.
Looking back over your career, what have been your favorite characters?
Dr. Manhattan was certainly a fun character to build. The team that I was part of on that project was great and we were all fans of the subject. I loved doing all those zombies for I Am Legend, as I'm always attracted to fantastic, over-the-top, fun designs. I feel fortunate to have started in CG at a time when it was fairly new. It has been an incredible journey seeing the ongoing growth and developement. Anticipation for the new and exciting continues to excite me. I find myself still waking up looking forward to a new day helping to create imagery that hopefully inspires or at the very least entertains people.
You also have considerable experience as a teacher. What is your top recommendation for someone wanting to forge a career in digital art?
My top recommendation for people looking to forge a career in this business is to find what excites you. I get people asking me what they should build to get a job in this field. My recommendation is to build something you want to build. Once you have a job, you will be told what to build and the opportunity to do your own art will diminish. I love teaching, as I get to see people exploring their art and finding their vision. I love seeing their passion and creativity, and I hope that by us all having contact with each other it rubs off and lifts us all up.
Credits:
| Character Modeling Team | Facial Team | Muscle Deformation Team |
|---|---|---|
Kevin Hudson | Markus Schmidt | Richard Clarke |