
The Promised Neverland Powerful out of the box - Khaki talks about how they used C4D to bring the anime classic to life as a feature film.
The popular anime The Promised Neverland (Original story by Kaiu Shirai, drawn by Posuka Izumizu and serialized in Shueisha's Weekly Shonen Jump,) was made into a live-action movie in December 2020. Tokyo-based khaki was the creative group in charge of the 3D/CG production, and they relied on Cinema 4D as their primary tool.
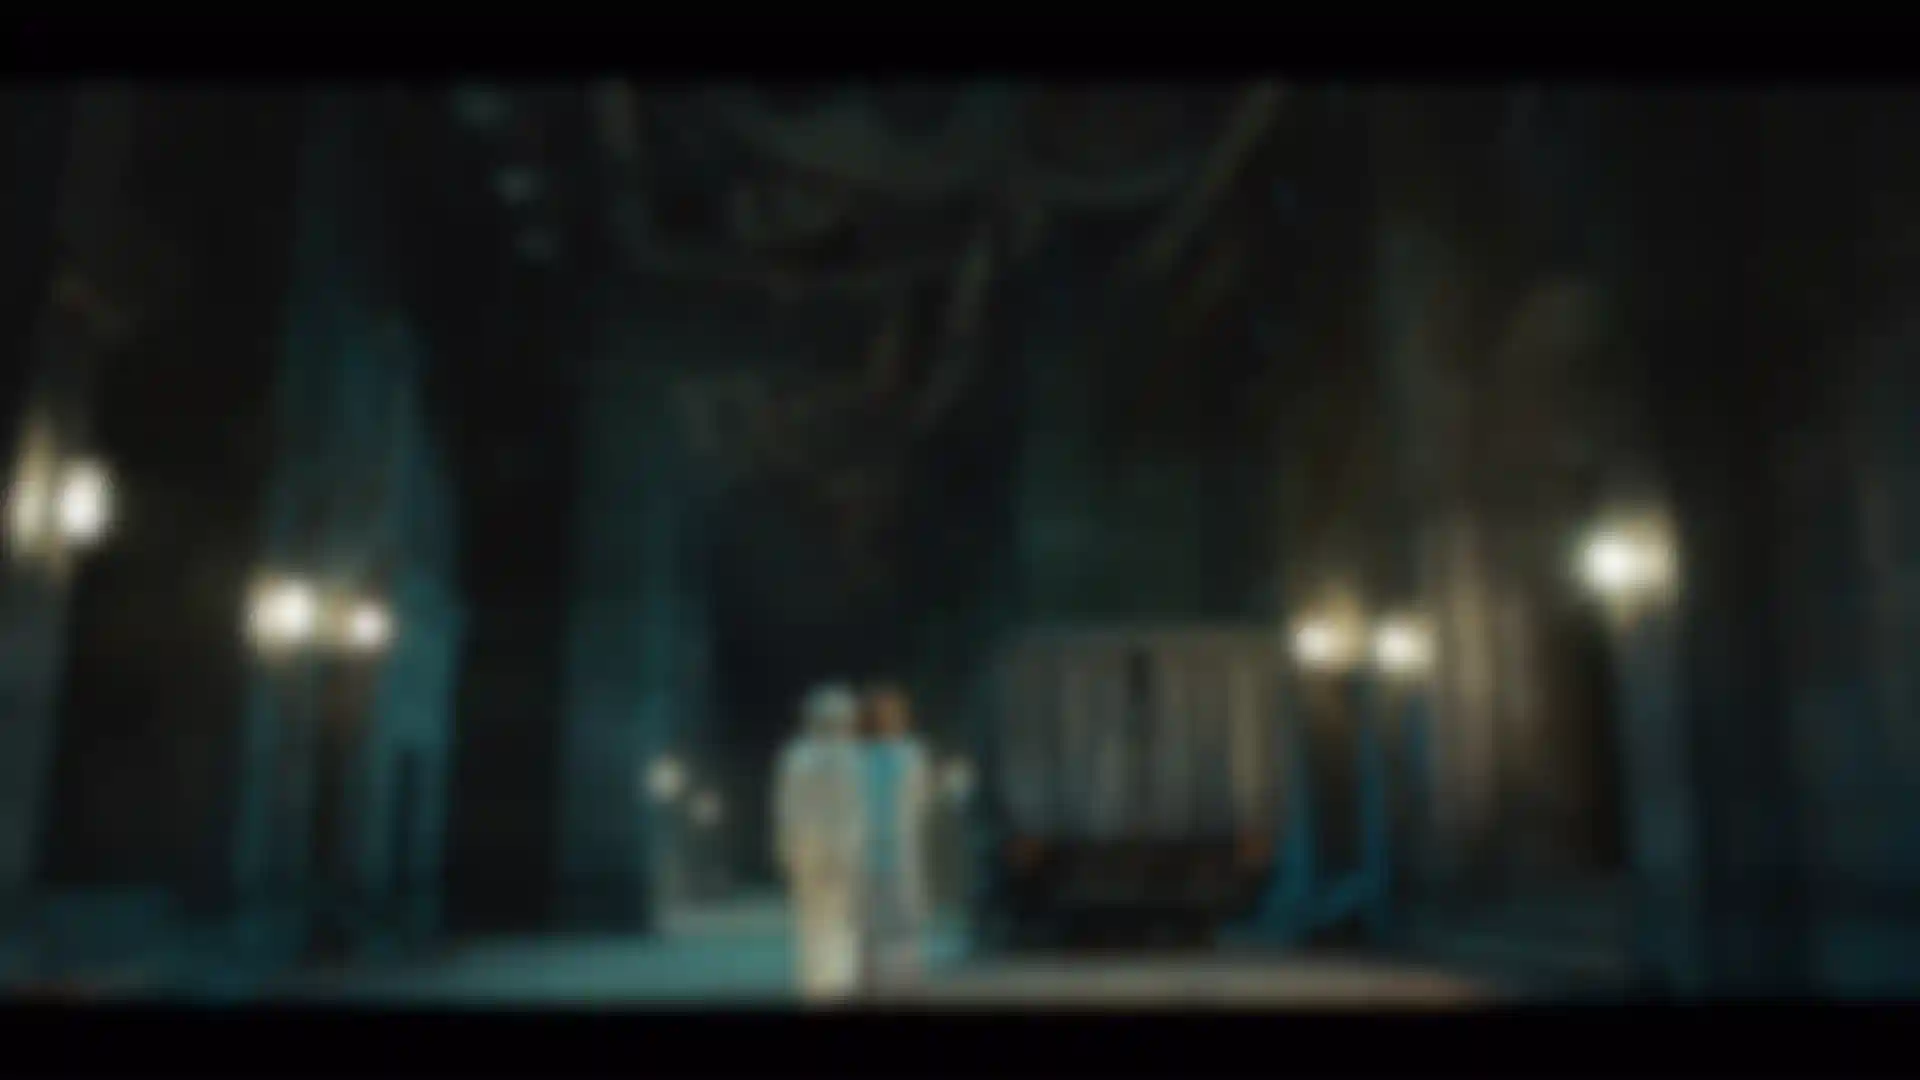
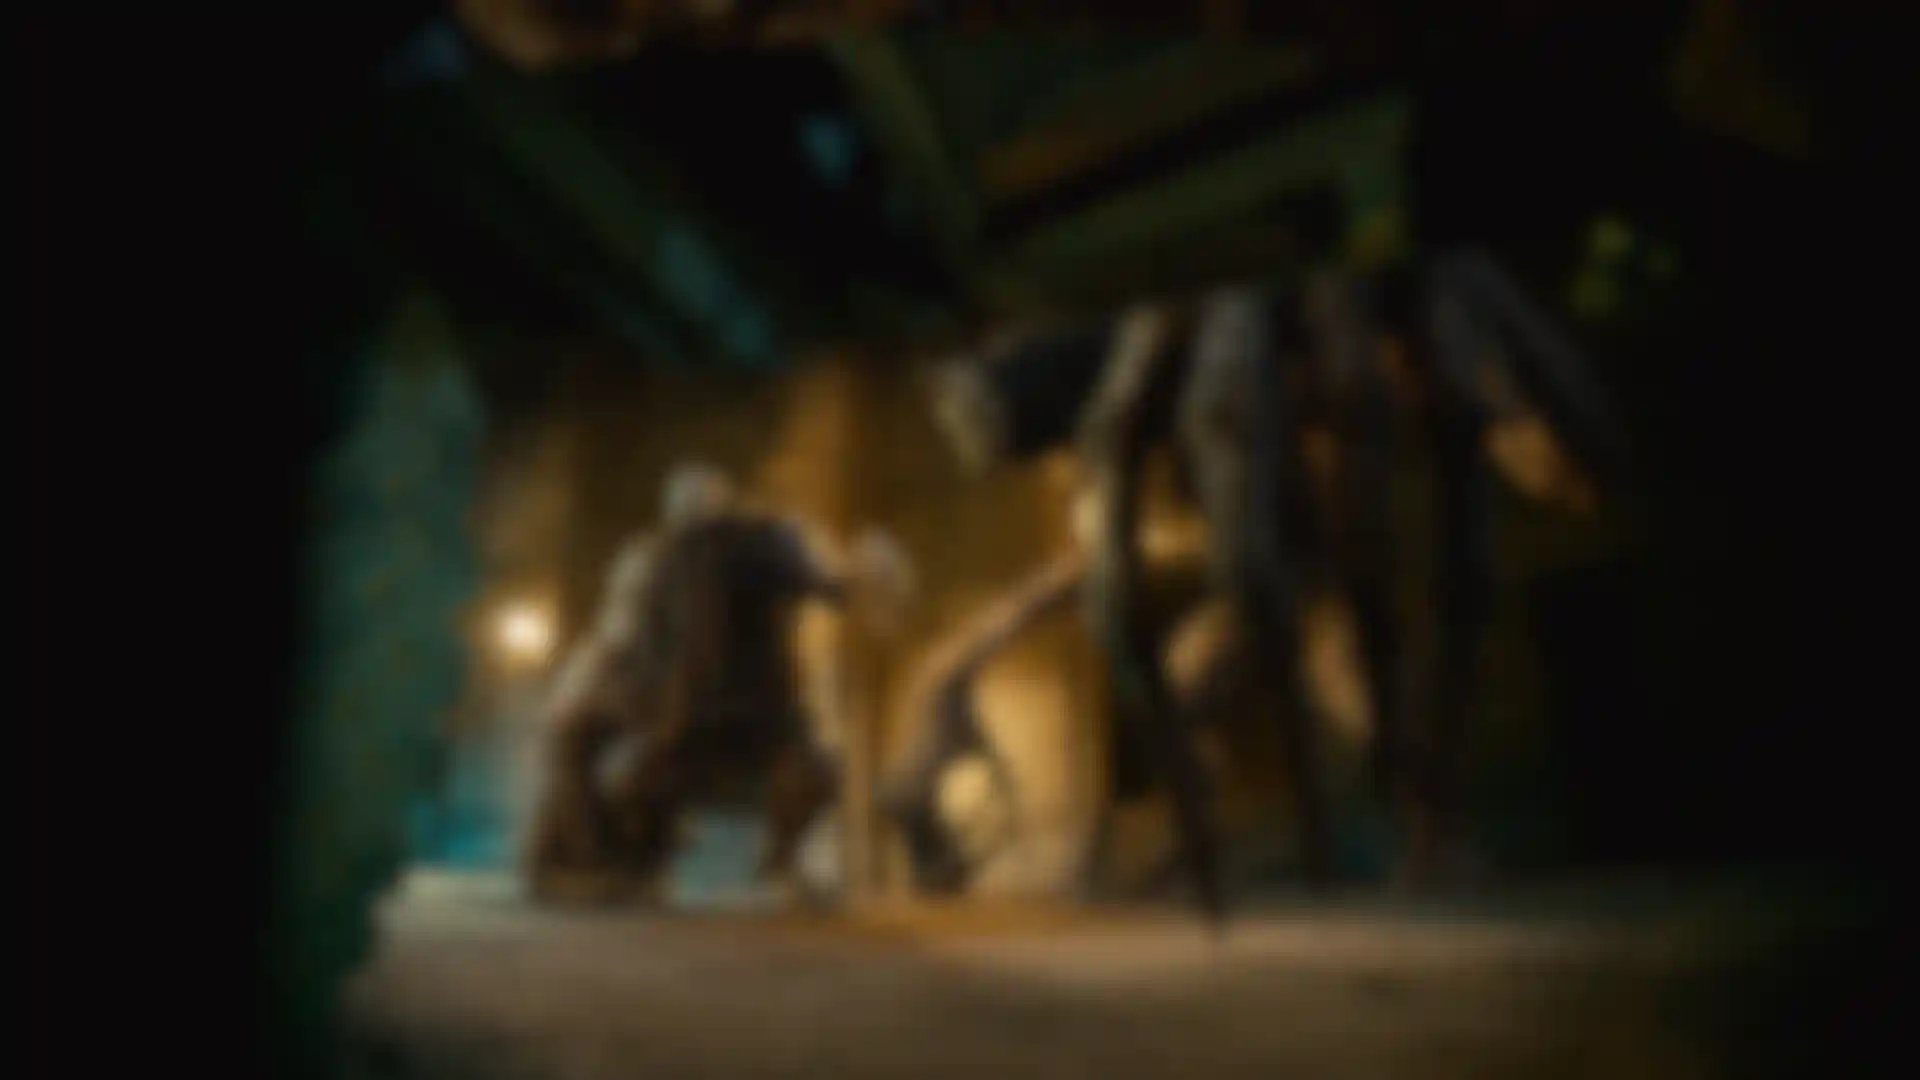
The scene where a 3-meter monster created in 3D/CG appears with powerful footsteps and brings an overwhelming sense of fear to the viewers is breathtaking. In addition to the demon, C4D was used for the environments and all other aspects of the film.
We talked Khaki about the production process of this film, and here is what they had to say.
Please tell us about Khaki, including your names and responsibilities.
Yokohara: My name is Yamato Yokohara. For Neverland, I was the character supervisor, and I was mainly in charge of the characters, the workflow and checks related to them.
So you worked on concept design and modeling?
Yokohara: Yes. I also created all the textures and was in charge of some of the lighting.
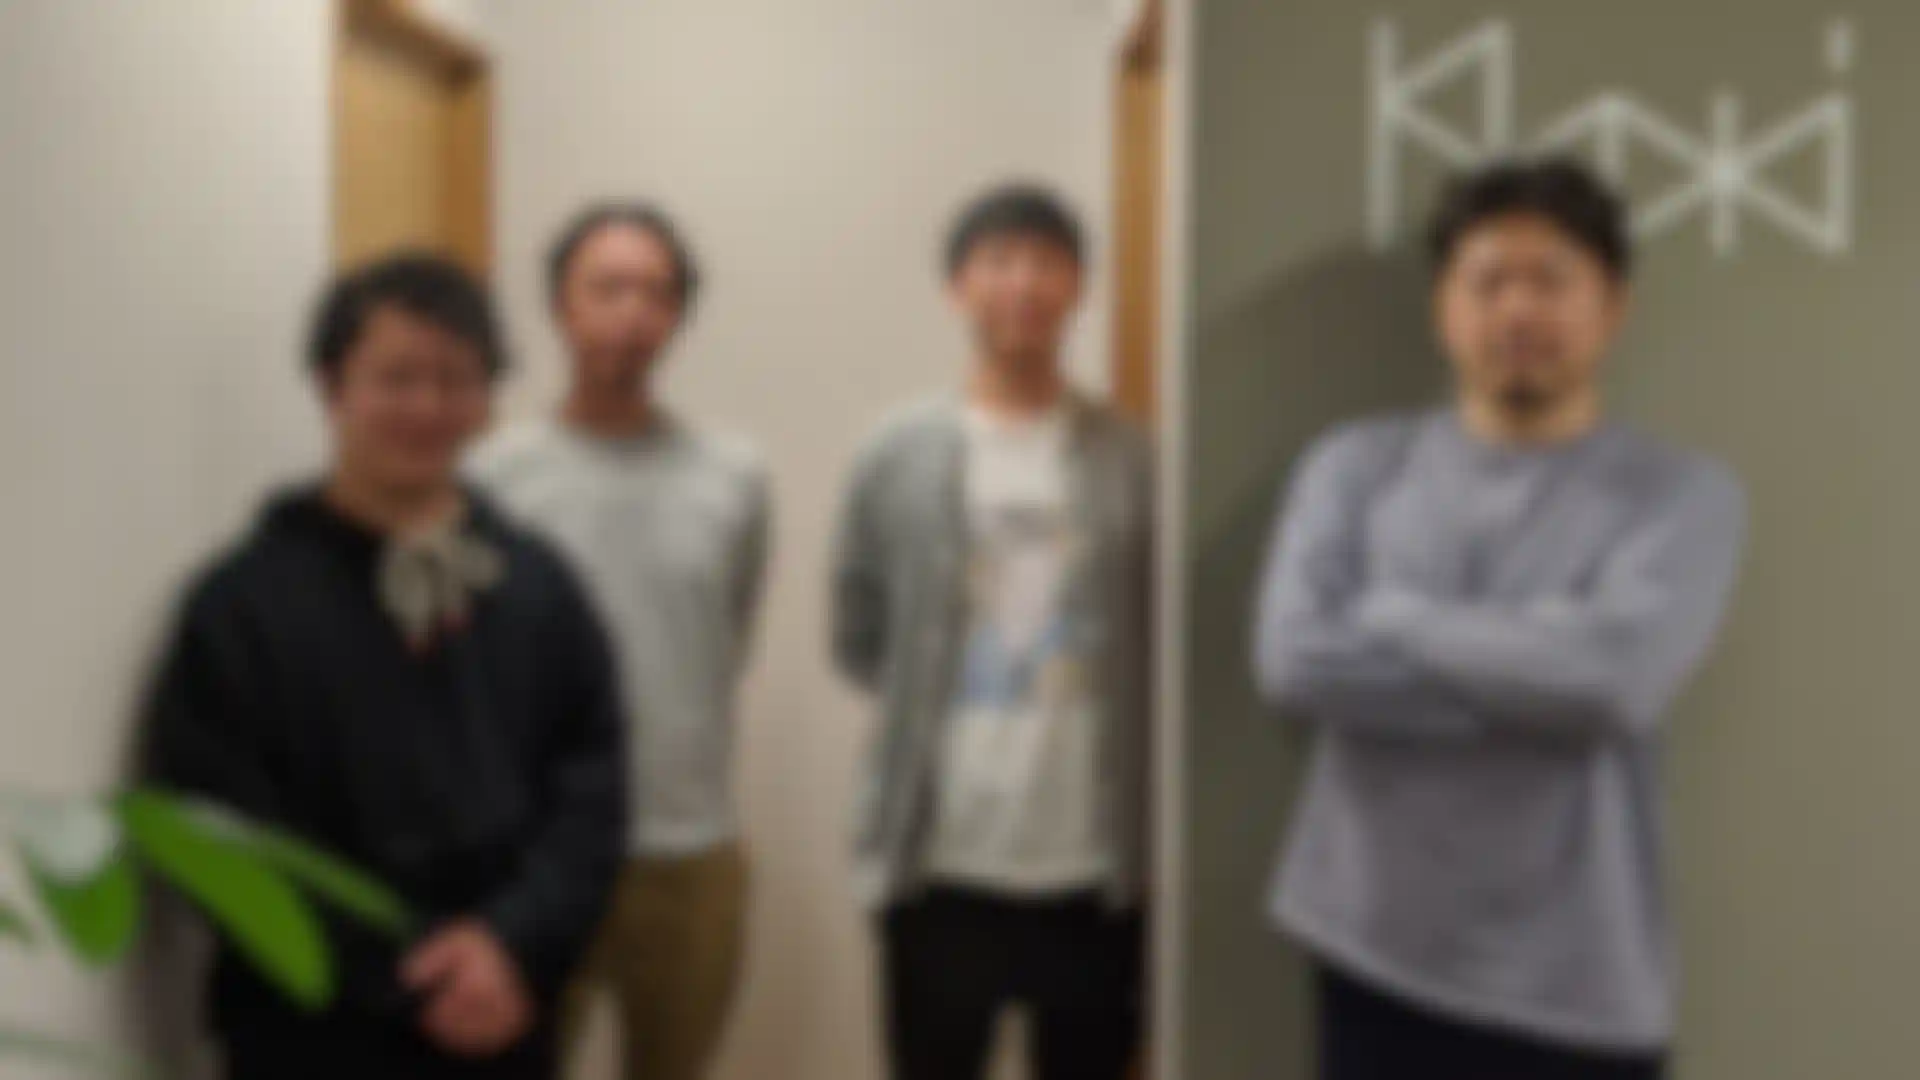
Miyano: My name is Yasuki Miyano. I'm the demon in charge. I was in charge of concept making and modeling in the movie.
Tasaki: I am Yota Tasaki. This time, I was mainly in charge of supervising the environment. The main focus was the cliff sequence in the second half of the film. And, as the CG director, I was communicating with the team in Taiwan about the concept and other aspects.
Nigo: My name is Yuri Nigo. I was in charge of the layout, placement and lighting of the flowers that are stuck in the characters. I was in charge of importing the models into the actual scene and arranging the layout. I was also in charge of fine-tuning minor points, such as aligning the pillars with the people inside the gate.
Thank you very much. I would like to ask you more about your work later. Next, I'd like to know what genre you are mainly working on, and what you are good at.
Yokohara: khaki started as a team of freelancers in 2012, and we became a corporation in 2016. Currently, we have about 15 members, and we have CG, online and compositing teams. About eight of us use C4D. Originally, we worked on commercials, music videos, live images and events but, in recent years, we have been challenging ourselves in genres, such as film and VR.
How much do you use C4D in your work?
Yokohara: The members of khaki have been using C4D for a long time. That's why C4D has been our main tool since we started.
In what kind of situations do you use C4D?
Yokohara: C4D is suitable for generalists. I like the fact that I can complete a project by myself. I've been using it since my freelance days. With each version, it became easier and easier to use, and I was able to create large-scale projects like the ones I've been working on recently, as well as more elaborate ones. So I can do motion graphics and environments, but also movie environments like Neverland, which means I have more and more opportunities to use C4D as my main tool.
We’re talking about Neverland, but your past works are also very distinguished. And you are involved in video production, as well as creative direction, right?
Yokohara: Yes, that's right. In many cases, I work from the conceptualization of the environment. For Neverland, I was responsible for everything from the conceptual design of the demons to the modeling and final production process.
The khaki team members who worked on the project were mainly young people between the ages of 25 and 30. We, the senior team, were in charge of the scenes involving demons and the foundation of the gate and supported them.
I knew that the demons were C4D, but I didn't realize that the environment of the flowers and pillars were also C4D. I didn’t recognize that first. Could you tell us about the parts of the film where CG was used?
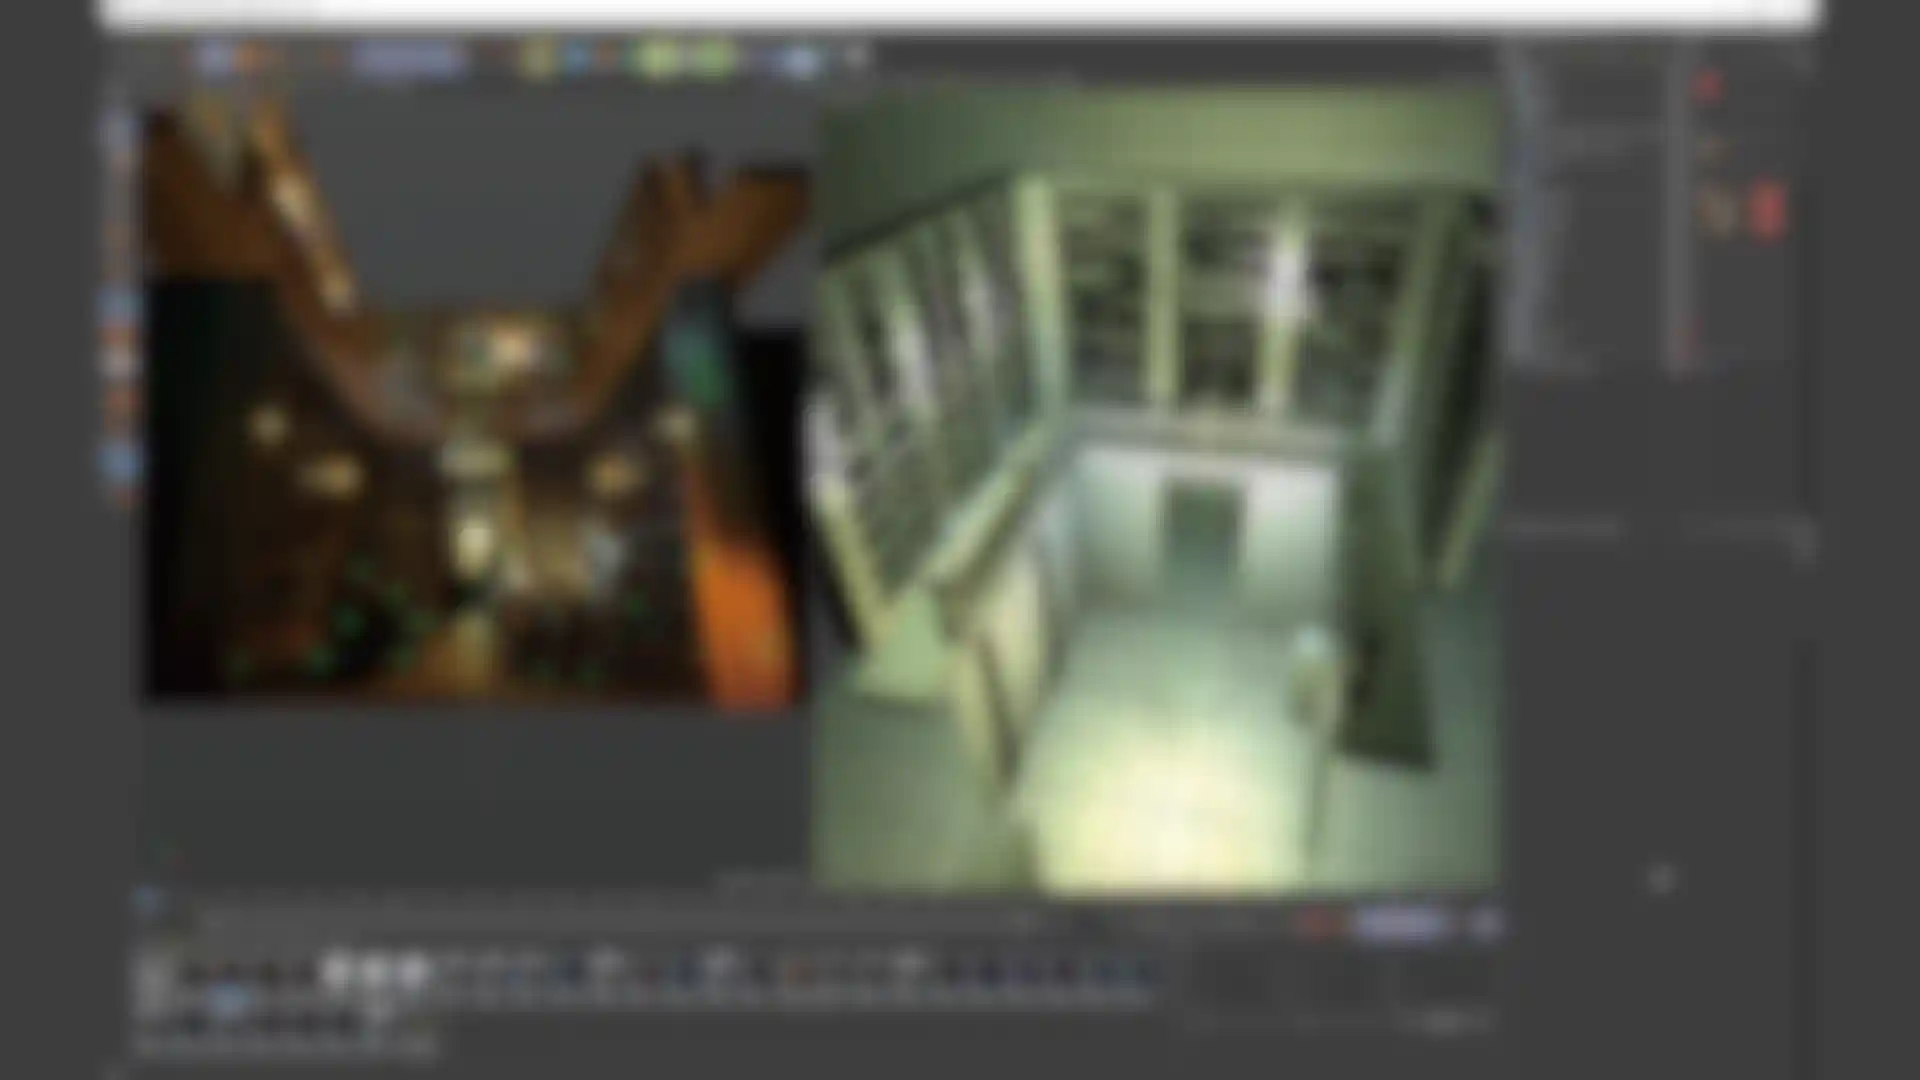
Yokohara: It's a good thing for the film that you didn't notice it, so I'm grateful for that as the VFX supervisor. Actually, in addition to the gates and pillars, the house was added in CG. You wouldn't recognize that even if you saw it. The gates were made in C4D and rendered using Redshift. Due to budget constraints, we were only able to build the first floor of the set, so we used C4D to fill in the gaps.
It’s hard to tell what is CG and what is real in today's movies. And the demon is also very scary.
Yokohara: As for the workflow of the demon itself, C4D was the hub. The modeling was done in Sculptris and ZBrush and then imported into C4D for next steps, including lighting. Painting was done in Marin and Substance Painter, and we returned to C4D to go through the look early on in Redshift.
Rigs and animations were left to the animators, who returned them to me in Alembic, and I did the final revisions myself. I used Houdini to simulate the clothes and, in the end, I sent everything back to Cinema 4D.
Does that division of labor help speed up the completion of the project?
Yokohara: At khaki, we've been using Alembic for a long time, and we've been using C4D for fine tuning, so we didn't have to worry too much. With that kind of workflow, we can outsource large jobs, so the range of projects we can work on expands.
How do you separate the materials when you take them to Alembic? Do you separate the parts?
Yokohara: Alembic comes with a selection tag, so it's fine. Originally, I completely separated the UVs and other selections. In the case of Neverland, I divided the parts into body, clothes, and masks. The eyeballs are also separate parts, and since Redshift allows us to use UDIM, we used UDIM for each. And, since it's for a movie, I used a lot of sheets.
Is it possible to improve the final product by placing the parts in C4D?
Yokohara: The main reason is that we're used to using C4D, but it's also easy to use for arranging scenes and lighting. It's a little thing, but it's very helpful to be able to use C4D to efficiently do each cut. The tags are visible, and the hierarchy and selections are easy to use.
Tell us why you chose Redshift as your renderer?
Yokohara: Redshift is fast and there was a large amount of material to render. If we had used a heavy renderer, we would not have been able to finish the rendering in time. With a heavy renderer, it would have taken a lot of time just to control the look. We used Team Render for rendering, using about 15 GPU render servers, but, even so, the data was so large that the memory was sometimes overflowing out of core.
Nigo: The textures are 4K, and the geometry is very large. There was one shot that was about 100 GB before it was rendered. As it got heavier and heavier in the second half, I got really nervous. I would check the render queue several times before I went home, but even when I arrived at home, I couldn't stop thinking about it (laughs).
Yokohara: With this one demon, the textures were based on 8K and 4K standards, but even at 4K, there were about 20 texture images for the body alone. And each of them has about 20 images in all channels. Only Redshift can spin that. We also used NUKE for compositing, but Redshift is a production renderer, so it was very helpful to be able to do AOV passes.
Tell us about the design of the demon. What did you pay the most attention to?
Miyano: I tried not to make it too original. Or, rather, I tried to design it in a way that would not give fans a sense of discomfort. Basically, I wanted to use the original story as the basis, but make it more powerful or scary by incorporating it into CG. So rather than trying to create it to my favor, I tried to be faithful to the original story.
When you design, do you make a rough sketch? Or do you go straight to the modeling tools?
Miyano: The latter. I started sculpting in ZBrush based on the original work and some other materials. I collected real world references of parts that might be helpful, and I just carved while looking at them.
How did you achieve the ogre-like, slimy texture?
Miyano: I used a software called Mari. You can work as if you were painting on a person's skin. For the slimy texture, I collected references and then adjusted the weirdness of the texture. I had to be careful because it would have affected the viewer's age rating if I made it too creepy. I also created a face for the unmasked part of it. In the end, though, it was not used in the movie.
Do you use standard Hair, or do you use plug-ins?
Miyano: I used the standard Hair. This was the first time I used it, so I worked while learning from others. I used all the experience I had in the past and applied it through trial and error. Even though I didn't know the right answer, I just had to make it.
Yokohara-san, did Miyano-san ever ask you for advice?
Yokohara: Yes. He would always ask me for advice on things he didn't understand, such as how to make the hair grow, and I taught him as much as I could one by one. Miyano had worked on characters for commercials before, but this was the first time he worked on such a sophisticated character.
I was struggling with how to make it more realistic, because I had to get familiar with Redshift, and I had to make wies decisions regarding the different channels. However, Redshift's preview is fast, so I was able to adjust things to some extent while looking at it, which was helpful.
So, how many retakes did you have?
Yokohara: If you include the compositing part, some of them went as far as version 85 or 94. There were always many difficult cuts.
How long did it take you to create the CG part?
Yokohara: About half a year. Shooting was finished in the summer of 2017, and I started concept design in the fall or winter of 2017. We worked on it from January to July of 2018. After that, we continued to make adjustments until the very last minute.
How did you manage to do that with such a small group of people?
Yokohara: We outsourced the animation and some other things, and we're very familiar with C4D, so there's not much to get lost in. The workflow itself was set up quickly, and then we focused on how to improve the quality and how to meet the director's orders.
So, since you are used to using C4D, you were able to take care of what needed to be done first and then focus on improving the quality?
Yokohara: Yes. For example, Tazaki made the reference for the cliff scene in C4D and we asked a Taiwanese company called Solvfx to produce it using C4D and Redshift. We did the compositing at khaki. It was very important for the cliffs to look real. If the cliffs were too obviously CG, it would have been bad, so I had to be very careful.
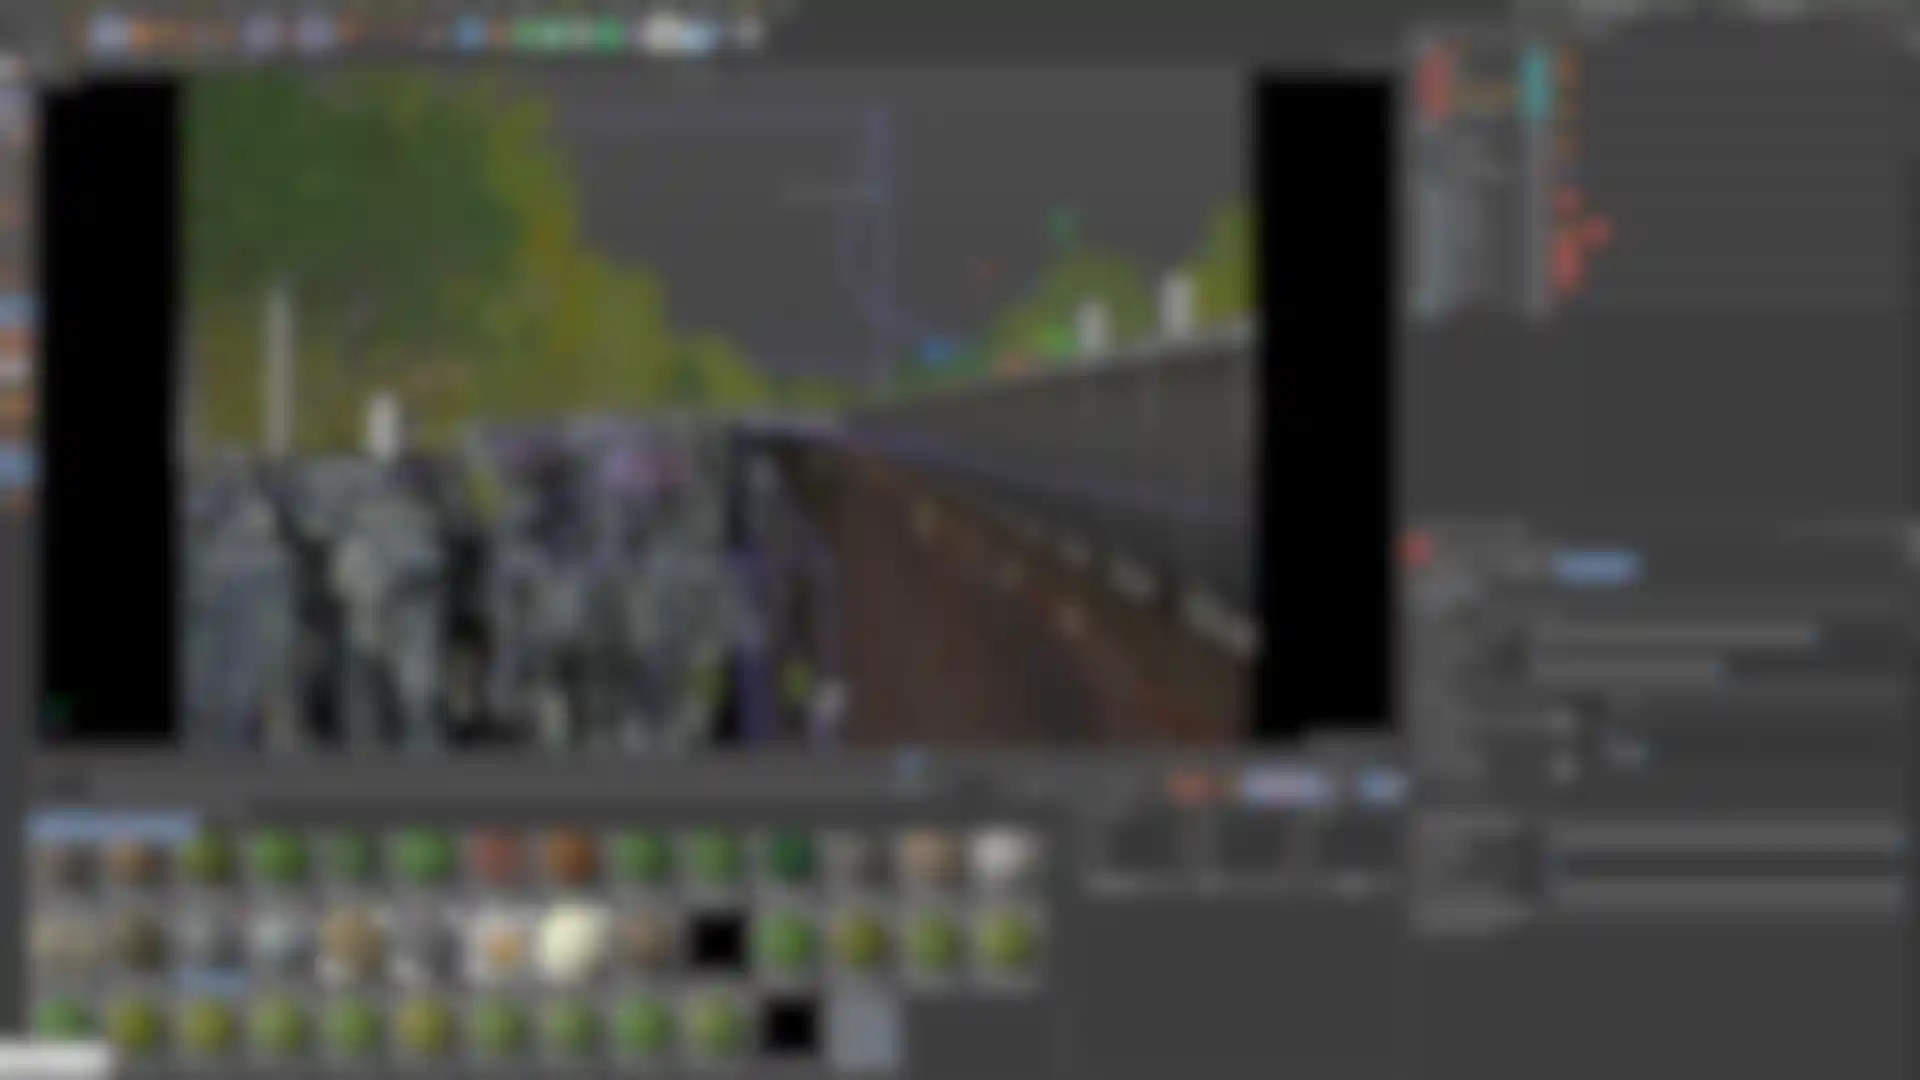
Tasaki: Originally, I built a set in the studio with only a fence in the foreground and bluescreen in the back. Then, I layered the materials of the people in the forest that were shot on location, combined the shots and extended them in C4D. As for the forest, it's almost a full CG replacement, using only some of the trees in the back.
What exactly do you mean by "making it not look like CG"?
Tasaki: In real life, a tree might sway a little in the wind. For this project, we tried to make it look realistic by using Speed Tree trees and setting them up to let the wind blow in. Also, there are lighting situations which can be faked, so I tried to reduce the cost by shooting “day-for-night” instead of shooting at night time.
How did you arrange the trees and grass in the forest?
Tasaki: That's where C4D came in handy. It has excellent placement tools and I used MoGraph, as well as Spline Wrap. The areas in the foreground that can be seen well were carefully placed by hand, and the areas in the environment were placed using MoGraph and random effectors.
As for the grass, if I tried to make it grow realistically, there would be hundreds of thousands of them, so I used Redshift tags to scatter the placement of the C4D matrix. It's very light. It gets heavy when you display it in the viewport, so you have to check it while looking at the render view.
Some cliffs and walls were helped by C4D. The cliffs and walls are slightly curved, but with C4D, it was easy to draw a spline and then wrap the the cliffs and walls along that spline. That also helped to fine-tune the placement afterwards.
Tell us about the environment.
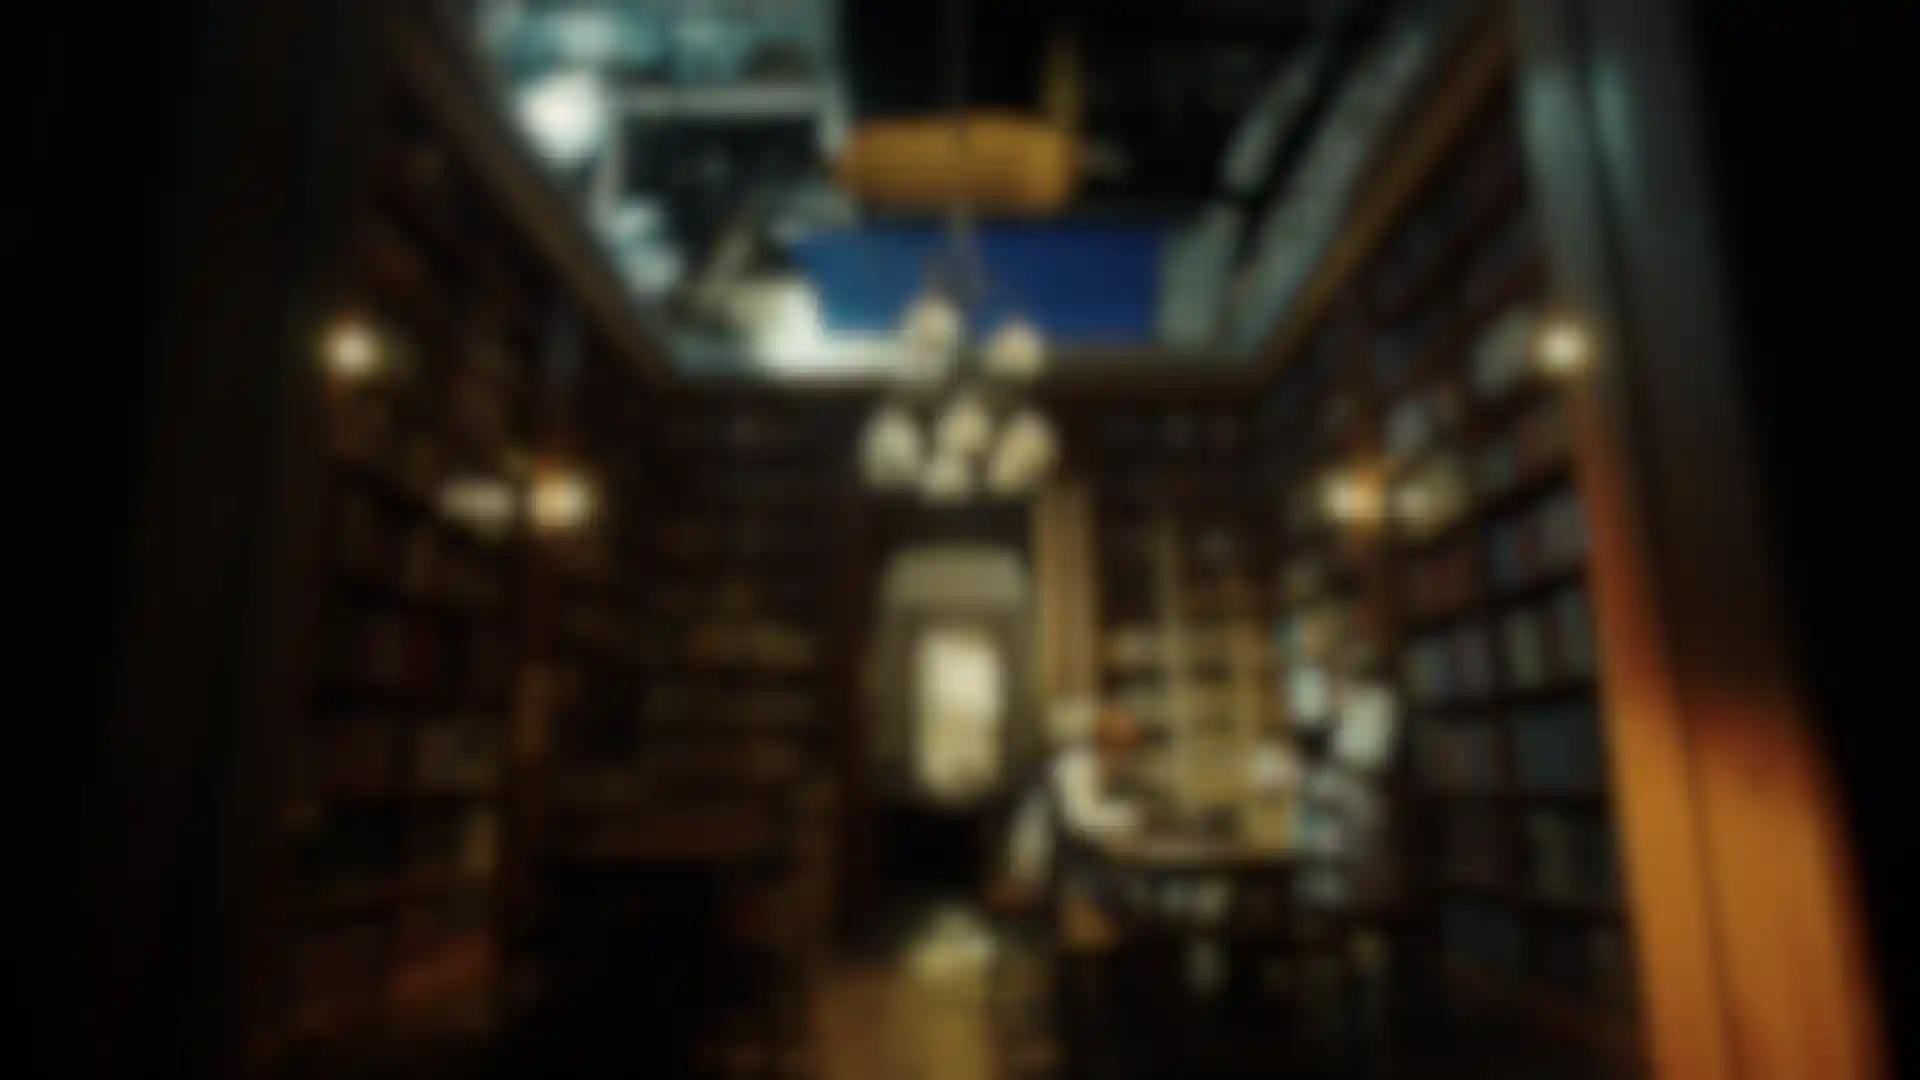
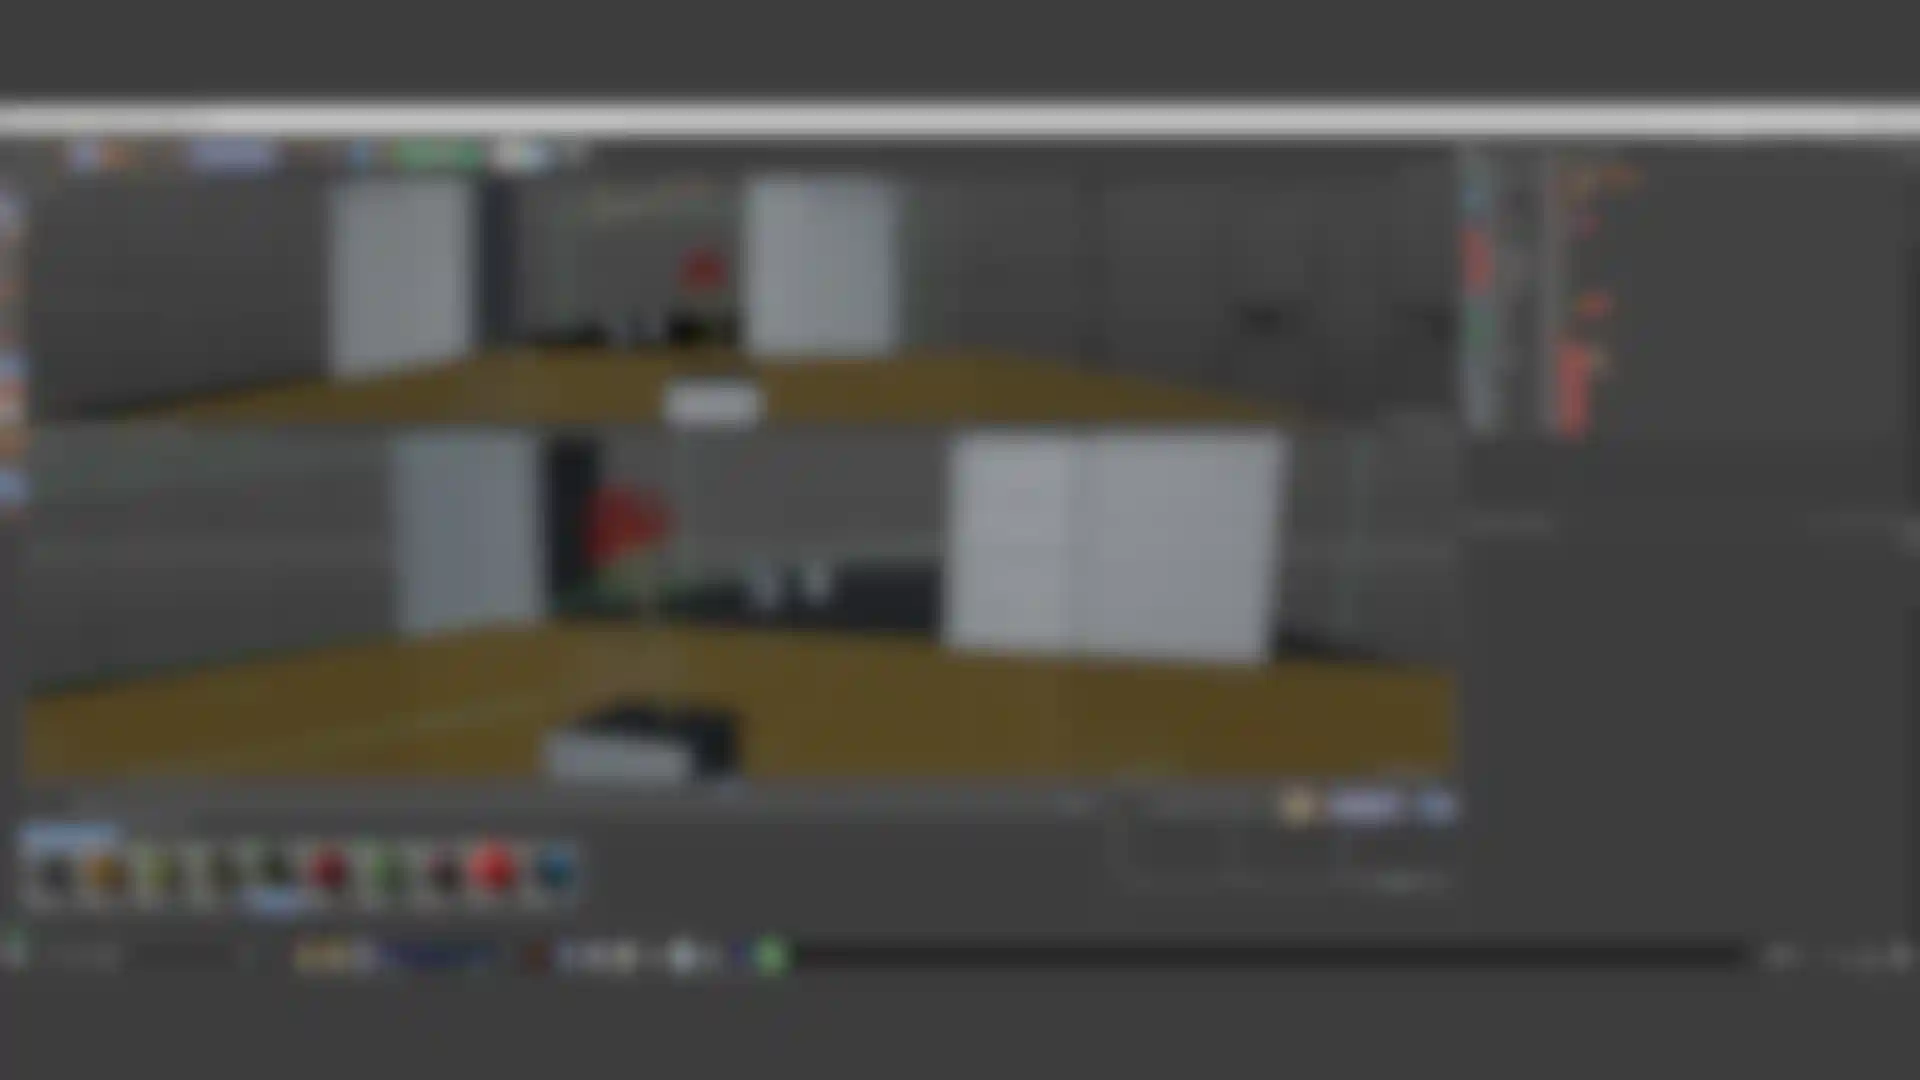
Nigo: The model inside the gate is quite polygon heavy. Yokohara did the polygonal modeling of the base mesh in C4D, then brought it to ZBrush for detailing before going back into C4D. From there, I brought in multiple cameras for tracking. That way we had the cameras for every cut in one single scene, 26 in total.
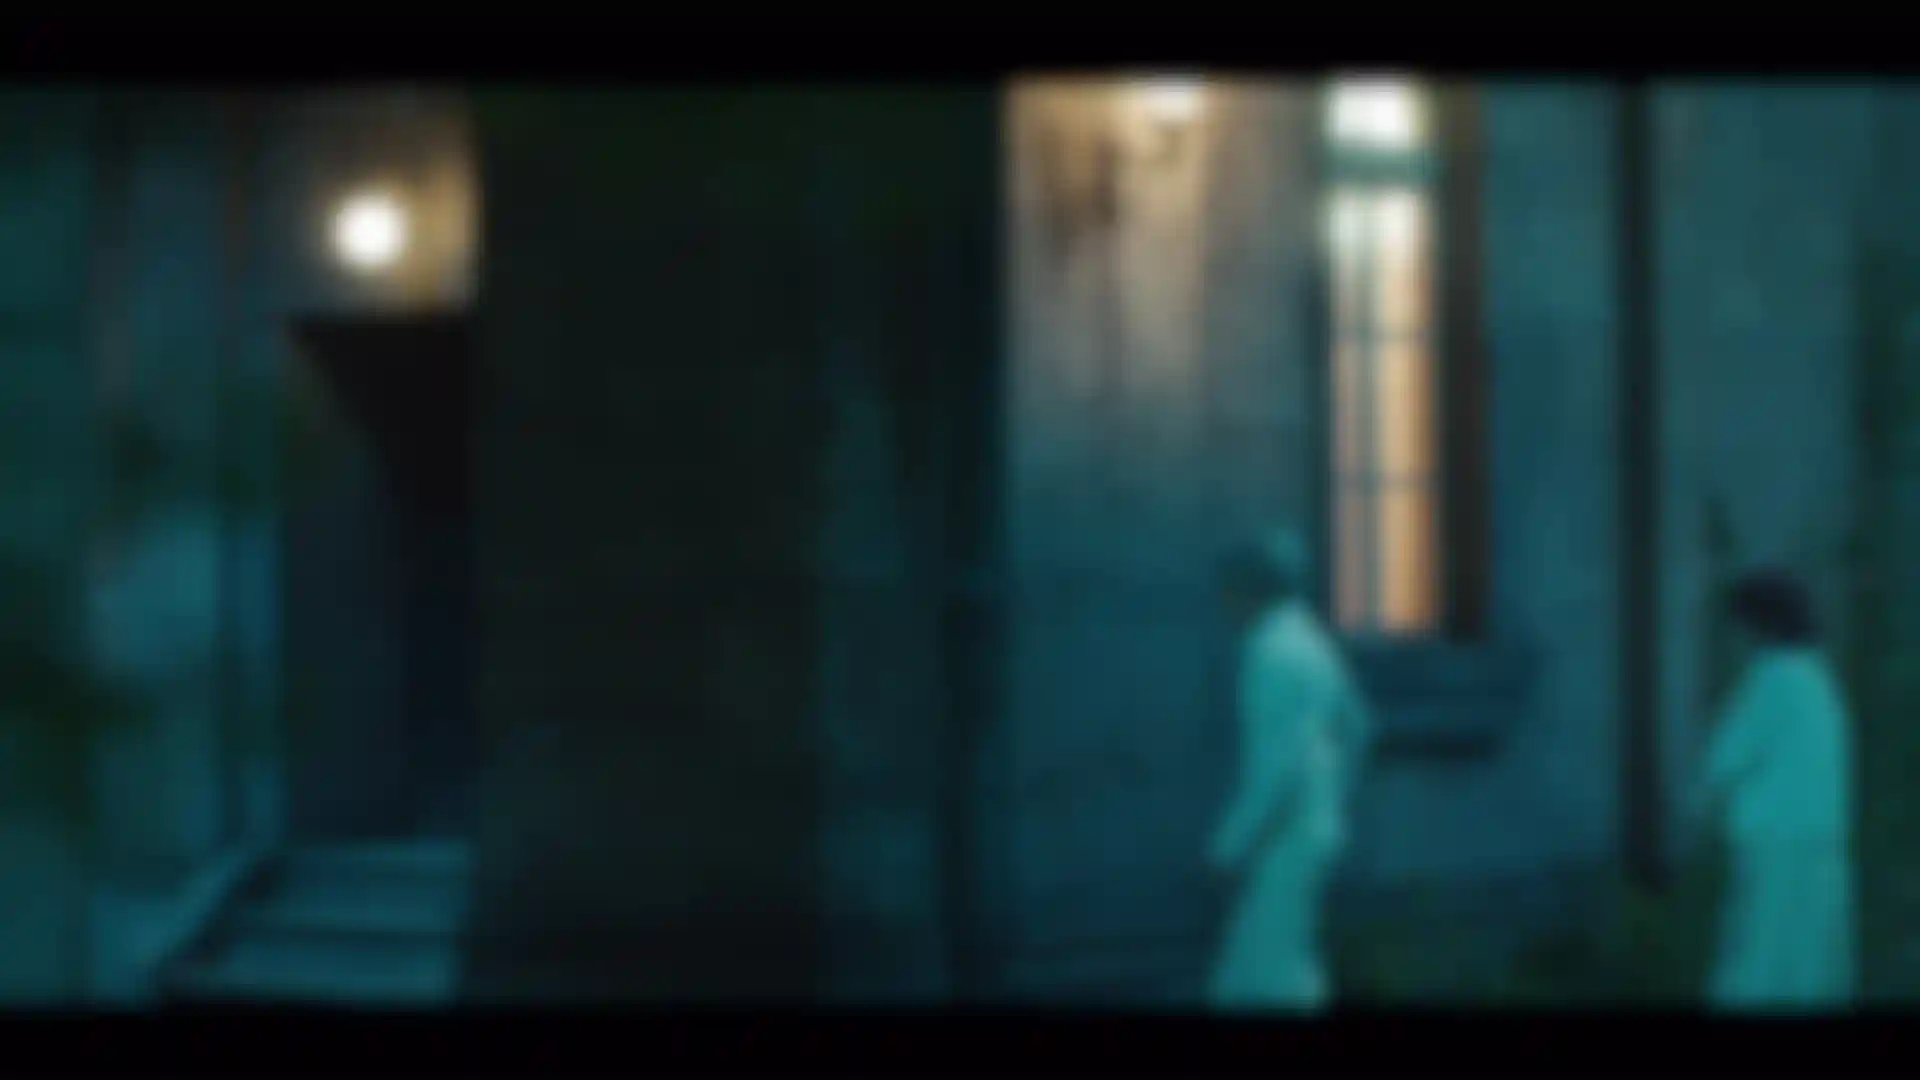
Nigo: The scene shown above, for example, was shot from the angle you see, and I took the data, specified the tracking and put each camera into one scene. It would have been very easy to just put the camera in one scene and render it, but depending on the cut, the position of the model and the pillar might be slightly different when I tried to match them in After Effects.
So, after rendering the scene once, I moved the position of the model a little bit each time to check if it would be different when the camera moved. It was quite a challenging process.
Yokohara: The lighting was also adjusted shot by shot.
Nigo: As for the lighting, forty percent of the work was done without adjustment and sixty percent was done with only minor adjustments. The good thing about using C4D was that I was able to correct the position of the cloner and new stance very easily. It helped me a lot.
Did you get the lighting data from the shoot, or did you just look at the footage and match it?
Yokohara: I used HDR for each shot or scene. However, there were many cases where we couldn't match the images perfectly, so we had to adjust the lights by eye. For the demons, the lighting during the shoot alone was not powerful enough. So Miyano, Nigo and others tweaked the lights and explored in C4D to make them look good while maintaining consistency.
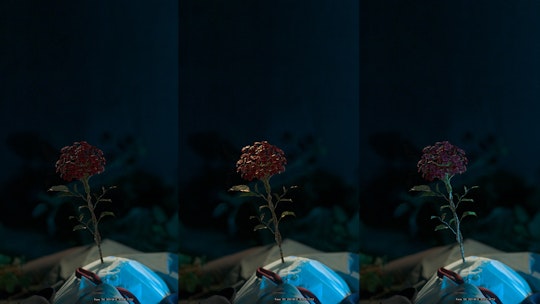
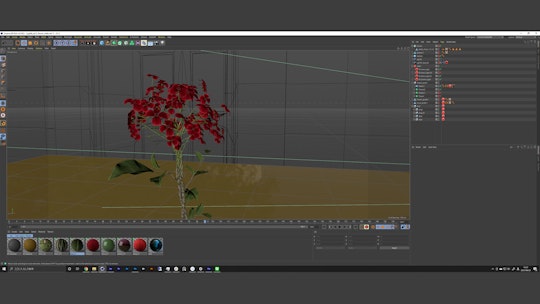
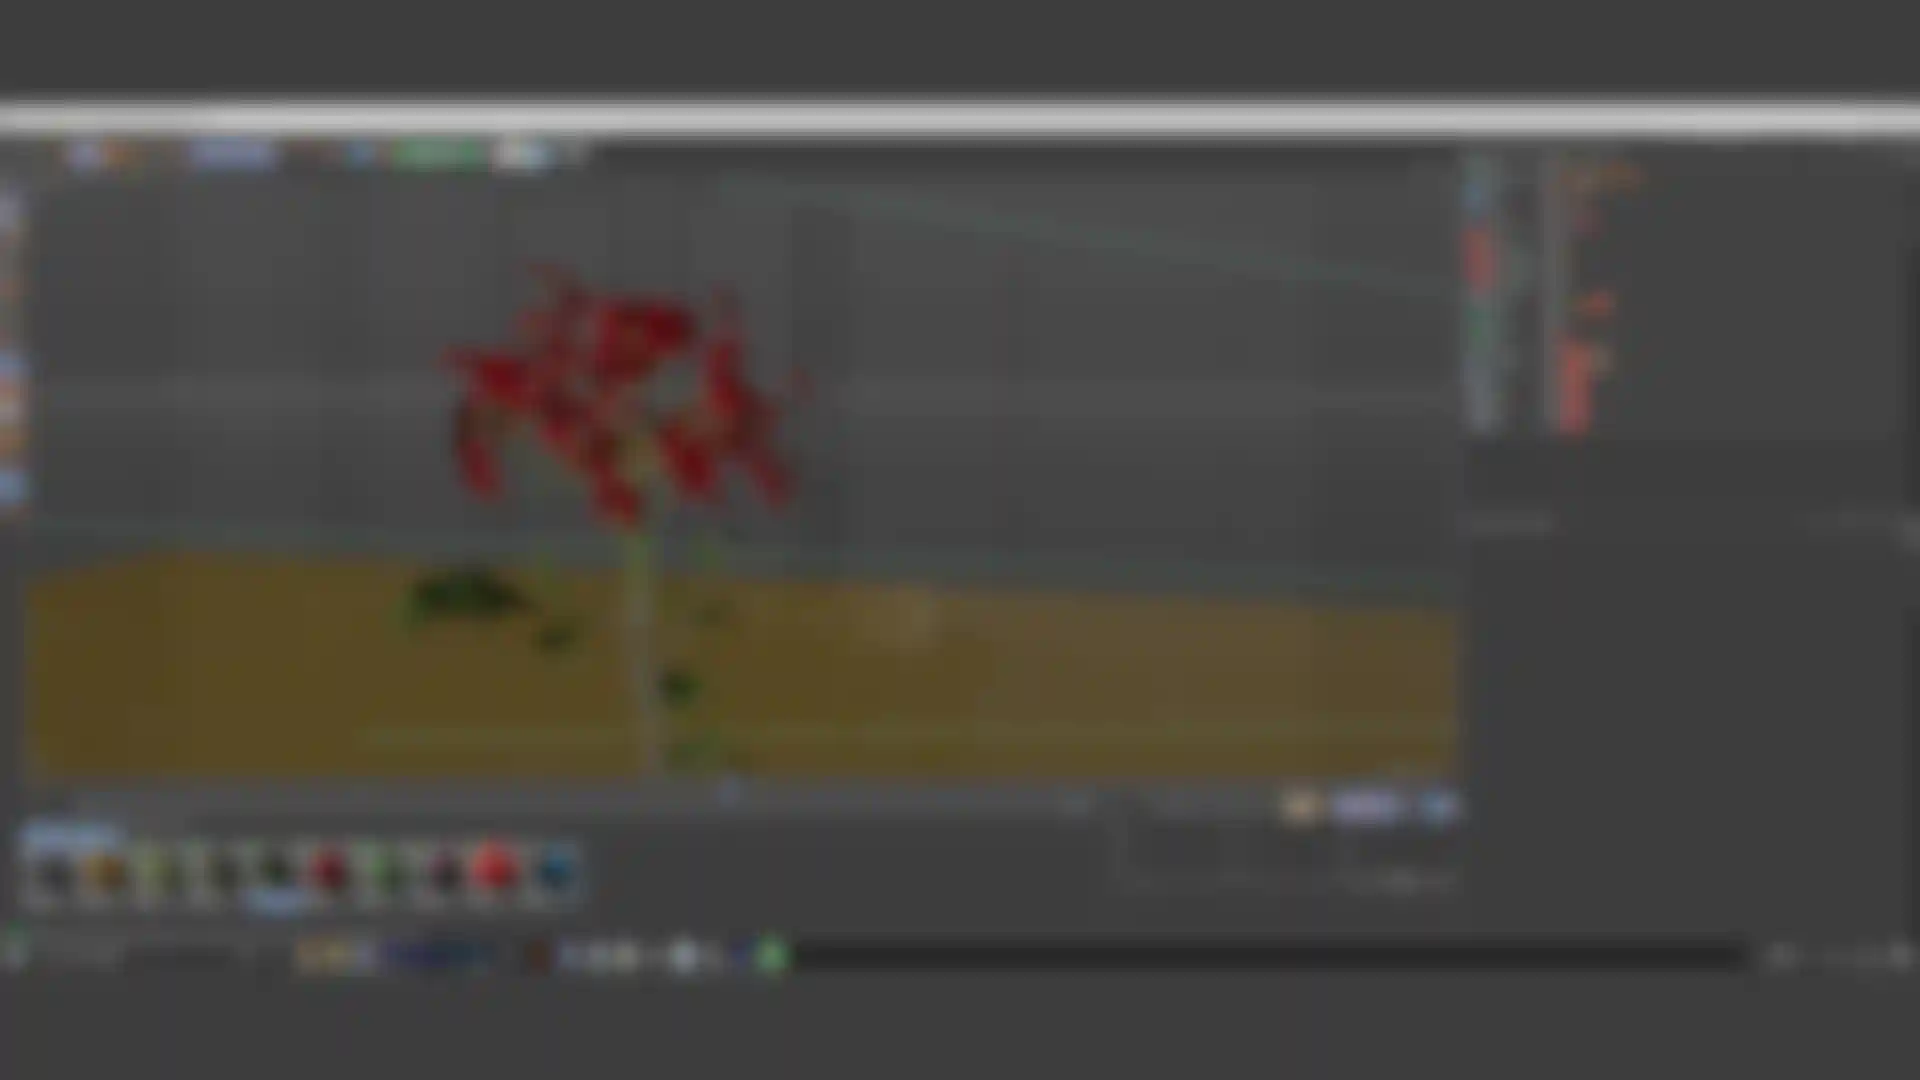
Is the symbolic item, a flower, also CG?
Yokohara: That's right. We originally had the flowers as props, but some shots required movement, so we replaced the flowers in C4D. I also erased the wires that were holding the flowers to make them look more realistic.
Nigo: For the flower, I got a model from Alembic. I oversaw the arrangement of the leaves and so on. But when I tried to use the actual model in the scene, the shape of the flower turned out to be too round. So I changed the layout and rematched the lighting. I also did many separate passes. To create a diffuse effect, I adjusted the blue ambient light, the orange light, and so on, to make them easier to edit. I used quite a few of them as materials.
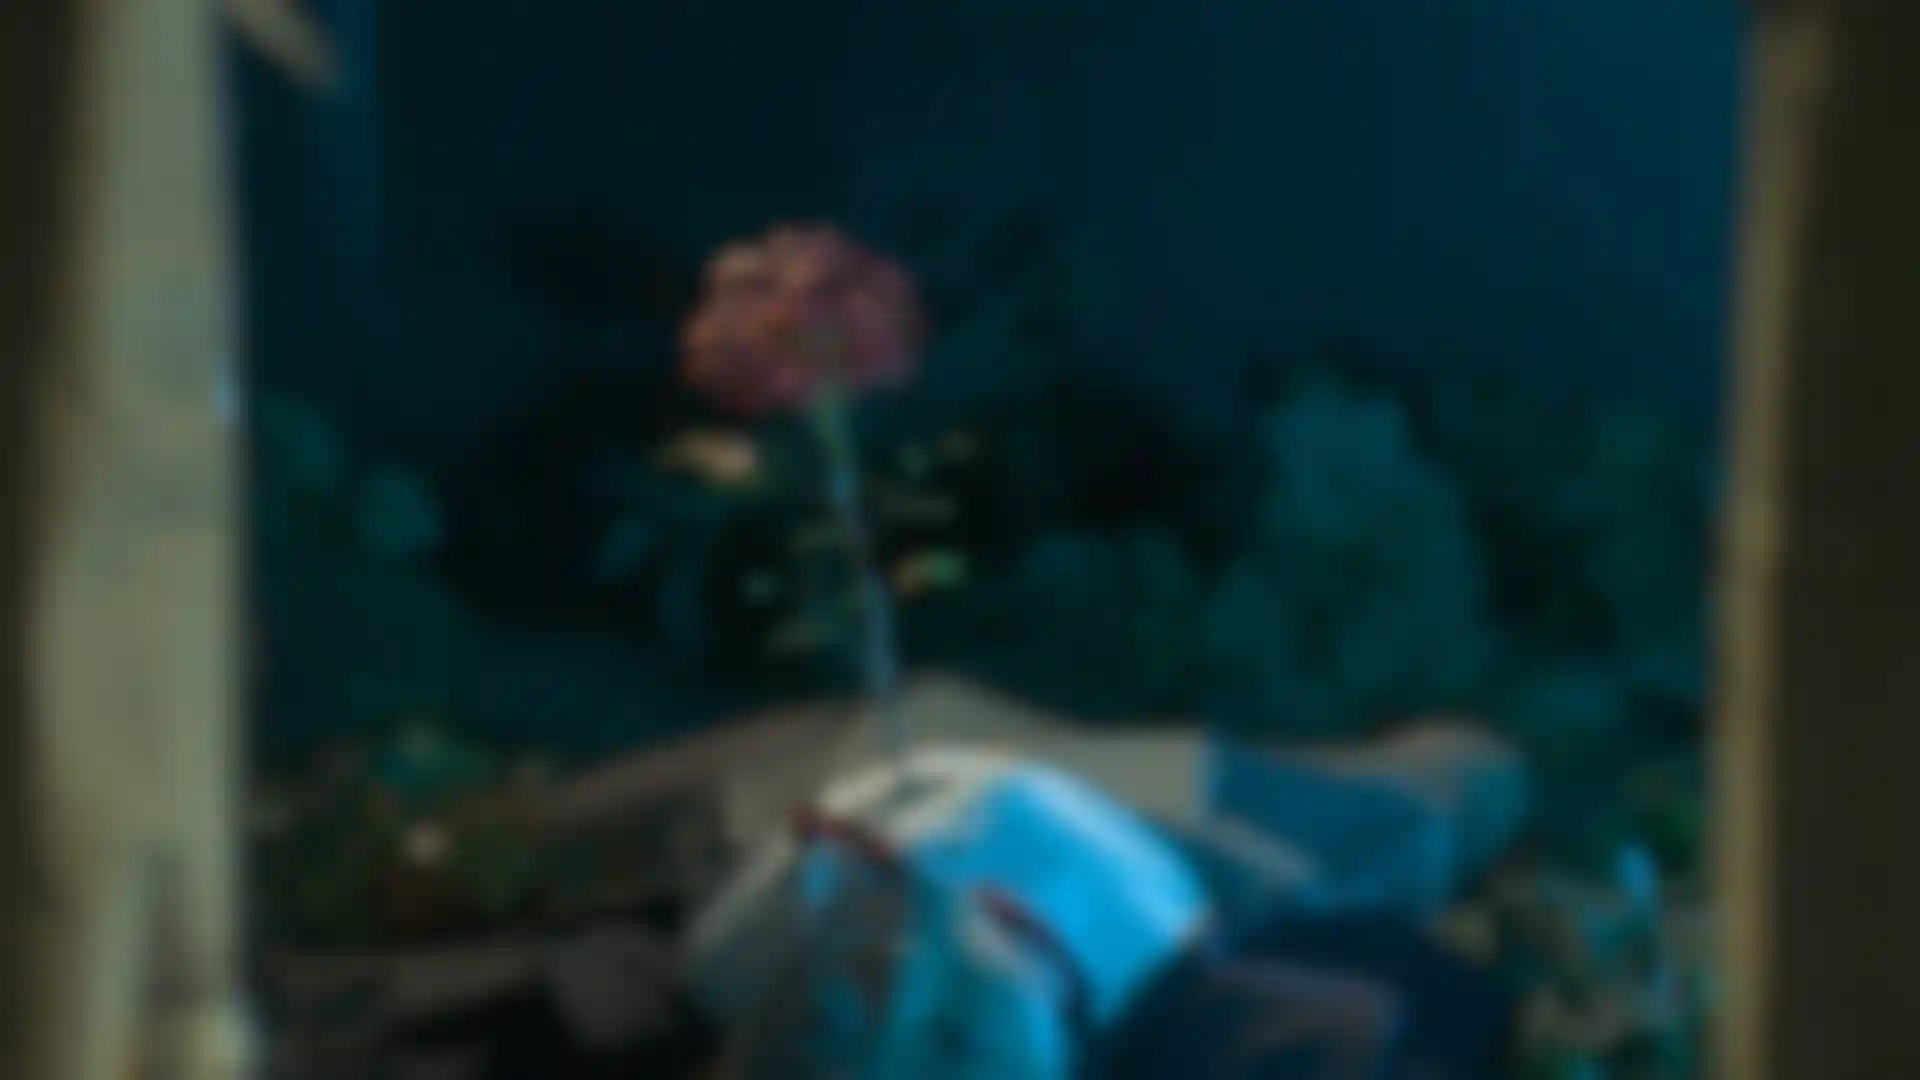
Nigo: The blue light came in from the left, and the orange light came from the far left, which created a great atmosphere. I spent a lot of time deciding on the perfect layout of the flowers and creating a look that was cool and cohesive.
Did you recreate the animation for the flowers?
Jingo: Yes. I edited the animation that came with the data and broke down the layout of the flowers one by one. When you look at the still image, it looks like it is well organized but, surprisingly, it is quite a lie. The petals are floating, and to be honest, it's a mess when viewed from the side. I made it in a way that it looks good from the front. That way, you don't notice the roughness.

Were there any plug-ins that you found useful in terms of C4D or Redshift functions?
Yokohara: Actually, I didn't use many plug-ins this time, because C4D's integrated functions are very powerful, especially the MoGraph Deformers, and in some cases, I deformed the Alembic assets and used Team Render. Redshift is a particular favorite of mine. I like the fact that it is a GPU renderer but can be used for high-end production.
I had a supervisor work with me on the compositing of the movie, and he had no problem using it just like any other renderer that is normally used for movies. It also comes standard with order and color management. So, even though it was my first time working on a film, I was able to do it as an extension of my normal work, mostly on commercials. The standard is very powerful, so I had no problems.
Nigo: MoGraph is excellent. When I was adjusting the flower, I found it easier to use Taper or Bend in MoGraph than to directly modify the Alembic models. It was also easy to duplicate the petals with a cloner to create a random effect. I was able to determine the effect values of the fields and tweak the model in C4D, that was really useful.
Tasaki: I think Deformers are quite powerful. I rely on the flexibility and accessibility through the object manager for scene creation. The advantage is that I can create scenes quickly and change them easily later, which gives me speed and flexibility, especially when creating the environment.
The materials are also visually easy to understand, so I can tweak them sensitively and can replace them in an instant. That kind of trial and error is necessary for 3D/CG, so I think C4D is superior in terms of its ease of trying out things and its flexibility.
Would you recommend Maxon products to other artists?
Yokohara: For a small company like khaki, we want to work with as few people as possible from design to completion, even for a large-scale project like a movie. With C4D and Redshift, a small number of people can work quickly from the initial image to the final output. Even if there is a major revision, it is easy to fix because it’s easy to see the results of your changes.
Jingo has been working with C4D for about two years now, and he is quite familiar with it. Miyano is a modeler by profession, but he was also able to quickly learn to create C4D scenes and light them. So I would highly recommend Maxon products for organizations with a small number of people who do everything from design to finish. It gives you the fastest results.
Do you have a message for young people who want to become creators?
Yokohara: Especially in 3D/CG, the tools themselves are quite difficult to learn, but after using various tools, C4D was the fastest tool for me to pick up. You can create motion graphics, environments and characters by yourself. So I would recommend young artists to give it a try.
Thank you very much for your time.