Ryse: Son of Rome We talked to Crytek artists about their use of ZBrush in the creation of one of the best looking Xbox One titles and the art side of CryEngine.
Ryse: Son of Rome was one of the first titles to launch for the new Xbox One platform, coming out the same day as the new hardware. It’s also an Xbox One exclusive, giving it the ability to truly showcase what the platform is capable of.
And showcase it did! For example, GameZone’s Mike Splechta stated that, “Ryse: Son of Rome is a gorgeous game, possibly the best looking Xbox One launch game.”
In the first part of this interview we speak with several of the artists that brought the game to life for Crytek, exploring topics such as what it was like to create for the Xbox One, the art side of CryEngine and of course a lot of ZBrush!
Could you introduce us to the ZBrush artists who worked on Ryse: Son of Rome?
Abdenour Bachir: My name is Abdenour Bachir. I’m a Senior Character Artist at Crytek. I have been in the industry for over 16 years and have used ZBrush since version 1.5.
Some games I worked on making use of ZBrush include PGR3, The Club, Bloodstone, Blur, Crysis 2 and Ryse.
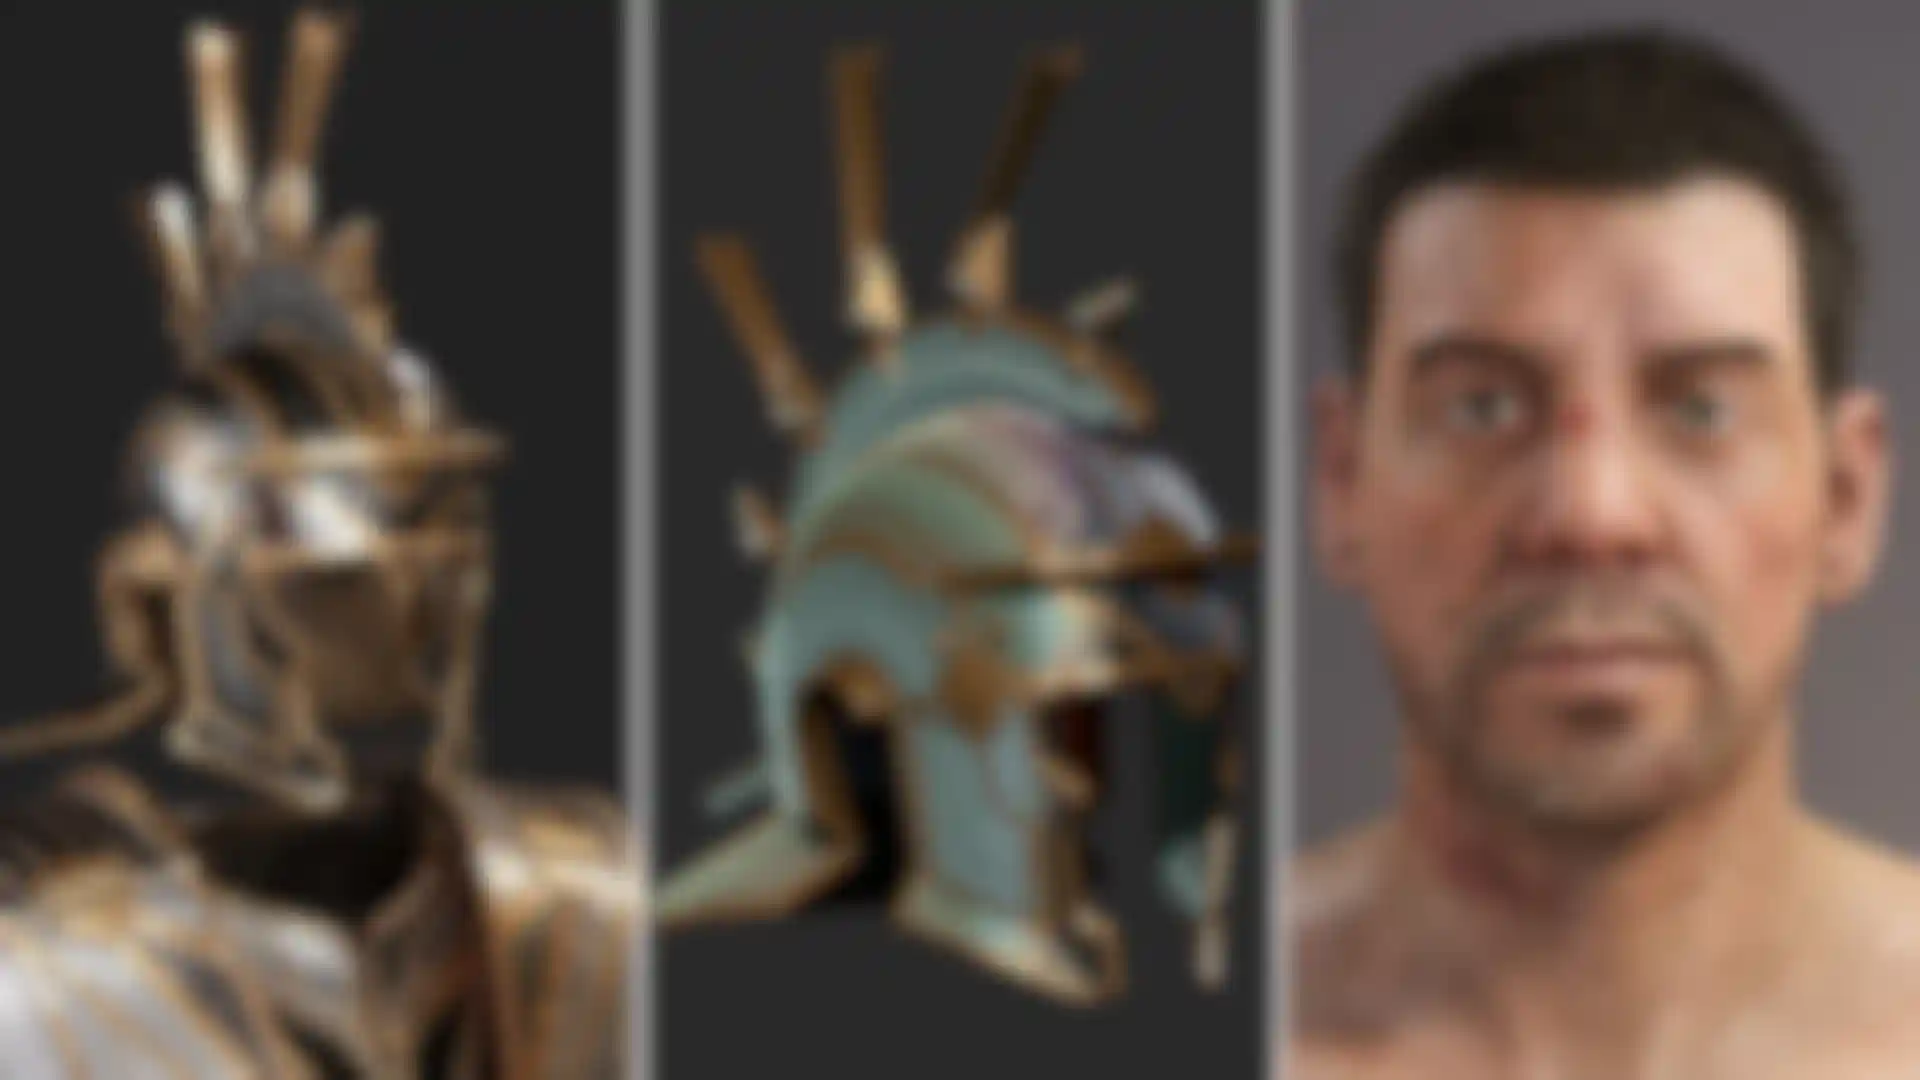
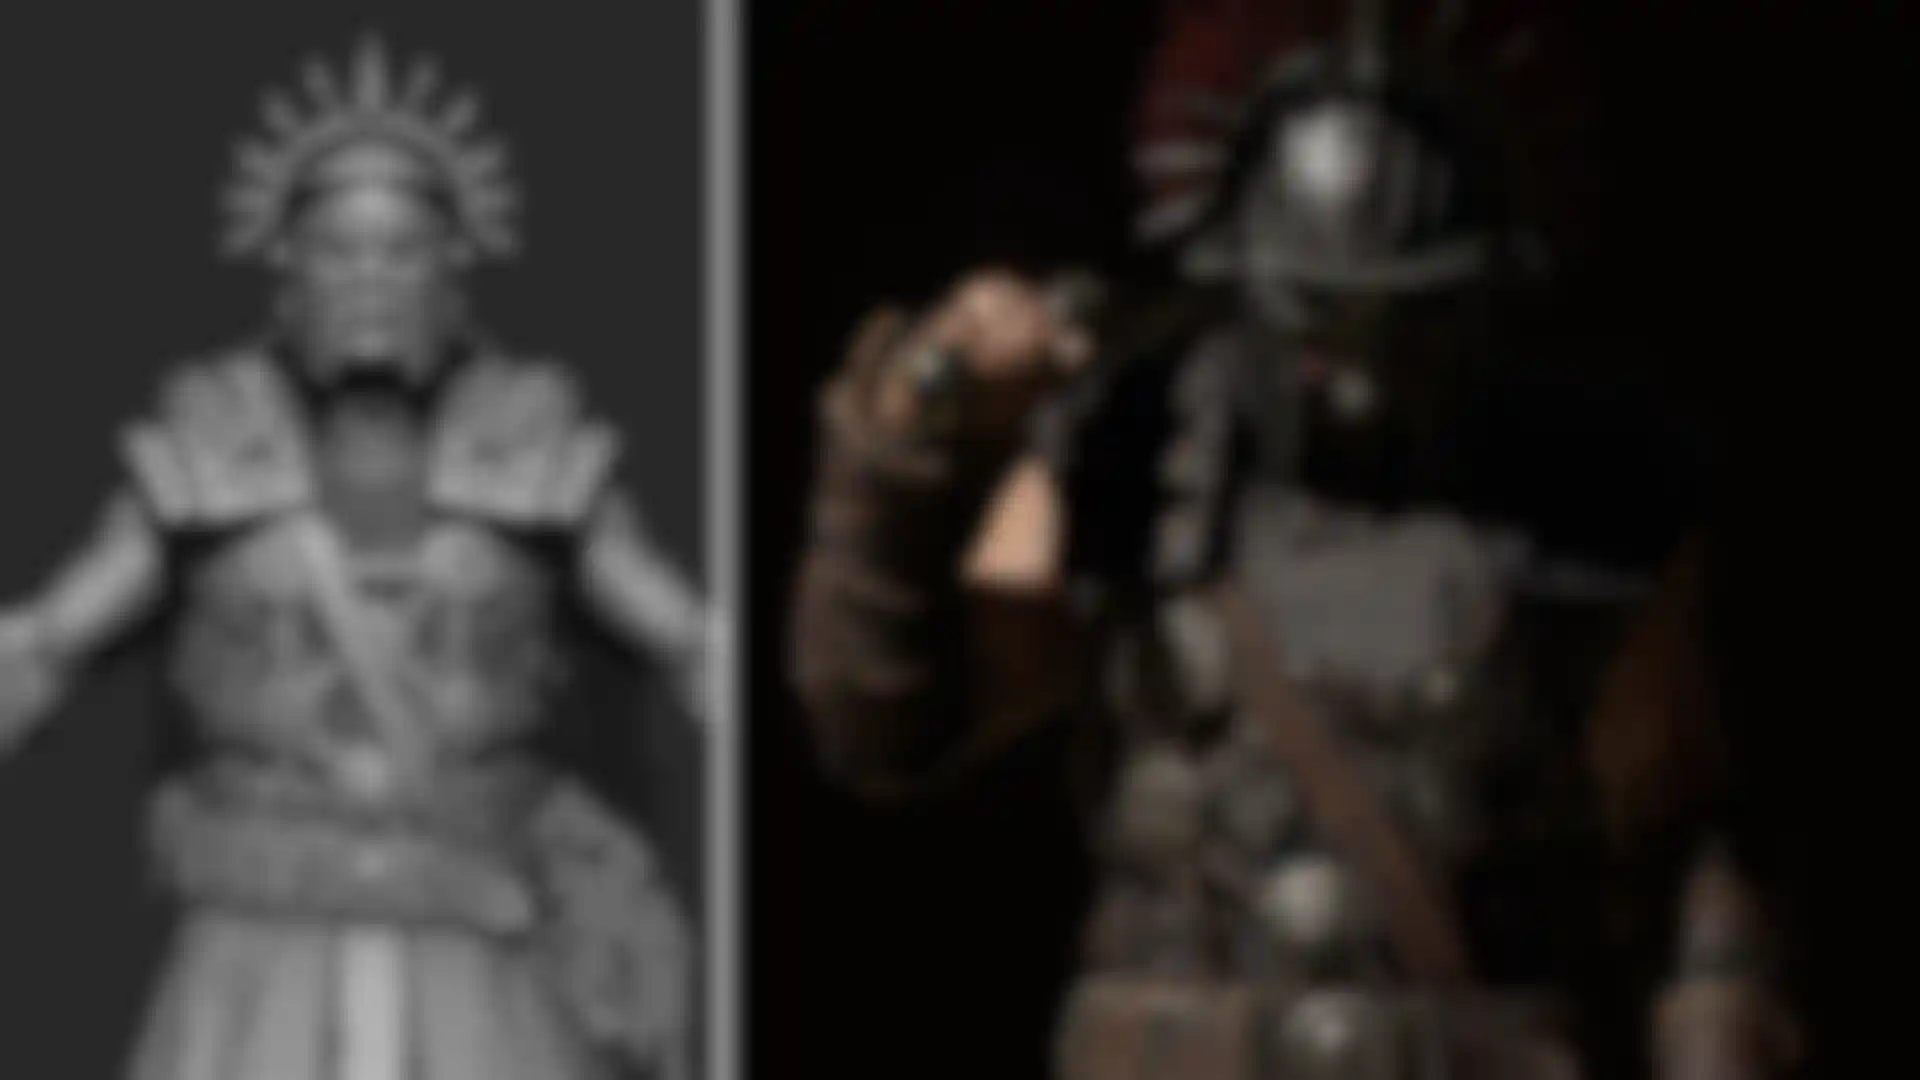
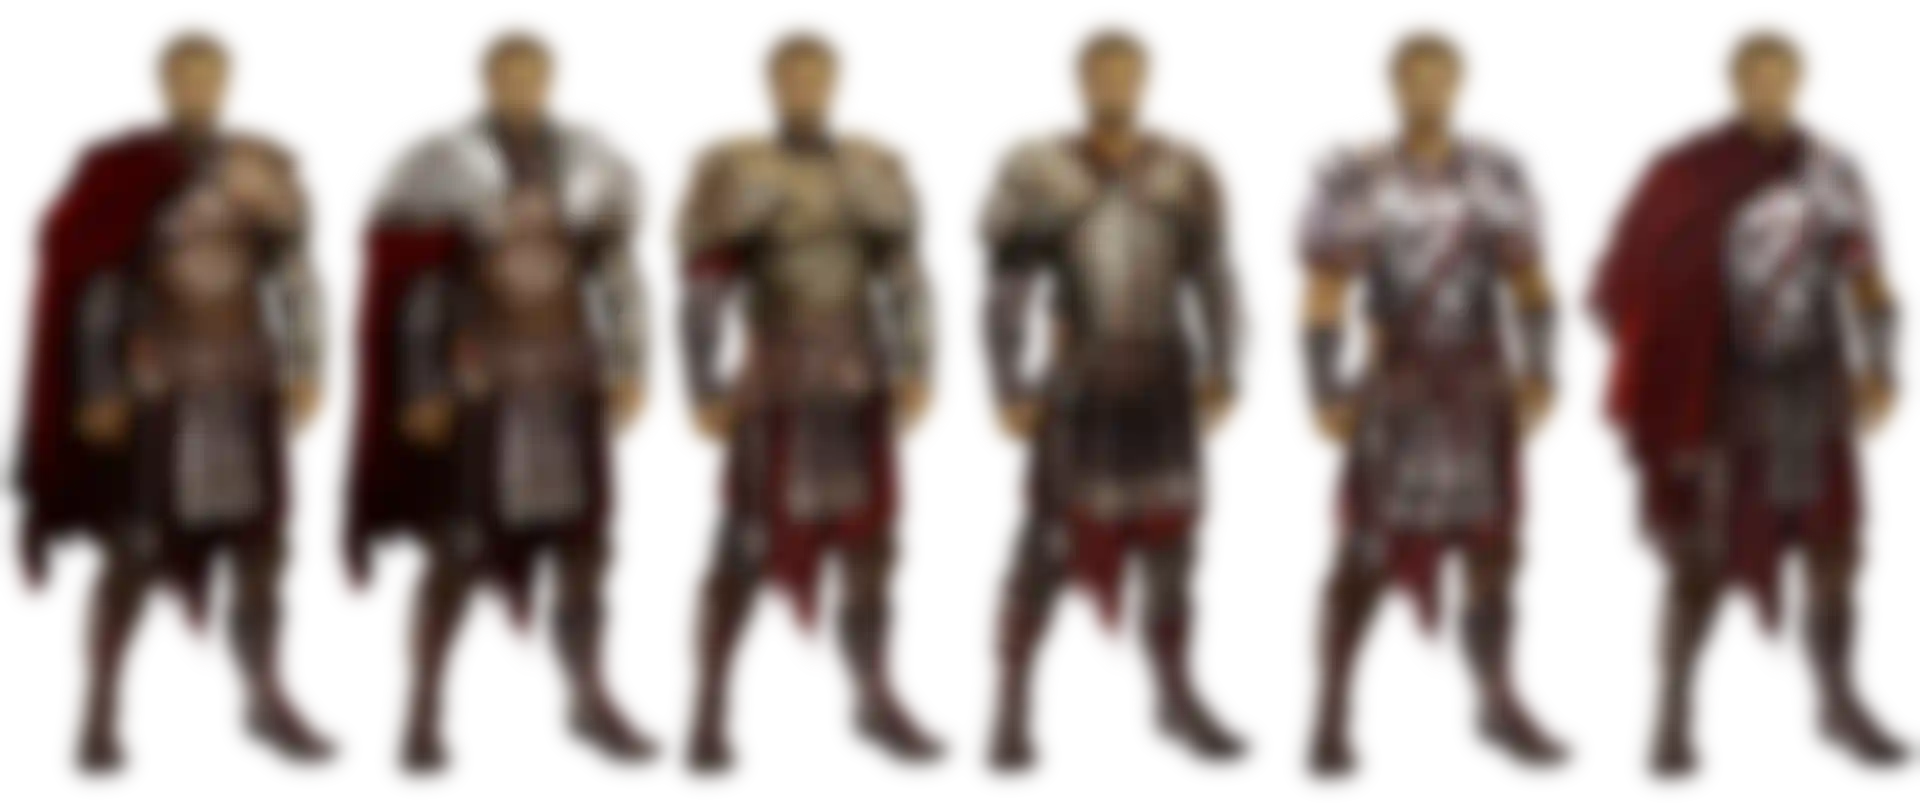
On Ryse I was in charge of the Roman armies which included Marius (the main character of the game), the legionaries and the praetorians. I also worked on several of our character art pipelines, like the facial pipeline implementation.
Chris Goodswen: My name is Chris Goodswen. During the production of Ryse my role was the Character Outsourcing Artist. I dealt with the feedback between the twelve outsourcing artists and our internal direction staff. In addition to that I also worked as a regular Character Artist, mostly on the civilians and the DLC characters.
Florian Reschenhofer: My name is Florian Reschenhofer, I'm a Character Artist at Crytek. On Ryse my workload was somewhat split between actual production work and things that are more “behind the scenes,” such as developing our hair & fur workflow and helping with R&D of real-time cloth. I did work on barbarians and a number of hero characters such as Boudica and Oswald (primarily hair and fur). I also got to do Marius' face.
Hyejin Moon: My name is Hyejin Moon. I am a Senior Character Artist at Crytek. On Ryse I worked on some of the game's characters, like Marius’ father, Nero and Basilius.
Lars Martinsson: My name is Lars Martinsson and I’m a Senior Character Artist at Crytek. I have worked here on Crysis 2, Crysis 3 and now most recently Ryse: Son of Rome, where my most noticeable contribution was Damocles. I also helped out with the in-game cloth R&D, like Marius' and Damocles' capes.
Rokly Wang: My name is Rokly Wang and I’m a Senior Character Artist here at Crytek. On Ryse I mostly worked on cinematic characters such as Summer, Oracle and Winter.
Crytek is best known for the Crysis and Far Cry games, which are set in the modern era. What did it offer to you as artists to go thousands of years into the past with Ryse?

Abdenour: We wanted to recreate the Roman era with our own twist. It is filled with works of art that are mostly hand-crafted and contain an enormous amount of details. This was made possible by the sculpting brushes supported by many classic tools only found in ZBrush.
Lars: Visiting this other world was a joy and a welcome change of setting and style. I requested to move over to the project the moment Crysis 3 was done. Researching the cloth and armor and then mimicking the way they were built and the materials they were made of was a fun and rewarding challenge. Especially with the better tech and hardware at our disposal.
Florian: It’s a lot of fun to try recreating the look of something hand-crafted. It’s really important to focus on how things might function or how they were made.
With Ryse there was also a strong contrast between the factions in terms of technology. On the one hand you have the very low tech, tribal barbarians. All their stuff has a very handmade and individualized character to it. Then there is Rome, which feels almost sci-fi in comparison; especially with the extra Art Deco twist.
Chris: It was a great opportunity for me to push myself into an era I had not really looked into. It allowed me to focus on creating the assets in a crafted way as well as considering their function in the Ryse universe.
As an Xbox One exclusive title, what impact did the next generation console have on the art of Ryse?
Abdenour: It meant being able to use much higher resolution textures and assets. We could go into much more detail with our ZBrush models, which is visible when you see the final assets.
Lars: It was a much appreciated hardware boost by both artists and programmers alike. We could all of a sudden have real-time simulated cloth on the characters, physically-based shaders and our facial setup could be way more complex to do wonders simply not possible before.
As an artist, a higher polygon budget and texture resolution for our characters is always welcome. But when you're given the possibility to add more details you also have to be smart with your workflow, since putting these extra details into your work can potentially drain a lot of production time.
Florian: One of the core pillars of the game was the “6 feet to 6 inches” idea: We wanted to really own that range and let players experience the intimate and brutal nature of melee combat in Roman times. But this wasn't just about boosting details and increasing texture resolution - we needed to really sell our characters up close. This meant a lot of new tech and features, such as an intricate facial animation system, real-time cloth and generally loads of secondary motion. Also, much better shading and lighting, etc.
A lot of these things required us to change and adapt our workflows. For example, with cloth we had to figure out how much folding and wrinkling we could add as baked-in detail without clashing with what the simulation was doing.
Chris: With the next generation came the need for more detail and characters that could survive both close to the camera and within the cinematics. For me it was a leap towards a new set of workflows that would allow me to attain the level of detail that we were focusing on.
Of course, Ryse was also a Day One title, meaning you didn't have the benefit of years of experience with the platform's systems and capabilities. How did that affect your work?
Abdenour: The console turned out to be very similar to a PC, so it didn’t affect us as much as we thought it would. The biggest problem came from not knowing the exact console specs until very late in the production. It meant we had to make our assets whilst being careful to not go crazy on polygon counts, etc...
The main part of our work ethic was to make the game mesh as close as possible to the high resolution asset while not wasting one triangle. Every polygon counts!
Florian: The tricky thing was figuring out just how much we could squeeze out of the new platform. Some of the new features had to be developed from scratch but at the same time, the system’s specs kept changing. Certain features and character budgets weren’t set in stone until well into production.

Lars: Developing for new hardware is always tricky. In the beginning of production the final hardware was still in development so we had to rely on estimates when it came to polygon counts and texture resolution. We decided to texture the high polygon version of the assets for this production, which gave us much more flexibility to change the in-game version's polygon count and UV layout if needed. We could always just re-bake all necessary maps from the high-poly model.
It also meant that a lot of tech had to be tried out and developed in parallel with production. I think flexibility is the key word when there are so many unknowns.
What was your overall goal for Ryse's art direction?
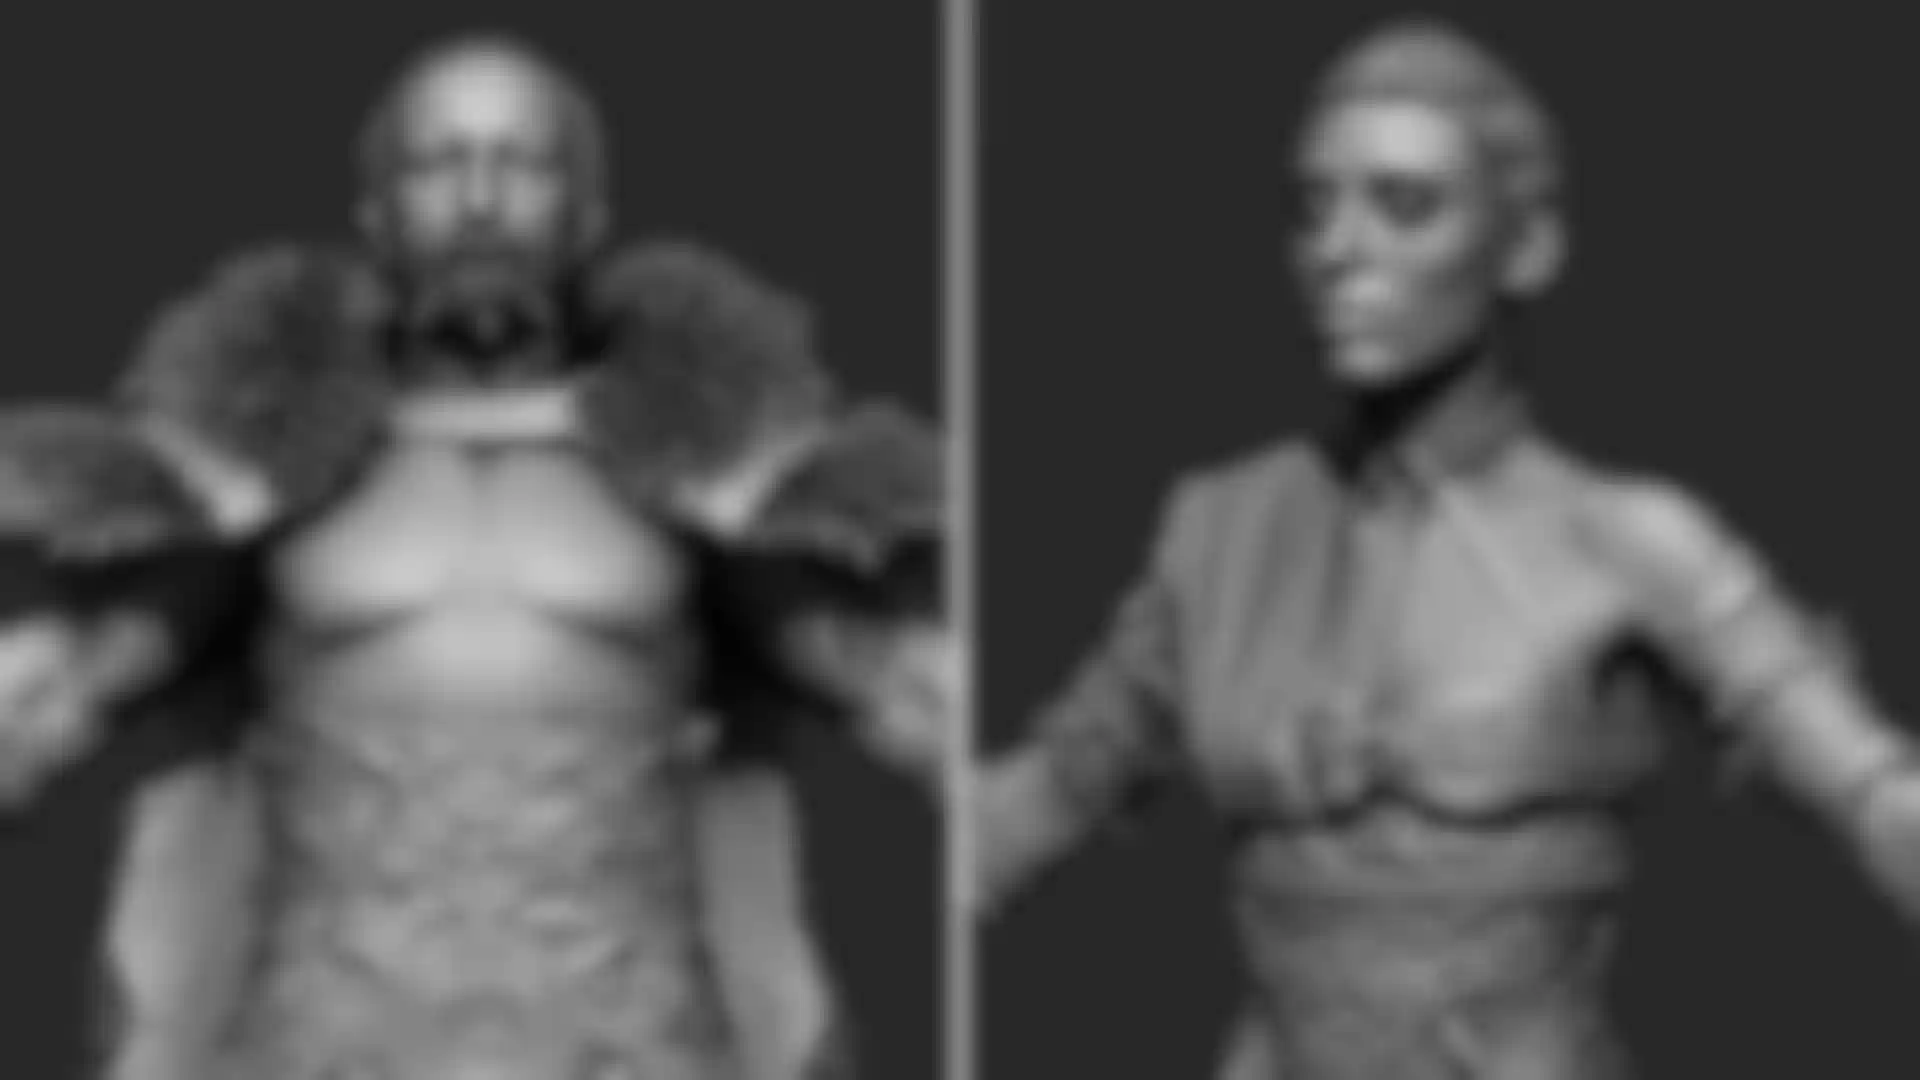
Abdenour: From a character art perspective, we were trying to achieve our own take on photorealism. It meant making believable characters, using as much life reference as possible to make our assets as grounded in reality as we could while adding our personal touch to it. Many examples can be found, but for the heads we had real actor scans as the base for our work. We would manually sculpt from there and change part of the face to give more it more distinct features. It’s comparable to putting make-up on an actor’s face! We also manually painted most of our textures, which really helped give our characters this extra artistic touch that keeps them from being strange.
Chris: For me it was to help create believable characters that the player could accept no matter what their place was within the Ryse universe.x
Where was ZBrush the greatest benefit in realizing that goal?
Abdenour: ZBrush allowed us to push the high level of detail we wanted on our assets. The number of SubTools and the Layer system made our workflow non-destructive. We were developing the look of our characters while going through production and we could easily make changes. If some carving on an armor piece had to be changed, it was just a case of taking off that layer and making another one.
In essence, the sculpting process in ZBrush was the part where we would save the most time. Surface noise, masking, PolyPaint -- all could be done in a day.
Lars: With the quality and amount of detail we had in mind, using ZBrush was an easy choice to make for the high polygon modeling. First of all, no other 3D package could handle the sheer amount of polygons we needed and with Decimation Master we could even get the entire high-poly assets in to the engine for art reviews and tests. This gave us a shortcut that meant we didn't have to wait for the actual in-game mesh to be done.
ZBrush also contributes now more than ever when it comes to 3D concepting, thanks to DynaMesh and ZRemesher.
Chris: Adding details to the models and allowing for quick iterations of designs to fit the direction.
Could you describe challenges in which ZBrush was of use to you and go into detail regarding how ZBrush helped overcome it?
Abdenour: DynaMesh was used heavily very early on during or discovery phase. This phase mostly meant researching different visual styles that would help support the game vision. A lot of stylized heads and characters were very quickly researched with the power of DynaMesh’s unconstrained workflow. I would starting from a sphere or box and creating heads or bodies in a very creative way.
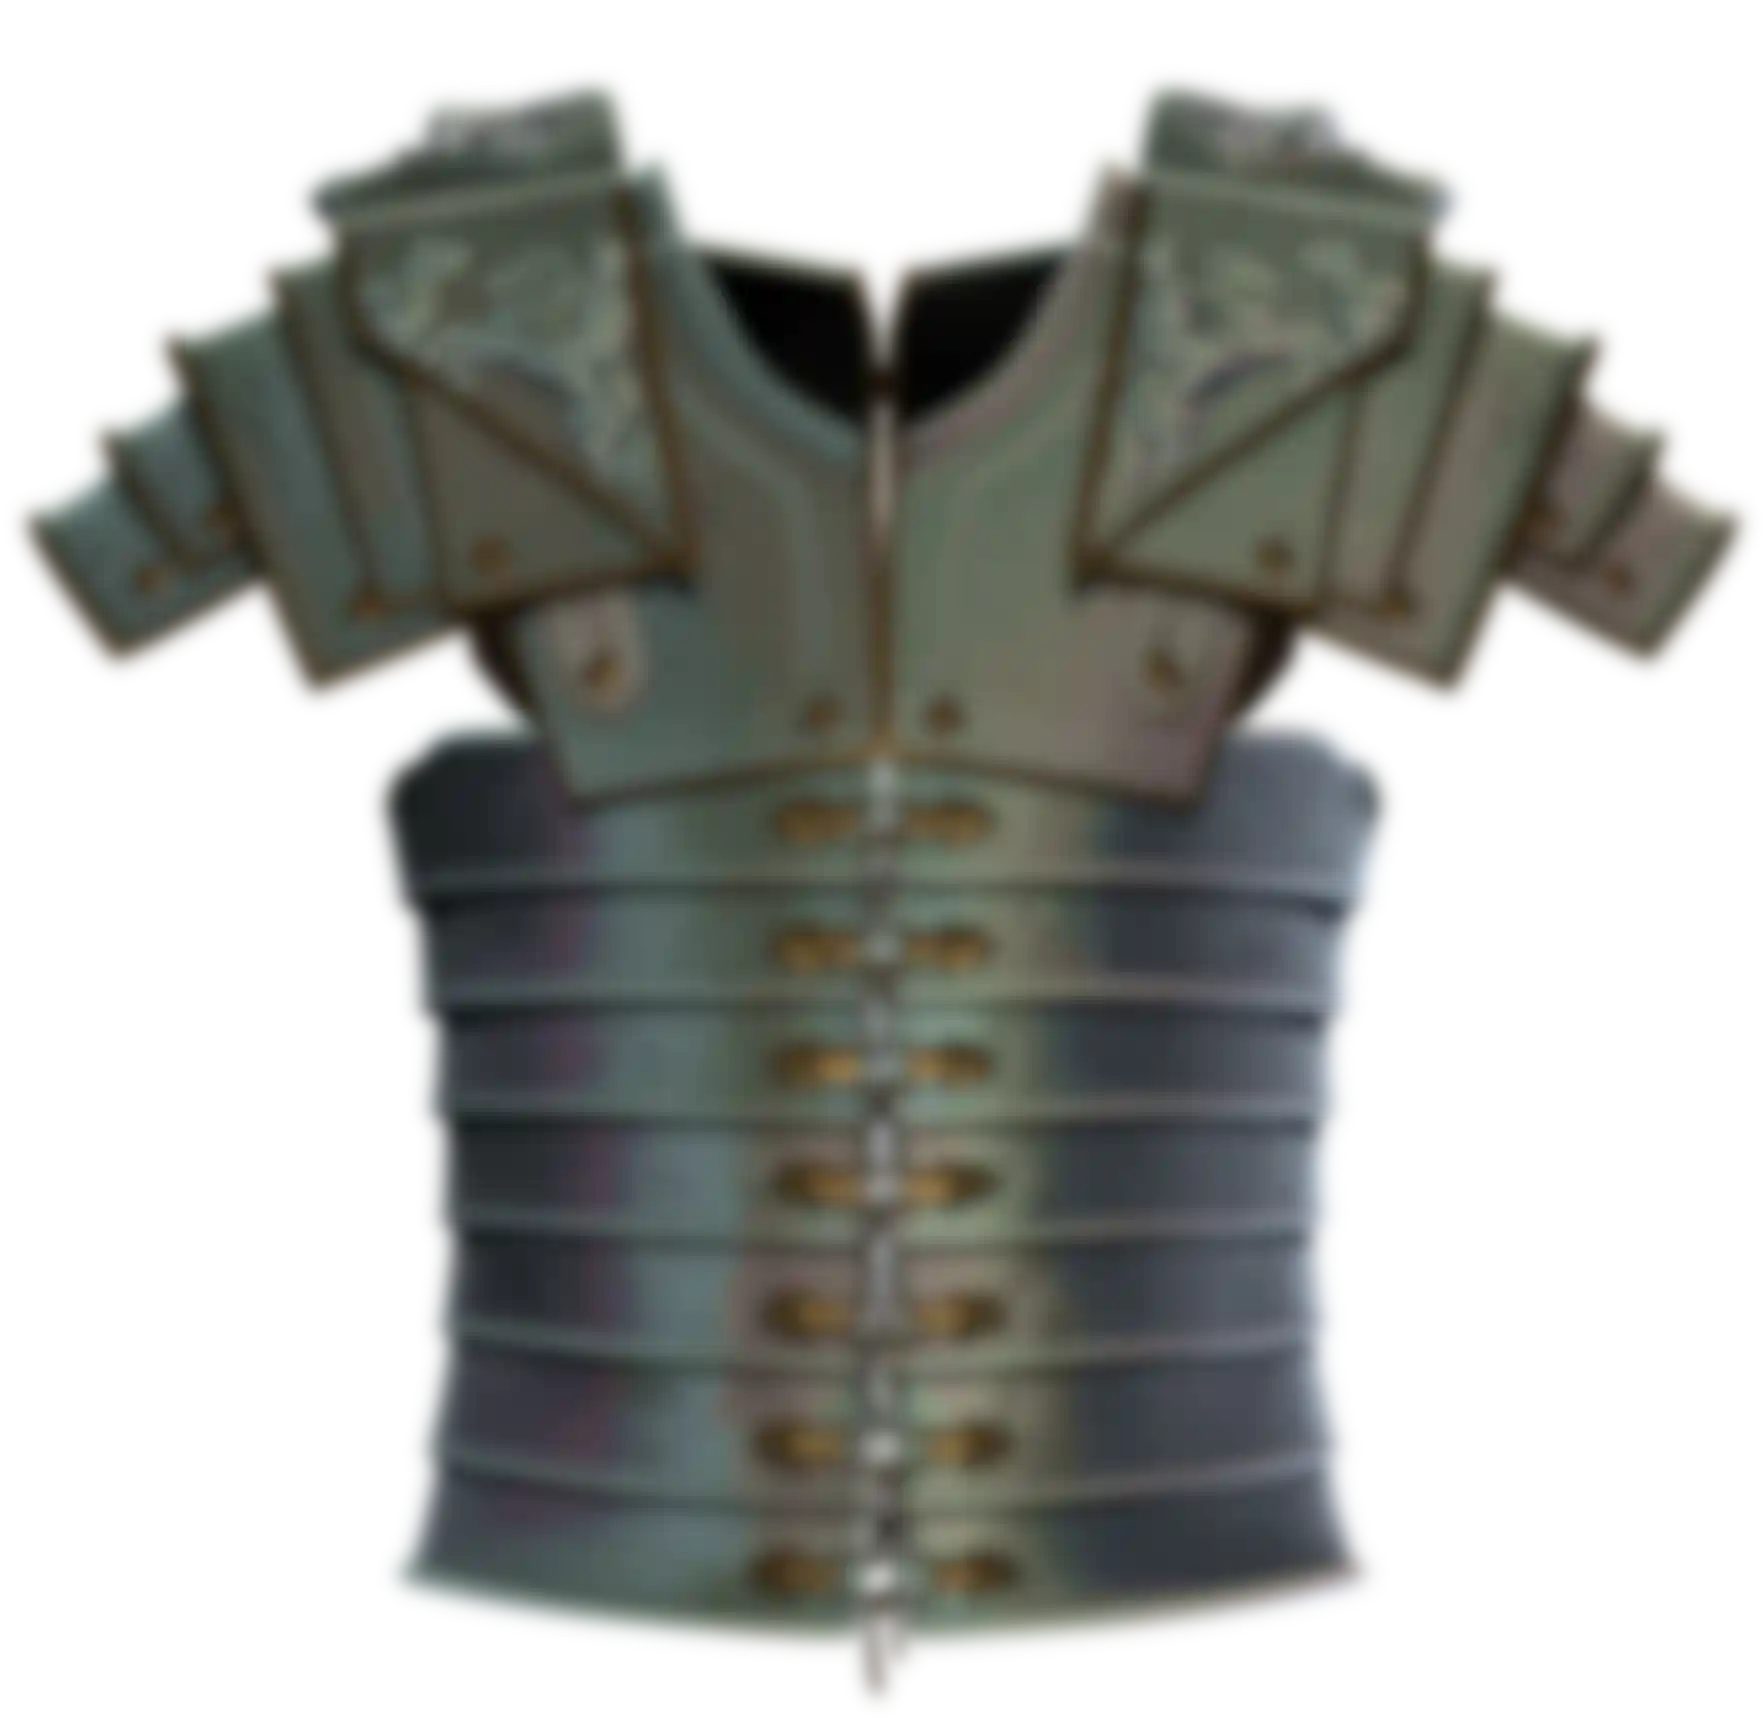
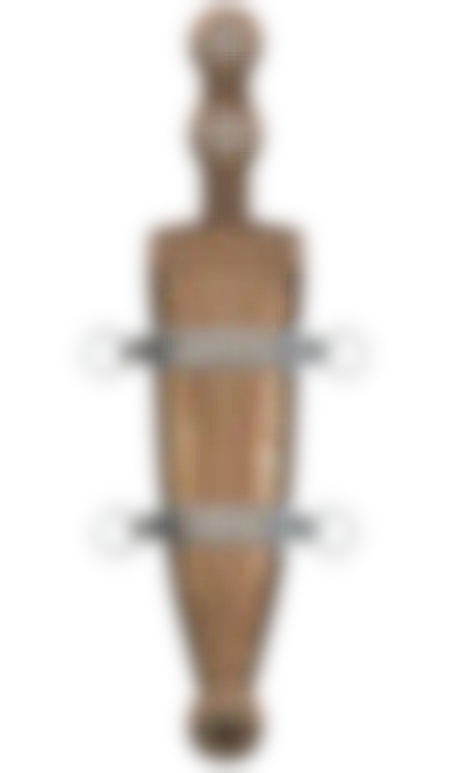
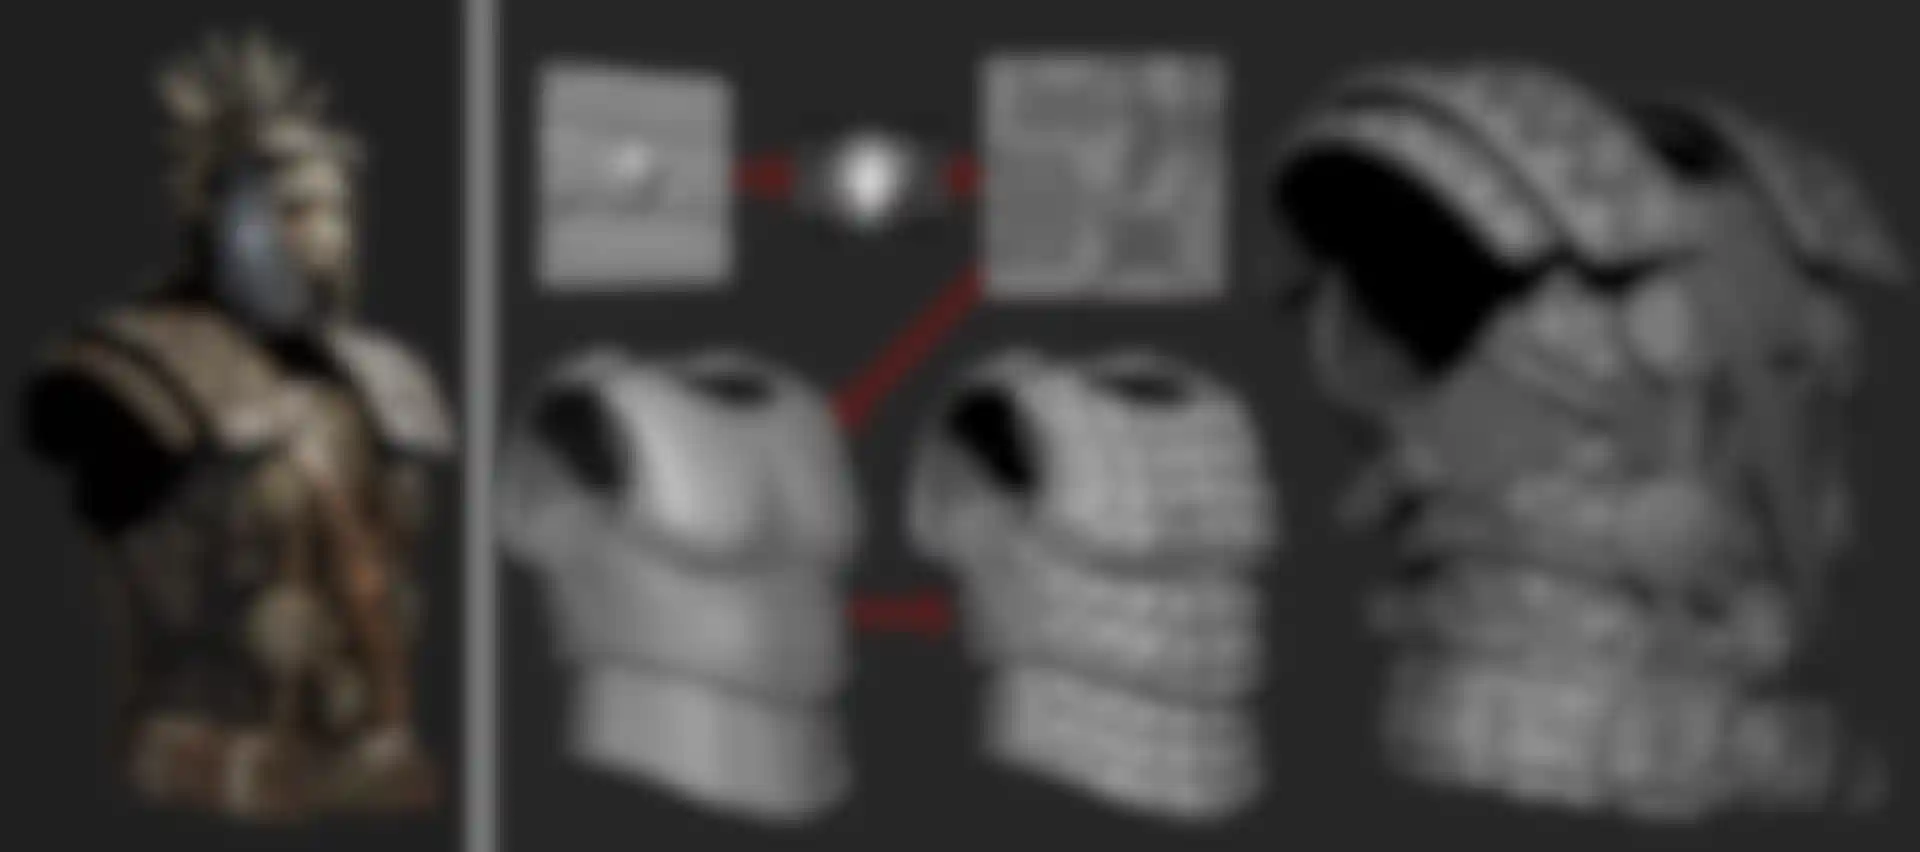
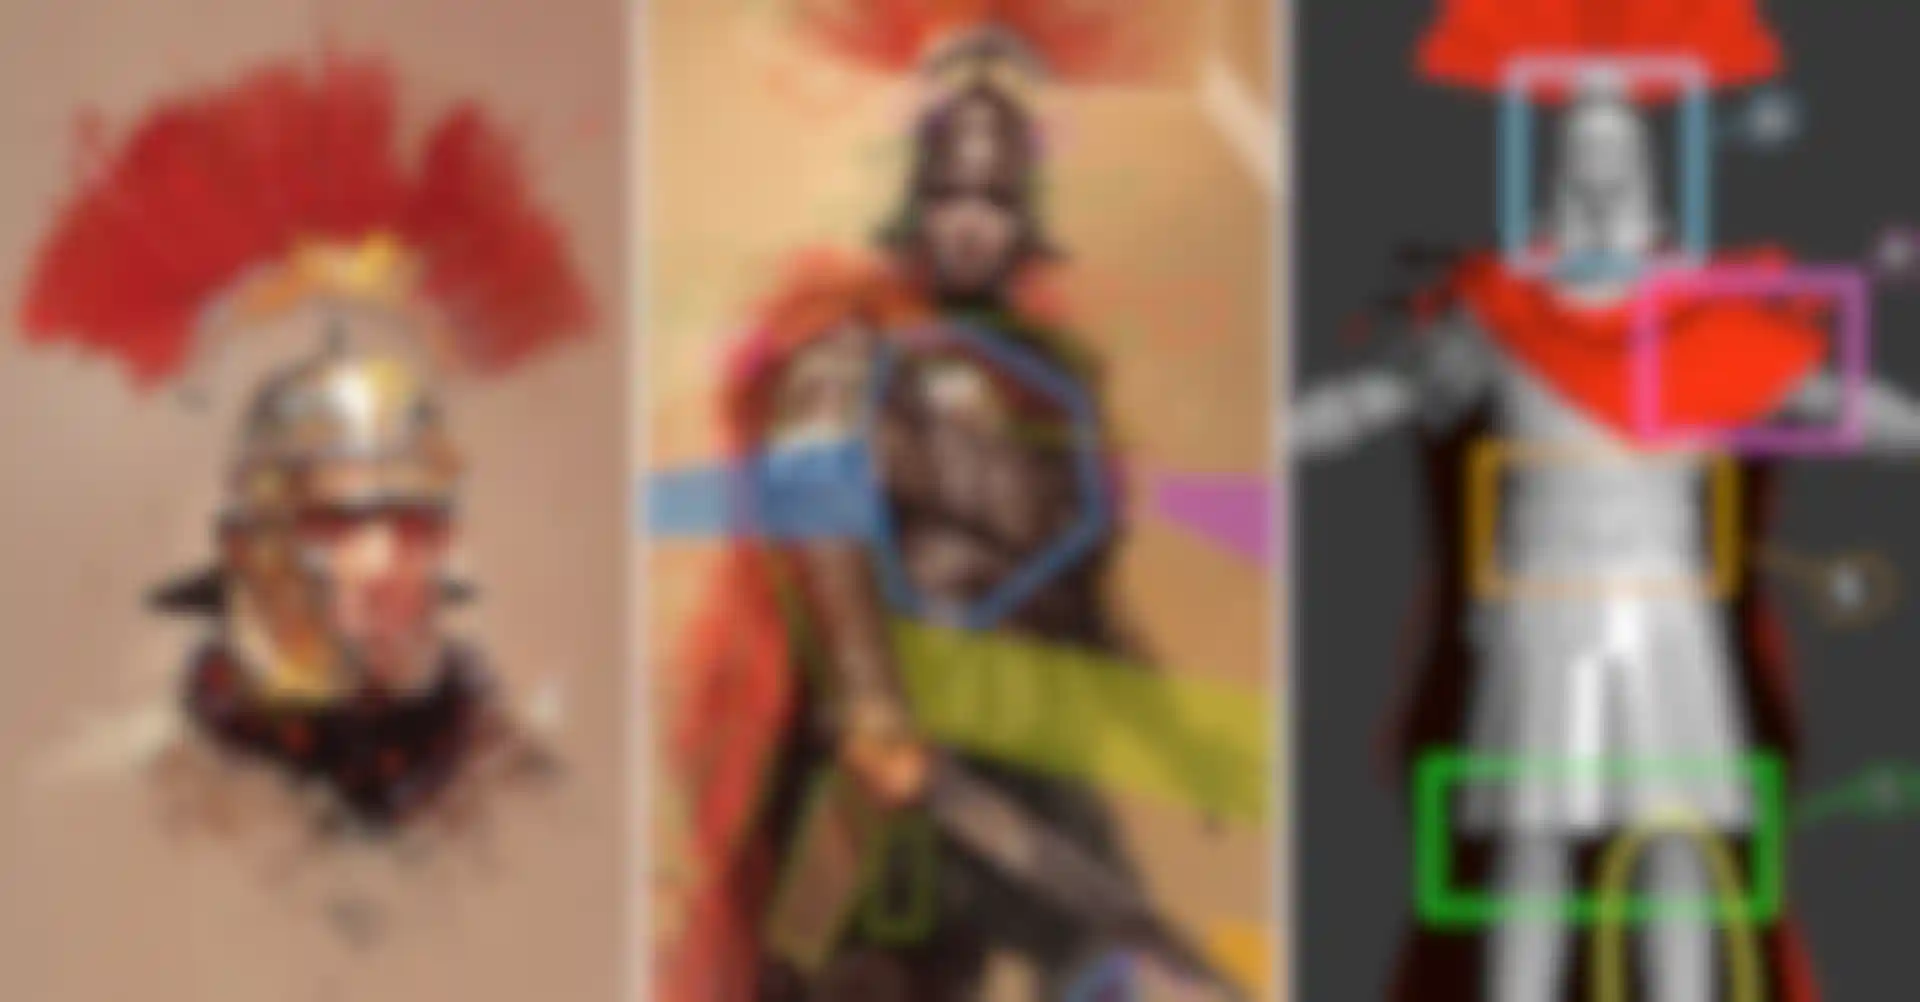
One of the challenges I faced personally was working on the armor of Marius, the legionaries, and the praetorians. They’re made of extremely complex parts, interlocked together with leather straps. They also contain art deco elements and those could change fairly often during production. On top of that I also had to find a way to give our outsourcers a workflow that would give us a very similar result in a rather short amount of time. I would bring in a base mesh containing the key parts of the armor and subdivide them in parts for maximum resolution.
The first thing I would do is to apply any decorative element, like carvings. The way I approach that is to create “floaters” in 3dsmax and use those floaters to “carve them into” the armor using ZProject or the Project All feature. The great thing about this technique is that I could move the carvings and make them adhere to the shape of whatever part I wanted carved using the Move brush, MatchMaker or Project brush (or a combination). I would then make a first sculpting pass with the aim of giving a story to the asset.
People need to read hints of details like previous battles, the way the soldier would polish his armor, blood or weathering, etc. I would then start using surface noise to add general damage to it, show the quality of the material, the hammering on metal or leather parts etc. The final pass would again be surface noise, with random scratches, dents and so forth. I made a lot of surface noise presets that were used by other character artists on their own assets.
I used UV Master to fix any bad UV unfolding as I feel the ZBrush plug-in has the best unfolding algorithm. So I would cut my UV’s in Maya or 3dsmax, bring it into ZBrush and unfold it. I’d then send it back to Maya to give the final layout. All of that is done very quickly thanks to the great GoZ feature.
The next stage was to create base textures and masks to help texture the asset in Photoshop. I’d make use of PolyPaint to create base color and use masking features like Cavity and Smoothness, with the help of sharpening and blurring to create edge details, etc. All those masks would be baked into black and white textures with the help of PolyPaint and sent to Photoshop to be used on layers.
Another great feature I made use of is Morphs. I would bring two versions of an asset as morphs and with the help of the Morph brush I would add or remove details. This is also very useful to clean up captured meshes using the Project All feature. All of that was made easier with the use of ZBrush Materials that helped me visualize the type of surface I was working on.
Chris: Using the combined tools of DynaMesh, ZRemesher and NoiseMaker I was able to quickly iterate towards the final model. When making an armor detail I would start with DynaMesh. Once the forms were there I would then use ZRemesher to make a solid low-poly base and project the details across before continuing to refine the model further. Once I had what I needed the next step was to use UV Master to lay some basic UV’s so I could get cleaner results with NoiseMaker for the finer details such as armor wear or cloth weave.
Florian: For a majority of characters, we ended up texturing the high-poly models. The idea was to contain most of the artistic work in the high poly so we would be able to adapt the low poly model to potentially changing specs without having to worry about UV’s and losing quality. Decimation Master was awesome for getting the high poly assets into the engine to finalize materials and textures.
Also, I ended up unwrapping a lot of my high poly assets with UV Master. It’s quick and handles complex objects very well.
Layers! Given the cinematic nature of the game, a lot of tweaking and “pixel pushing” was necessary to get things to look right in certain shots. Layers turned out to be invaluable for this process, as they allowed us to fine-tune shapes and details in a flexible, non-destructive way. Also, some characters needed wear and tear variations. These were easy to setup and maintain with layers.
Hyejin: One of the challenges was adding all the details in ZBrush. The characters I worked on were complex and had lots of patterns on their cloth. Using multiple SubTools together with layers really helped with organizing and working in a non-destructive way.
When it came to making the patterns on Marius' father's leather straps I used the ZProject brush to mask them out from an additional floating mesh done separately along a spline in max. Then I used the Inflate option from the Deformation sub-palette which can provide a very clean result.
When making the skin, cloth and leather details I mostly used custom brushes together with alpha textures. Together with Layers and the Morph brush, this provides a very flexible workflow.
Lars: As much as I would have loved to hand sculpt the entire crocodile skin harness of Damocles, I knew that would eat up way too much time from my schedule. Instead I ended up sculpting a single scale, from which I baked a displacement map. In Photoshop I quickly arranged, warped, resized the scales, and could see the results instantly in ZBrush by hitting “Apply DispMap”. It made the iteration process really fast. Once I was happy with the result I could go on and polish the harness by hand.
Workflows like these really helped to save time, giving me the opportunity to polish and add more details into my work.
Rokly: I like how flexible the software it when it comes to the UI. I have changed it heavily to fit my personal preferences and needs.
Nowadays I like using ZRemesher and ZProject in combination when creating high polygon characters. This way I don’t have to spend as much time creating base meshes as I used to.
When it comes to creating details I always work in Layers so that all the pores, patterns and such are added in a non-destructive way.
Production was already quite far along when 4R6 came out and ZRemesher was introduced. Were there any places where you were able to use it?
Abdenour: ZRemesher is a great tool for getting a nice edge flow in your topology after playing with DynaMesh.
Those two tools complete each other greatly and allow for a new way to approach the foundation of a character. Using DynaMesh to sketch your asset and then create very good topology with one click using ZRemesher will be a great time saver. I personally already use this workflow and am amazed at the results you get without even playing with the options.
When it comes to the game assets you will always need to re-work it manually. But ZRemesher gives us a great way to avoid wasting time in the long process that leads to that point.
Chris: For me, ZRemsher has become a quick way to getting a great uniform mesh for the high poly without wasting time by doing it manually. When this is combined with UV Master you can really explore the powerful toolset of NoiseMaker.
Since you were handing your assets off to Platige to create the game's cinematic trailer, was there anything special you did to prepare them for that purpose?
Abdenour: Not really. We just sent them the files when they needed them and they would deal with the rest. Platige did an amazing job given the circumstances at the time. We were blown away at the creativity with which they used our assets.
I've heard that the team members all received a statuette when the game shipped. Could we see what it looked like? How was ZBrush used for it?
Lars: ZBrush was of great help when it came to preparing the asset to be printed. I didn’t have much time to do this since I was only freed up schedule-wise at the very end of production and the 3D printing vendor needed their time to get the work done as well.
Basically, Marius' model is made out of plenty of SubTools and all of these had to be merged together into one single mesh with no holes. This used to be a very tedious task and it's here that DynaMesh came in and saved the day, making the merging process much smoother. Also, the shaping of the statuette could easily be done with a simple Boolean operation within ZBrush.
With its free SDK, the CryEngine is one of the most accessible game engines on the market. What advice would you give to ZBrush artists who are wanting to get their art into the engine... or even to make a career in the game industry?
Abdenour: Our engine shows your assets really well, so any love you give to your work will be visible in the final result. To get the best of it, researching references that will help your assets look as believable as possible is key. Whether you’re making something stylized or realistic is irrelevant. Understanding how things are made and how to apply that knowledge into your workflow will take you to the next level, whether it is human anatomy, architecture, etc.
Another thing is what you need to focus on. It is good to have a broad knowledge but if you apply for a position at a company you must give material that shows your skill in that specific area. Quality over quantity is key, so if you give quantity, it needs to be from the ideation phase. Every company has its own take on this but I often come across portfolios that show a lot of work with nothing stellar to make the candidate stands out from all the applications we get daily. To make your first impression, only show your best work!
Chris: I would say to speak with as many artists as you can on social networks and forums to get some feedback on your work. Never be scared to show it or be afraid of critique.
Lars: Getting non-animated objects into the engine is fairly easy and a great way to show your work. There’s a lot of information out there on the net and I would recommend www.crydev.net as a starter.
When it comes to making it into the industry my answer would be as simple as it is boring: spend a lot of time working on your skills. Try to figure out what keeps your motivation up, whether it’s joining a mod team, participating in contests or being active on a forum. Something that might push you a bit while still having as much fun as possible.
Is there anything else you'd like to say while you have this opportunity to talk to the ZBrush community?
Abdenour: I have been a huge fan of Pixologic for a very long time, as well as the amazing tool that is ZBrush. I feel honored to be given the opportunity to showcase my contributions to the game and share it with the community.
It feels like my chance to give back after all the inspiration and motivation I got from the ZBrush community.
Chris: For me the community has always been a source of amazing art and a key driver to get involved with the gaming industry. I would like to say thanks for all the great inspiration through the years.
Lars: Keep up the great work! It’s always inspiring to see the awesome work being posted out there by you guys.
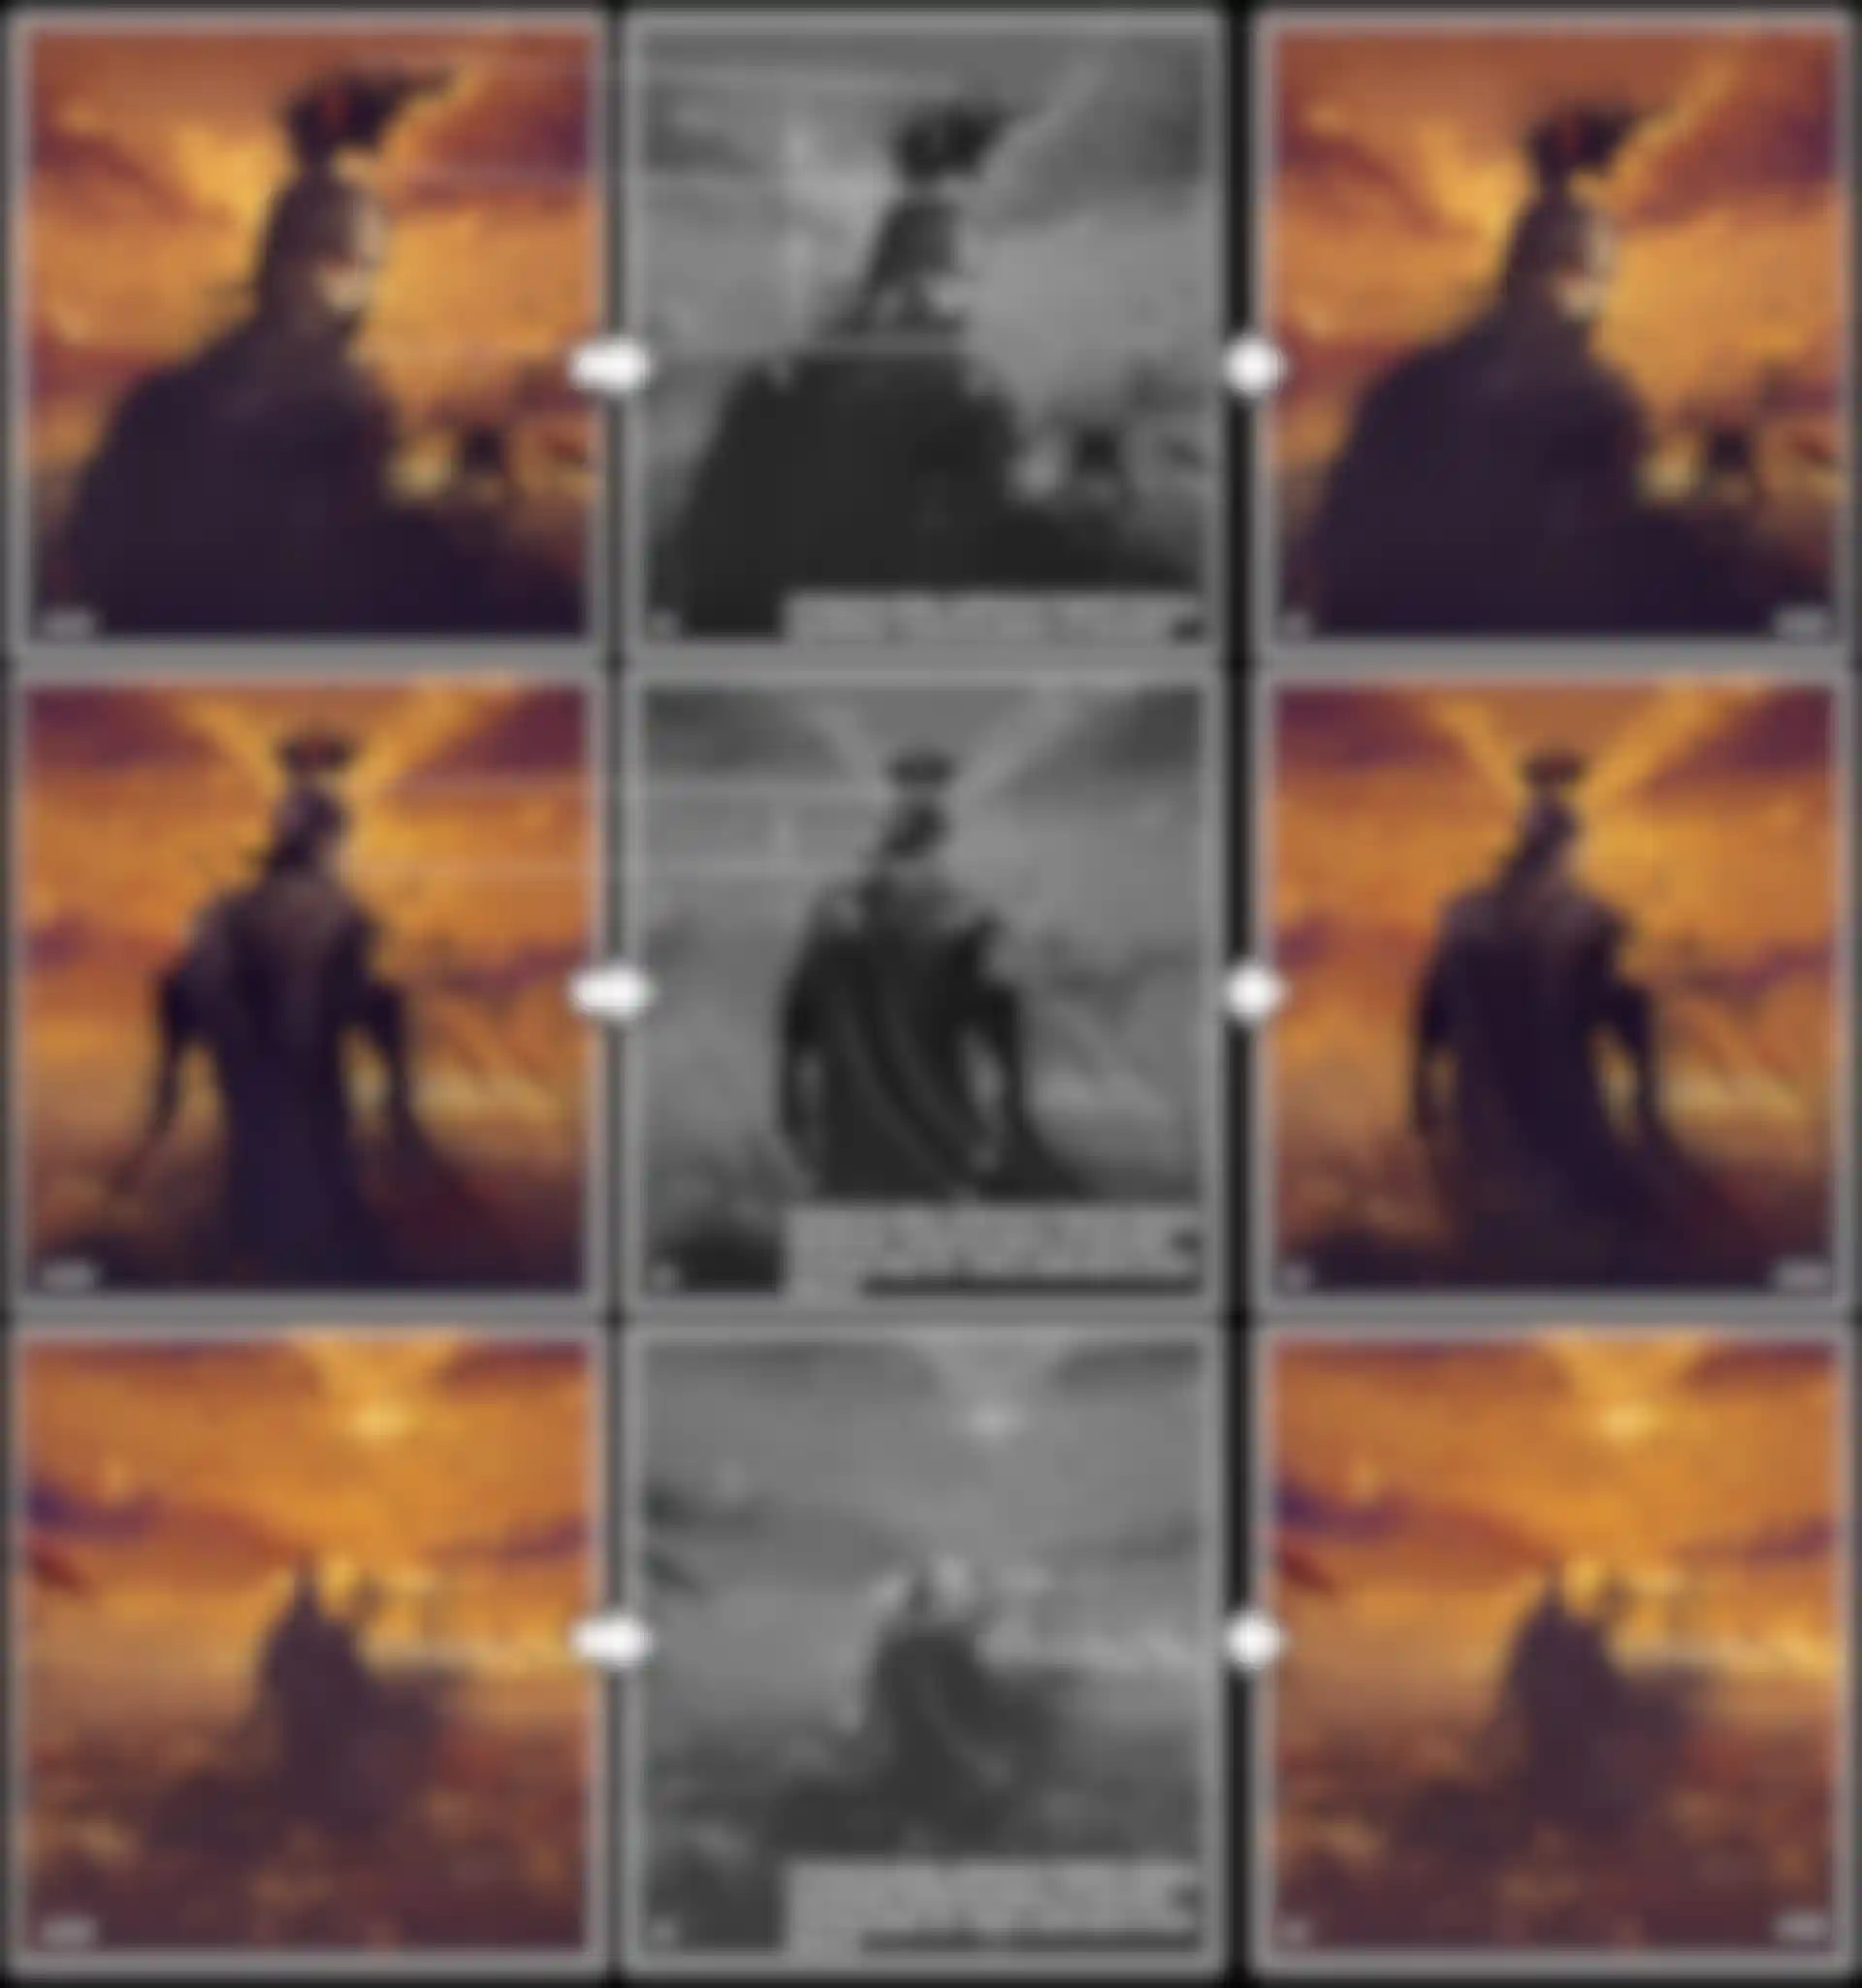
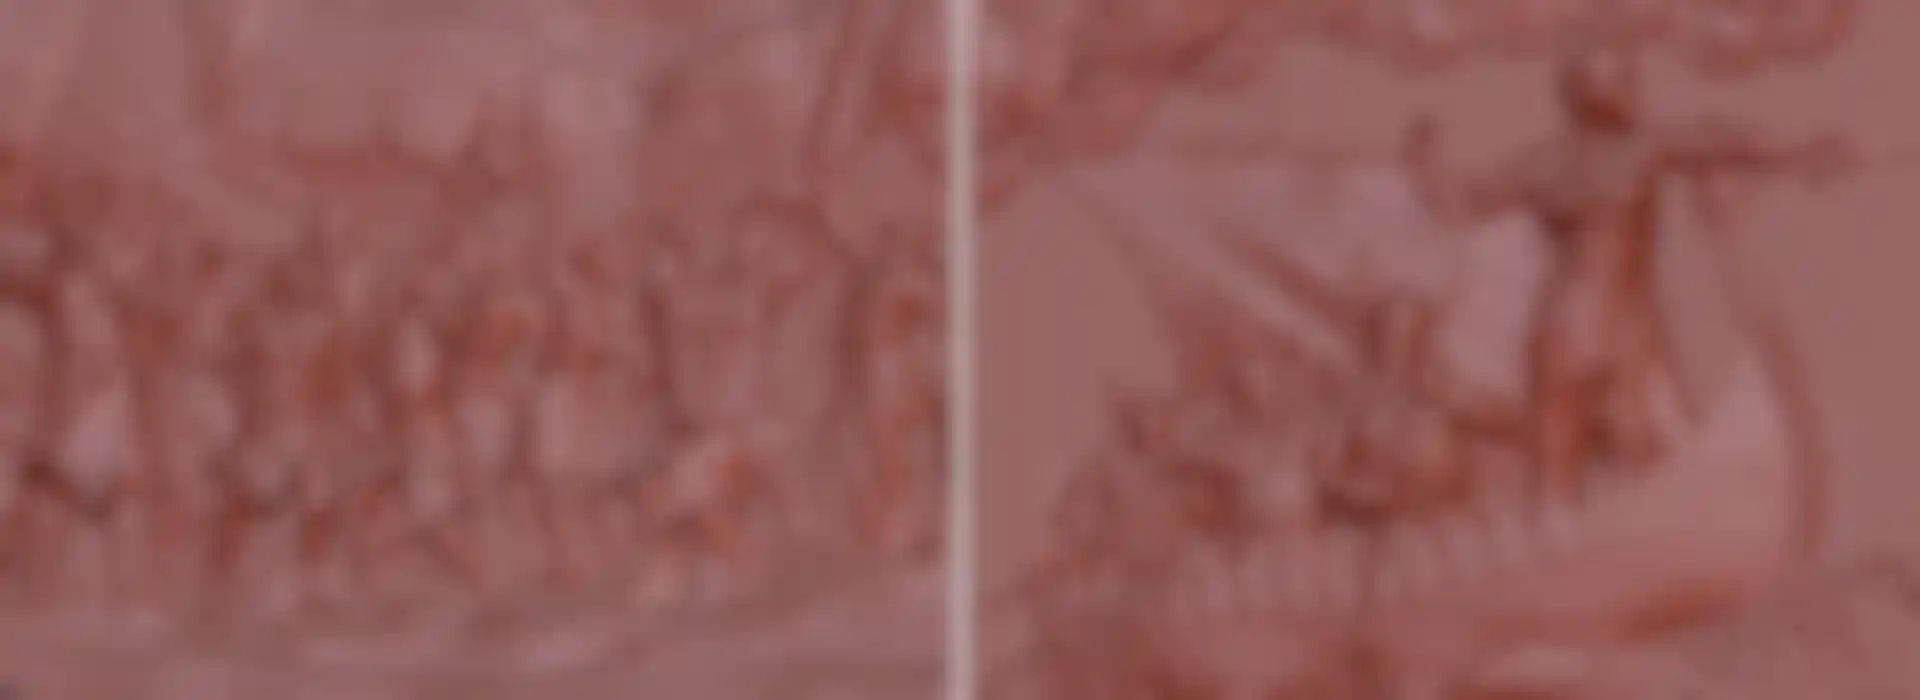
We’re not done yet! Such a beautiful game deserved equally striking cinematics. To accomplish this, Crytek turned to Platige Image. In keeping with the highly artistic vision of Rome that Crytek built for the game itself, Platige created a memorial column that advanced the story through a series of spiraling relief carvings.
For that, of course, Platige turned to ZBrush!
In the rest of this interview, their artists talk about how they used ZBrush’s features and the game’s assets to create a sequence that blends 2D and 3D in a way that’s rarely seen in CG.
Tell us about Platige Image.
Platige is a vehicle for creative endeavors with 15 years of experience in creating stunning visuals and carrying out technologically advanced projects. Since our inception, we have combined film and advertising work with a strong passion for art, education and entertainment.
Our work is focused primarily on delivering great storytelling and that’s why we constantly seek out new ways to shape narratives and experiment with new media. It makes our product fresh, revolutionary and inspired.
With consoles and game engines becoming increasingly capable, what are the reasons today for going outside the engine to create cinematics rather than doing it all in-game? In other words, what do you offer that a next-gen system like the Xbox One cannot?
Jakub Jabłoński – Animation Director & Art Director: Modern game engines, the newest consoles and updated PC gaming stations offer fantastic graphical possibilities. Is there enough power for creating an astonishing and breathtaking cinematic experience? Yes and no. In-engine magic has evolved, but so has the gamers’ expectations. It is still far harder to develop modern VFX movie experiences with in-game tools than by using traditional 3D animation tools.
This task becomes even more challenging if you try to create something special; something much more sophisticated than a realistic approach. Going beyond the engine gives us more powerful tools which are dedicated strictly to animation and VFX. These tools are far more capable of creating an unlimited visual art experience than those hidden in a game engine.
The art teams responsible for creating cinematics also differ. Engine artists are familiar with Maya, 3ds Max and other software but they rarely master them. It happens because the engine must be their primary environment.
Game cinematics play many different roles. They act as a simple “in-game” story drivers, fantastic visual openings and rewarding endings. They can also be hype-building advertising. Some people say that in-engine cinematics are more able to create better immersion. I personally love when games are not afraid to take the advantage of different media. I think that clever blending of visual content helps games in their artistic achievements.
What were the objectives of the Ryse cinematic? Especially, what were your artistic goals in its creation?
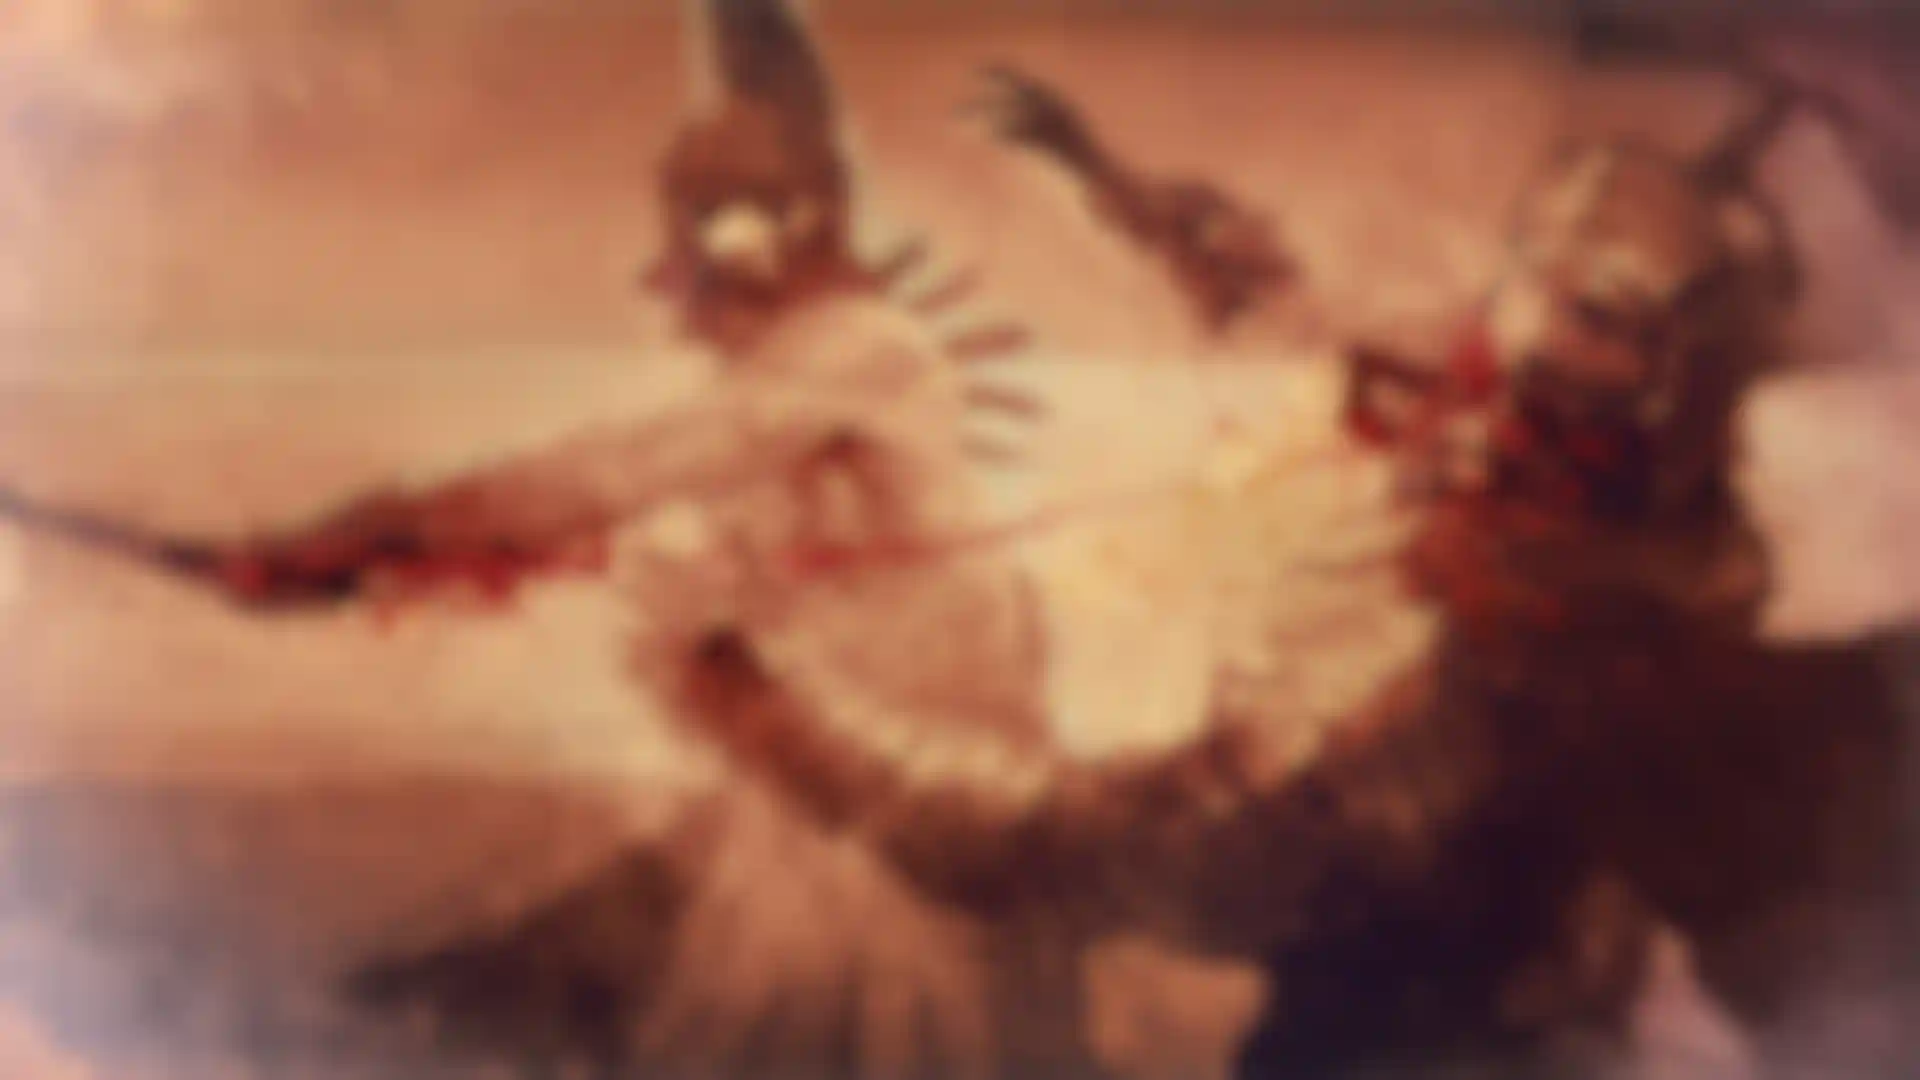
Jakub: “Ryse: Son of Rome” uses a truly powerful engine. The game is so realistic thanks to the CryEngine! Our main job was to create a movie which stands in contrast to its extremely realistic graphics. We were to design a dream-like, oneiric tale with a completely different medium. I believe that it was a fantastic decision and it helped the game’s storytelling to go deeper.
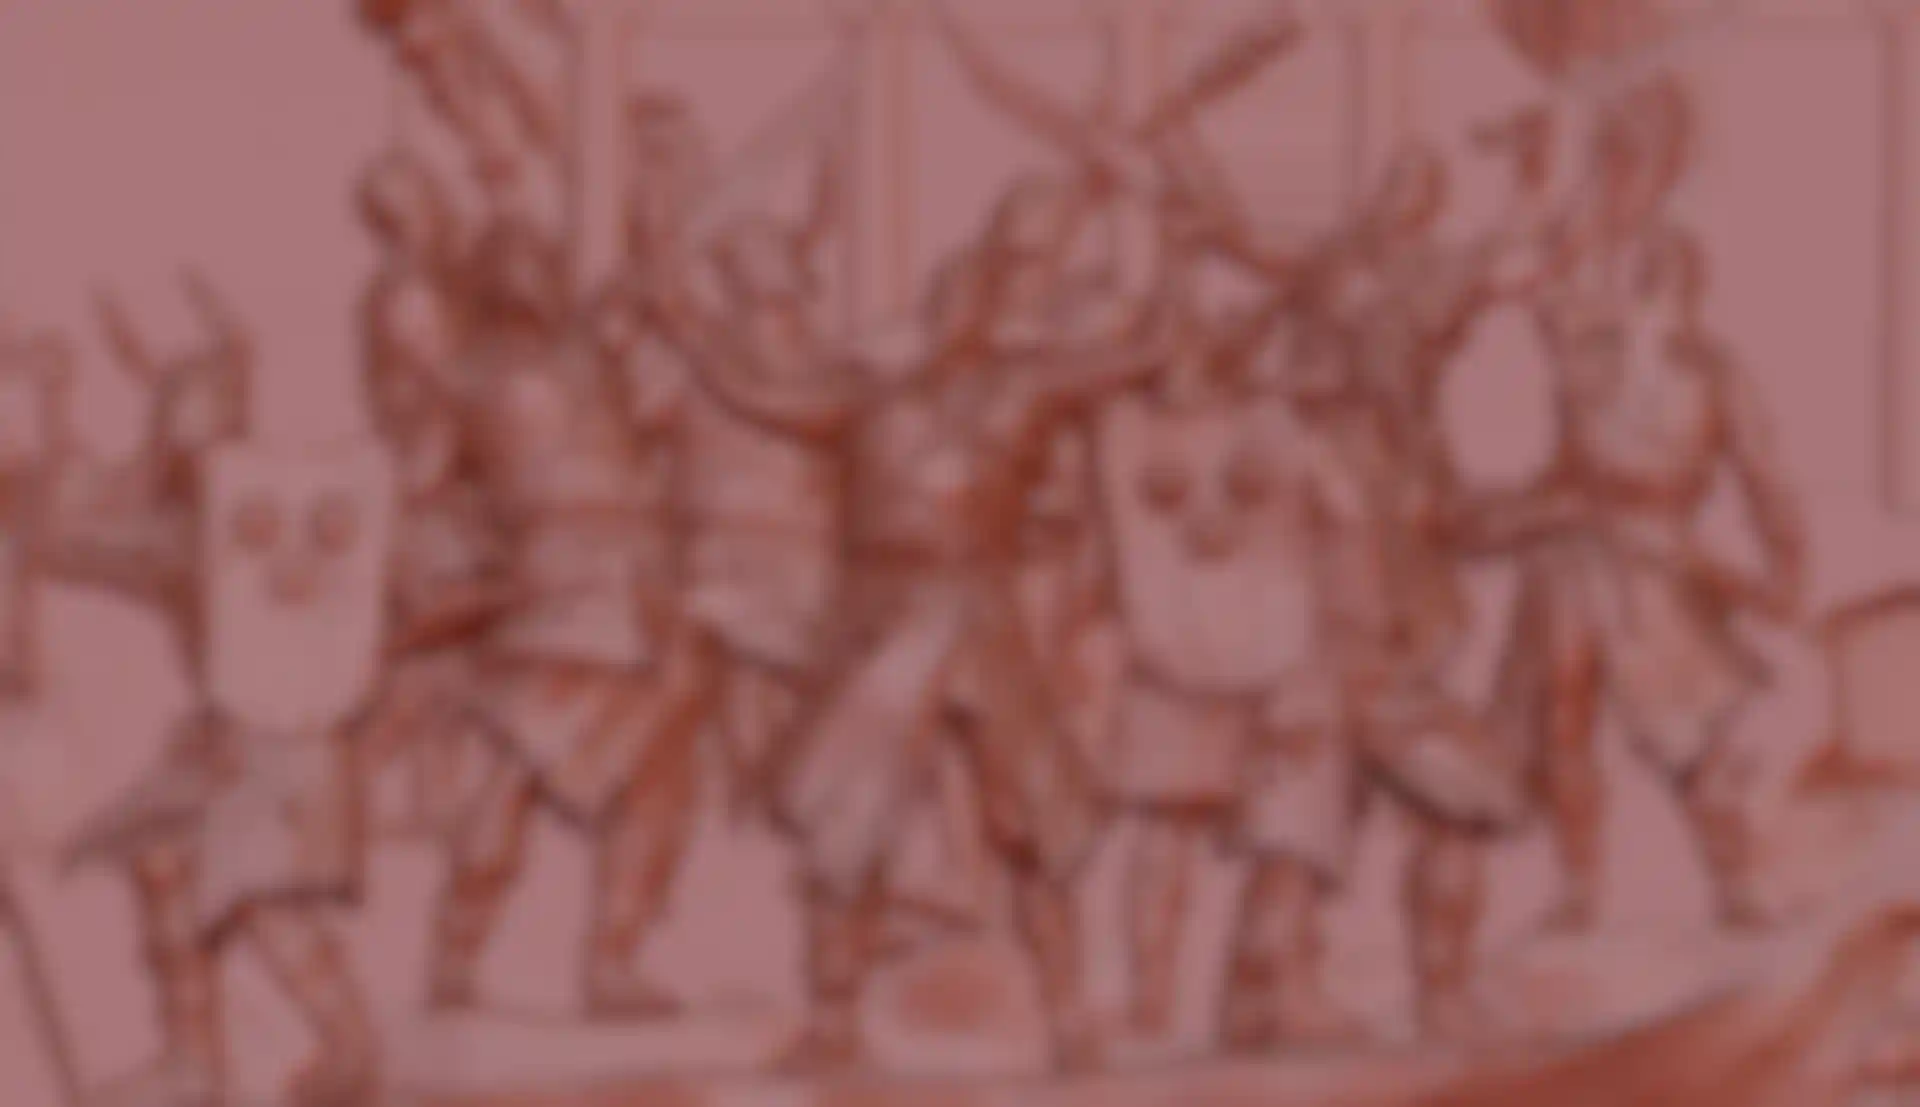
Our film is full of myths, magic and ancient beliefs and so it should have a more mystical and artistic approach. At the beginning we had two visions. The first was based on a slow-motion struggle between gigantic marble statues. Imagine stone giants trapped in time, inserted in Laocoon group-style compositions, fighting each other and shattering their marble flesh. The second idea was a living painting vision. Everything should be created from impasto paint strokes, ink-stained in an intense, almost abstract form.
Crytek and we liked the second idea more. It allowed us to create a brutal, original and dense message. The people behind the game gave us huge artistic freedom and were very supportive. We knew very early that our visions combined.
My personal artistic goal was to design a layered, painterly world and make sure it wouldn’t look flat in an animation. Each paint layer had to be vibrating and act almost on its own. I dreamed of a handcrafted feel. I didn't want an artificial, simulated look. I hope you can feel that every shot's painting is done by hand. Simulations are here only to add depth to the composition.
Everything here is painted by hand. Sometimes it is painted many times, layer by layer to create a deep, structural feel and sometimes it is delaminated in 3D. I wanted the characters and environments to look not so much like painted but rather created directly from paint matter.
Visions should not be realistic. I hope this one helped gamers to experience something more than just storytelling.
Crytek sent their assets to you for use in creating the cinematic. Was that an unusual situation or has it become common in the industry?
Andrzej Sykut & Selim Sykut – CG Supervisors: It was not an uncommon situation. It makes sense, if only for visual consistency and saves time and money. Sometimes it may be hard to do if timings are not aligned, if there's a lot of simultaneous work, etc. But if possible, it's the way to go.
What are the challenges involved with taking a game asset and adapting it to cinematic use?
Andrzej & Selim: Some of the assets were still being worked on while we were handling our part. That required careful work planning. We used both high-poly and low-poly versions of the characters. In theory, we would want lower resolution models for crowds and higher for hero characters. It didn't always work out that way. Since everything was sculpted later on, it wasn't a problem if a game-res model was used for a hero character - it just provided a consistent base for sculpting.
High-poly crowds were more annoying, but we were able to optimize a lot with Decimation Master and 3dsmax' own Pro Optimize. With those triangle meshes it would not hold up for animation but we were able to correct artifacts, if there were any, when sculpting.
Environment assets provided by Crytek were in some cases very, very detailed. Very beautiful but way more detailed than we needed. We optimized what we could using Decimation Master. We did our own rigs, as we work with 3dsmax and Crytek models were rigged in Maya. Besides, our rigs were much simpler with no facial expressions, no cloth dynamics, etc.
We did some simple cloth simulation after posing, mostly for loose garments like coats and skirts. We did whatever was faster for any given cloth element: simulation, sculpt, or both if needed.

How did ZBrush come into play for this process?
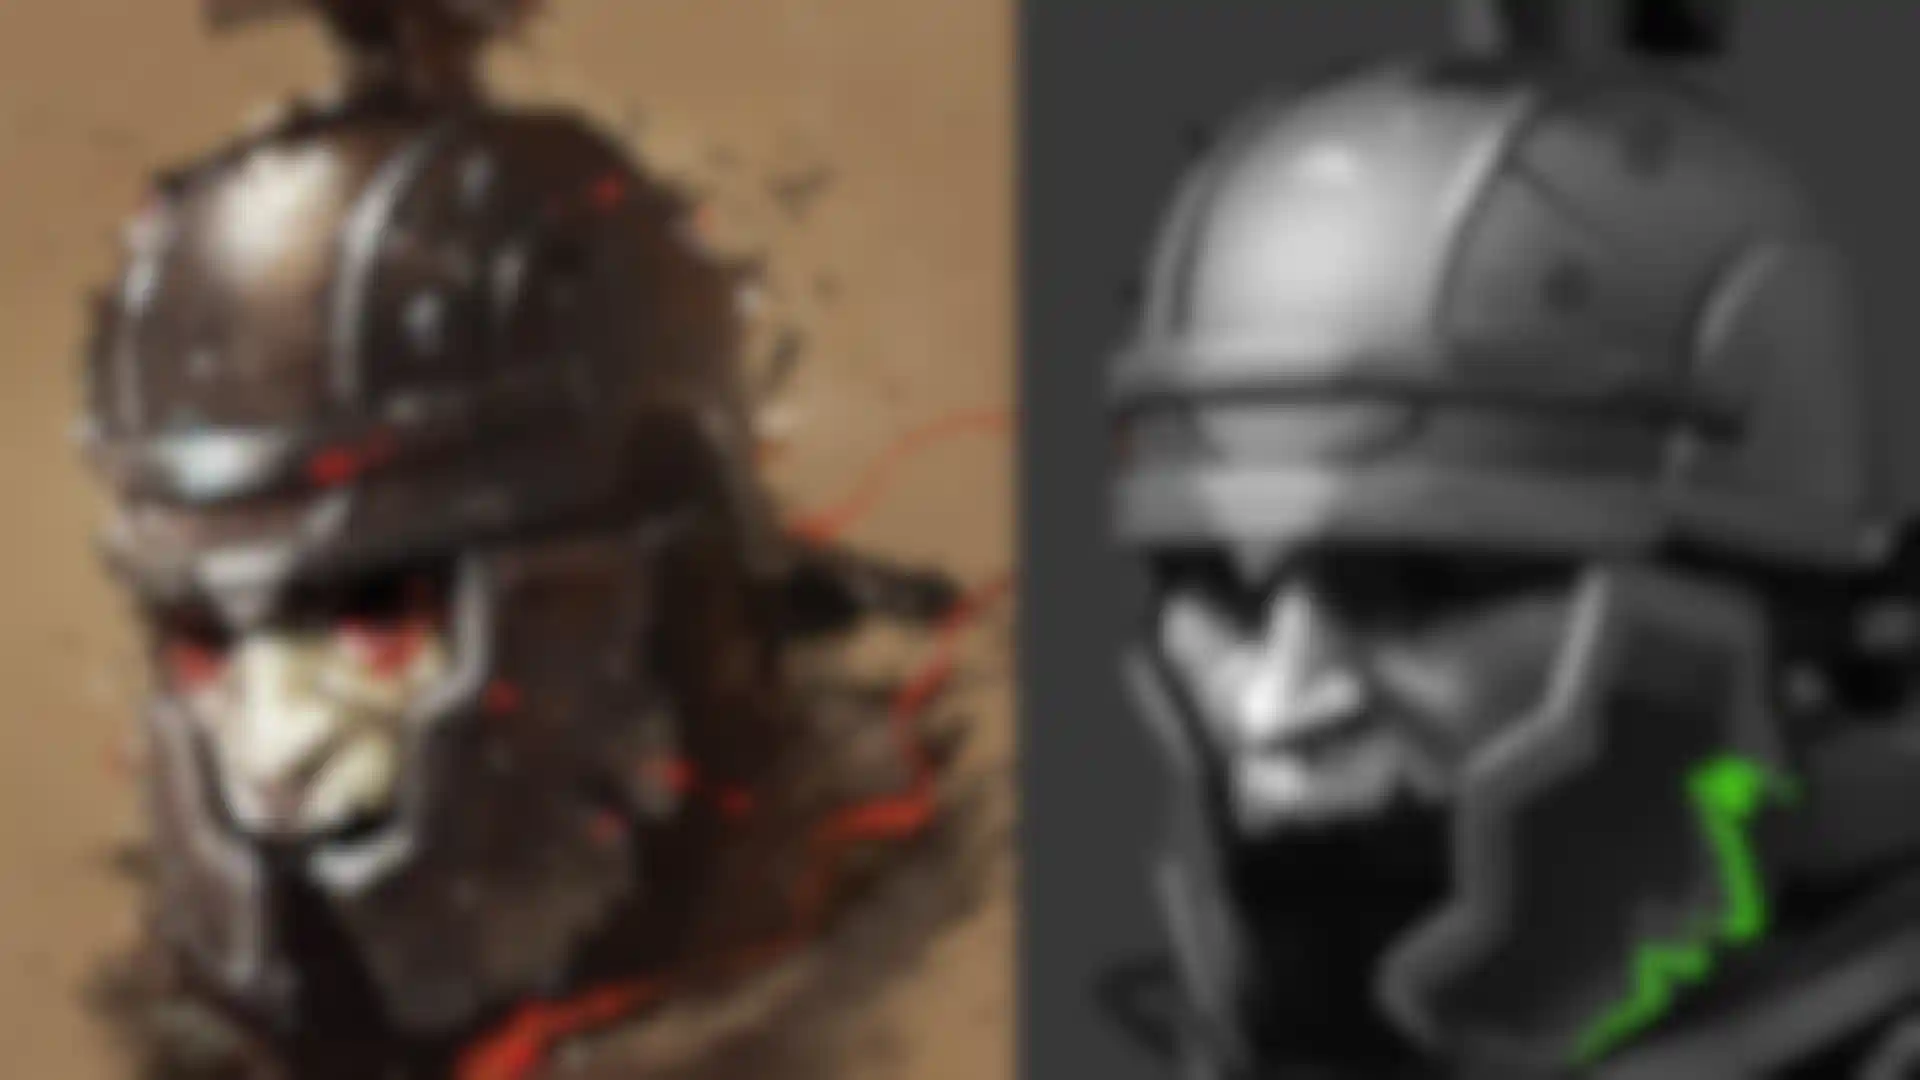
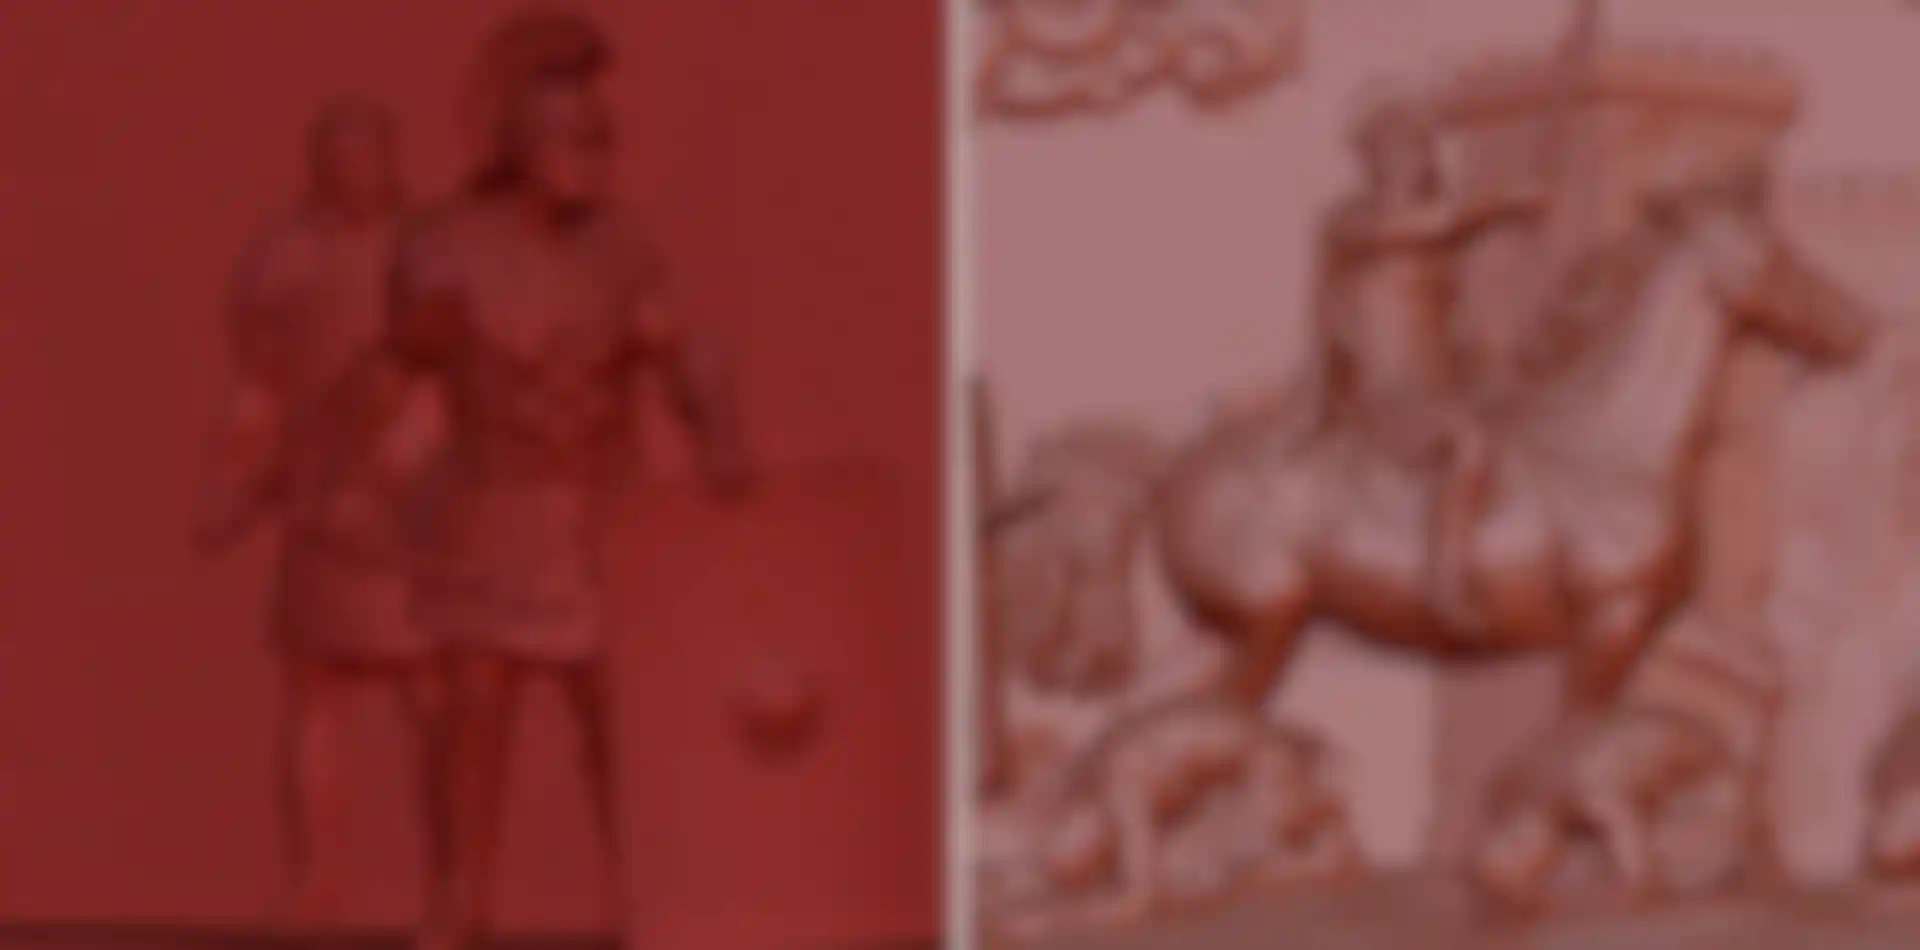
Andrzej & Selim: We actually created two separate movies for Ryse, with each requiring a very different approach. One was the painterly “Legend of Damocles,” which used ZBrush for some modeling and concept sculpting. The second part of the job was the “Transitions” sequences. This time, the look was more realistic and required a more typical 3D workflow. But it was still stylized since everything was supposed to look like marble reliefs. For that part, ZBrush was an essential tool.
The obvious detail sculpting aside, ZBrush provided tools to take all those various, separate characters, and turn them into single pieces of geometry that were suitable for sculpting. This step was necessary in order to have a uniform mesh density across all the models. Some were high-poly, some were low-poly and many were optimized triangle meshes. It was an unsculptable mess! ZBrush allowed us to generate a mostly clean mesh for further sculpting. We were then able to selectively add subdivisions for the close-up parts.
Then there was Decimation Master, to take those really high-poly sculpts and turn them into something usable in other applications. You can work with those files smoothly in ZBrush but in other software it becomes really laggy.
Did you have access to ZRemesher yet when you were working on this project? If not, does it change the game at all for future projects of this nature?
Andrzej & Selim: I think ZRemesher appeared halfway through the project. We didn't really use it – it was too late into production for that.
It would be very useful to optimize lots of triangle-based assets into proper quad meshes. It's great for concepts, free-form sculpting and then retopo. I'll definitely use it in that area.
What is your favorite ZBrush feature and why?
Andrzej: My favorite thing is ability to work -- and work smoothly -- with those very huge, dense meshes. They’re a nightmare anywhere else
Selim: I like Decimation Master the most. The whole project would fall apart without it.
Is there anything else you'd like to say while you have this opportunity to talk to the ZBrush community?
Apart of the typical sculpting, ZBrush can sometimes be a tool to solve various problems quickly, saving time and effort. Those new (and some old) tools like ZRemesher, DynaMesh, Project All, etc. are great. They take away a lot of painstaking and boring labor, allowing us to spend more effort on the creative side. That is awesome.
We hope that you have enjoyed this interview!
Please join us in thanking both Crytek and Platige for their consent in making it happen, as well as the many artists from both companies that took time from their busy schedules to answer our questions.
For more information about Crytek and Platige Image please visit their websites.