Cinema 4D Goes Swimming with Monsters Discover how Munk Studios brought some of the world's most dangerous aquatic animals to life.
When the Discovery Channel wanted to create a documentary about a man swimming alongside some of the most dangerous aquatic creatures in the world, it was a dream come true for Pryce Duncalf. Pryce is the creative director and production lead of Munk Studios Ltd. and was tasked with helping the audience understand some of the more scientific facts relating to the monsters using a combination of 3D animation, 2D texture mapping and graphic design. With a three-month time period and unprecedented creative freedom, Pryce turned to Cinema 4D to create the 20 minutes of animation and graphics that would be required.
The goal of the TV program was to explore these aquatic killing machines up close and in a way that had never been presented to a viewing audience before. Pryce came up with the idea of putting the creatures into a kind of underwater observatory, being filmed by a sci-fi super camera that could slow down time and reveal details hidden from the naked eye.
The research required was intense. While some 3D meshes were sourced, others were modeled from scratch. Pryce also needed to sculpt the internal bone structures and organs, which required trips to the National History Museum, the ZCL library and a visit to the Grant Museum to examine skulls and bones. More intriguingly, because the facts had to be accurate, the researched revealed that there was still some scientific debate over issues such as the total number of teeth that were in the mouth of an anaconda. Some of the creatures were so new to science that documentation on them was limited, which required contacting experts in those fields.

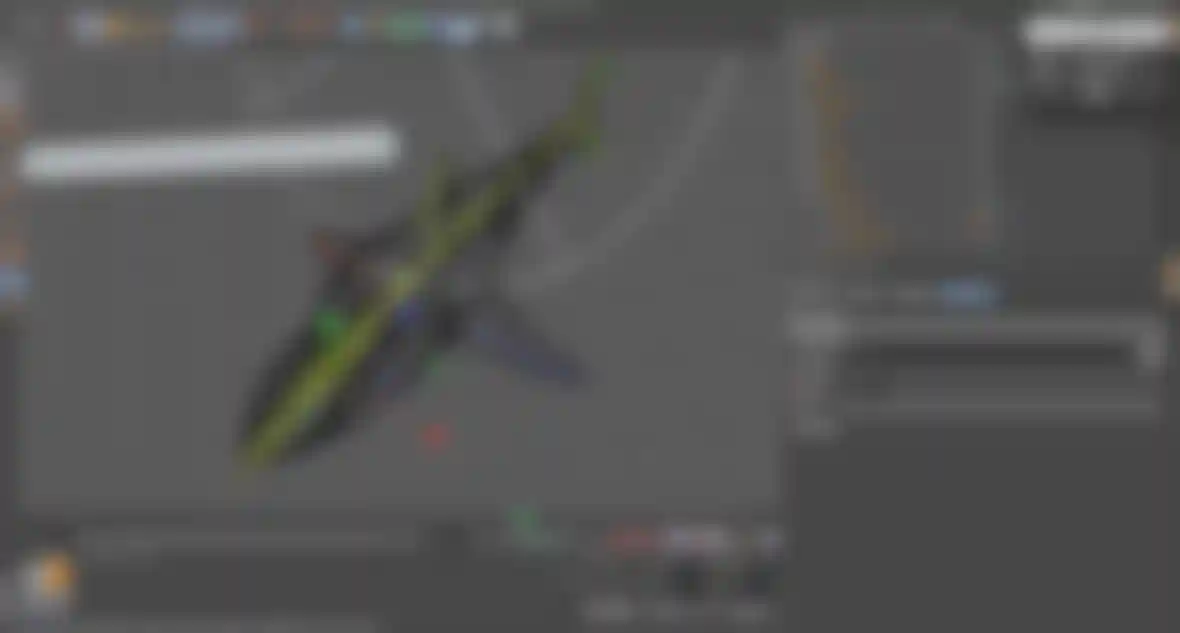
Once the research had been completed it was time to start modeling everything except for the outer meshes for the shark and hippo, which were purchased and subsequently edited and re-textured with Vray. Pryce revealed that some of the modeling was exaggerated, "The creatures were originally modeled to look quite realistic in proportions, but after client feedback they were to be made to look more like monsters. This kind of feedback can often come after the creatures have been animated, but it's relatively straightforward to adjust the models by adjusting a duplicate mesh with the sculpting tools and then using a Morph tag to reference the new mesh. This is completely non-destructive and doesn't involve any re-rigging or re-weighting, which is a massive benefit."
He then tackled the tricky process of creating the base models for the bone structures. The Cinema 4D sculpting tools were then used to make them more organic.
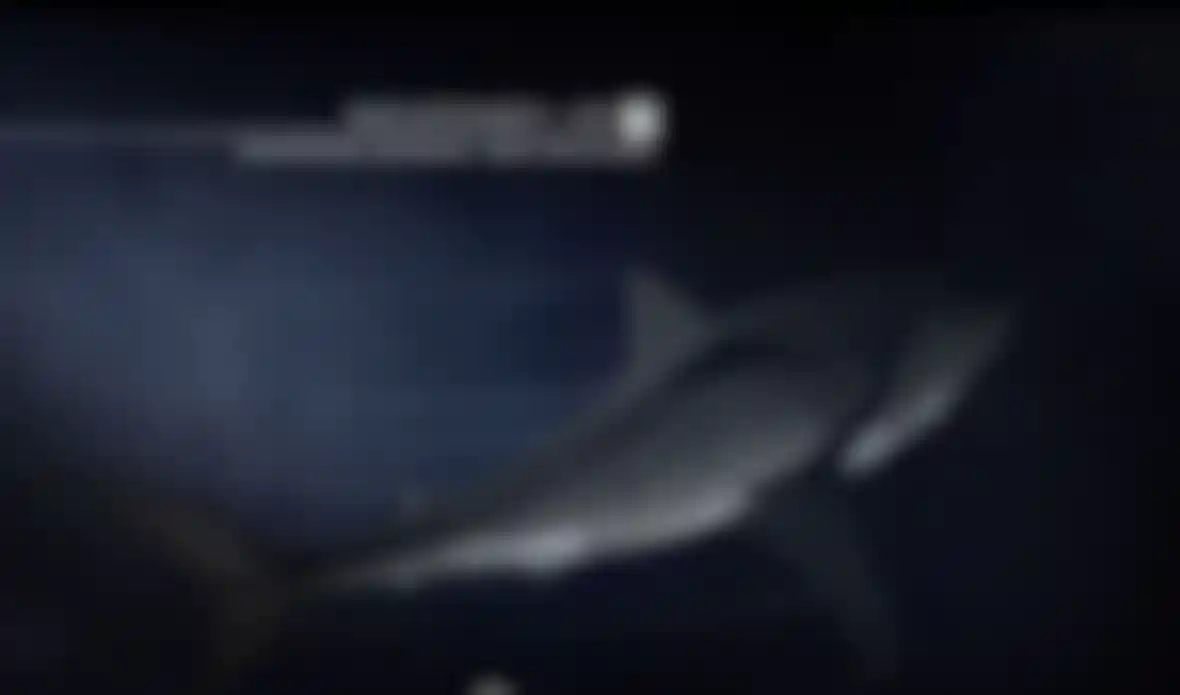
To convey the feeling of being underwater, the creatures were given movement characteristics and the lighting was dimmed accordingly to suggest a deep, cold environment. Pryce listed some of the processes used: "Everything had to be lit with a limited falloff so the creatures seemed like they were lurking around in the darkness. I also used depth passes and visible lights to create a volumetric environment. These elements were rendered separately and composited in After Effects. A setup that was also really useful was a great MoGraph/Particle rig by Joel Dubin called Microfloaties, which adds random floating particles to your scenes. But like most setups I use, I took apart the rig and adjusted it to suit the scenes."
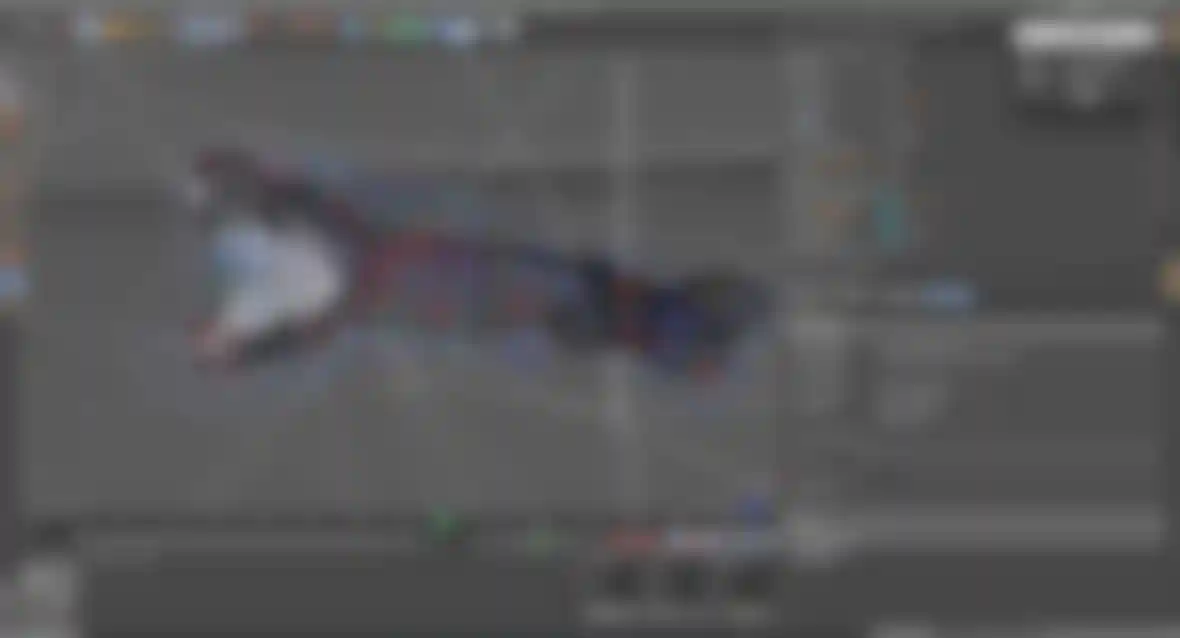
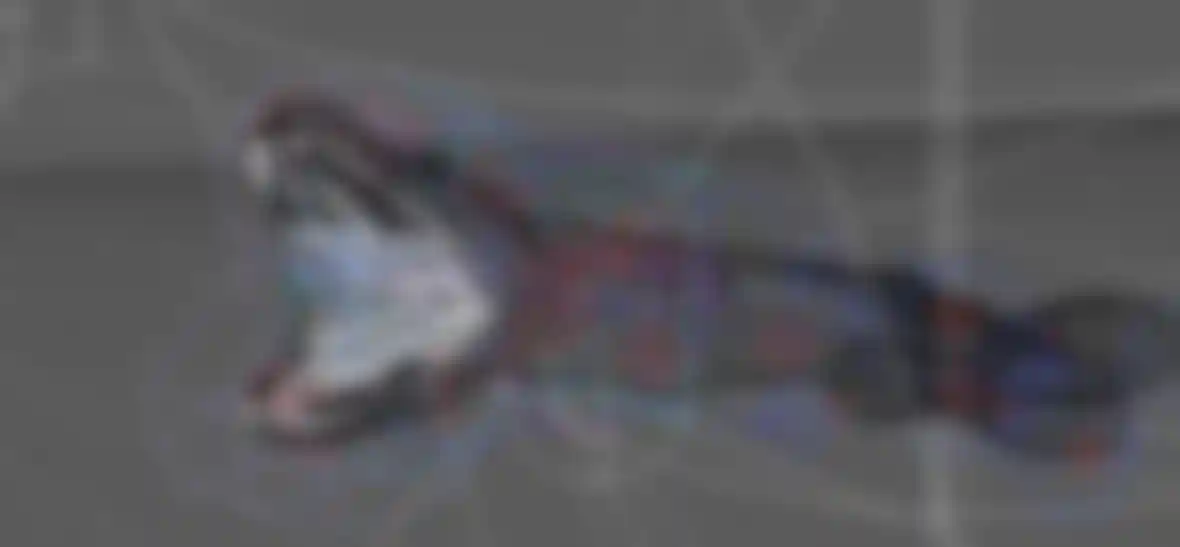
One of the first creatures to require a complex approach to animation was the snake. Pryce explained how different techniques were required: "After studying the way snakes move, I found they constantly transfer their weight and propel themselves using their coils, which are constantly changing shape. When moving through water, there is a mixture of gliding and rippling their body to propel themselves forward. Then there is the head, which generally leads the way but also moves independently. Taking all this into account, I realized there was no simple way to recreate these general principles in 3D, so the idea was to try to mimic them as best as I could depending on what the scenario was. For the initial shot of the snake moving through the water, I mainly used spline IK with plenty of control points that I had to meticulously keyframe. I kept the IK deformation type set to Equal so that the snake would appear to be constantly compressing and expanding depending on how far apart the control points were."
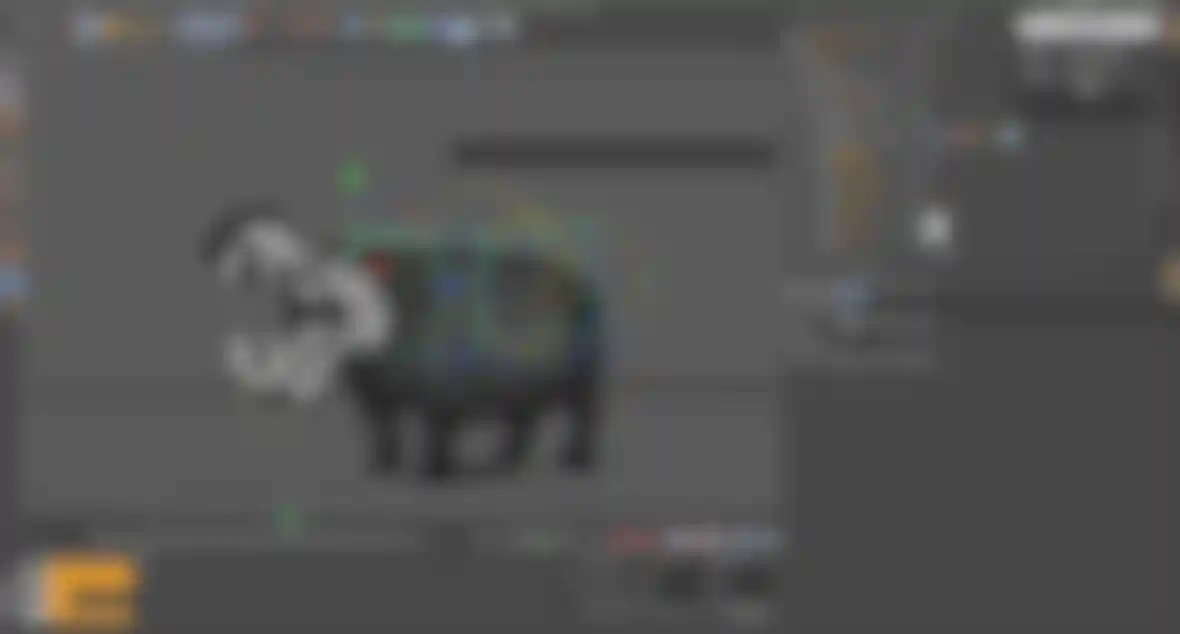
When the snake goes into action coiling around a deer, it required more far-reaching knowledge of how to use the Cinema 4D toolset. Pryce used a Spline Wrap deformer. The snake started straight initially and was then brought into position to bite the deer. A spline was created that started from the original head position and wrapped around the deer for the Spline Wrap deformer to do the rest of the work. To give the impression that the snake was compressing, the To value in the deformer was keyframed so it shortened the mesh.
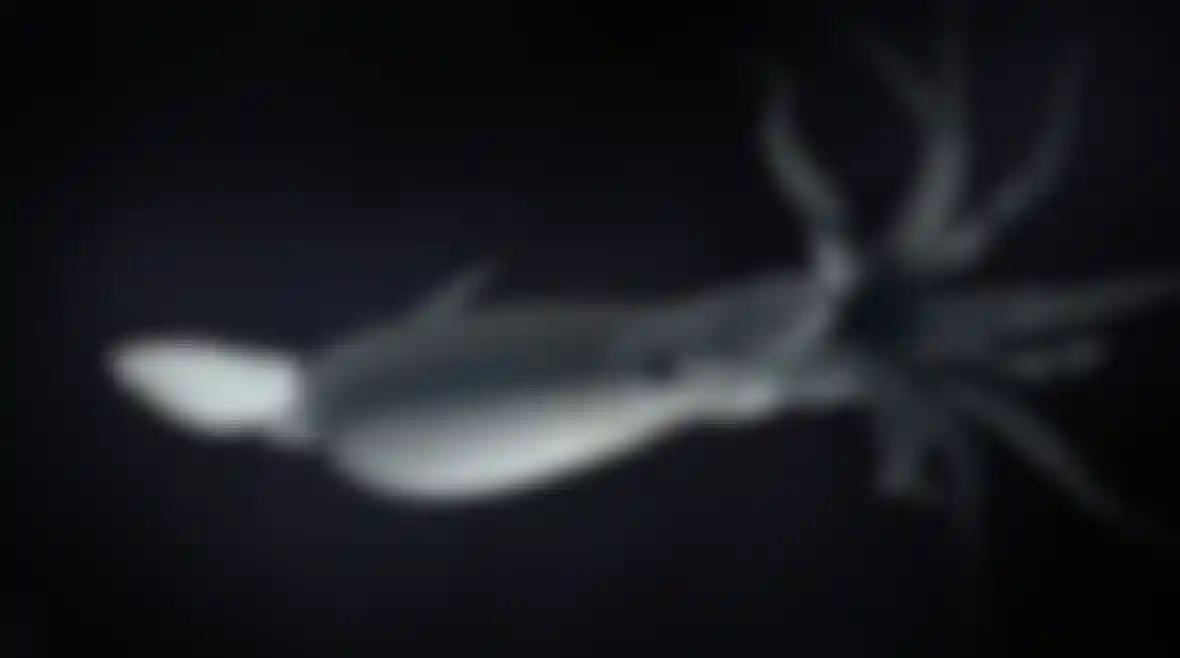
One of the more unusual problems came when trying to rig the squid for animation. Cinema 4D rigging is based on a bone system but squids don't actually have any bones. This led to some head scratching and another two weeks of research to solve the problem. Pryce detailed how it was eventually solved: "The squid had multiple rigs and controllers so the creature could transfer its tentacle movement in a convincing way. MoGraph is great for solving complex problems such as the tentacle suction cups, which involved using the Matrix object along with the Surface deformer, which was then cloned with MoGraph and random effectors to give each suction cup its own individual movement."

One of the more startling aspects of the TV program is the way the camera switches from watching the creature move around in its own environment to showing an X-ray type effect as it reveals the internal bone structure. To achieve this, Pryce created at least two projects with each animation. One was a beauty render to show the external features, while the second contained the outer mesh with a Fresnel alpha channel so the camera could see inside. All the texturing turned out to be a simple process for the X-ray passes as they mainly used high luminance with Fresnel alpha channels. Pryce also added a number of multi-pass layers so he could jump between the different ones in After Effects.
After outputting the 20 minutes of completed animation using two quad-processor-based Xeon Mac Pro's, the sequence was nominated by the Royal Television Society for an award for graphic design. Pryce summed up his experience of using Cinema 4D to create such ground-breaking animation: "The tools available in Cinema 4D are incredibly flexible and there are so many options to solve pretty much any problem I come across. I feel pretty safe when I am approaching the realms of the unknown as I always seem to find a way using Cinema 4D's tools, particularly XPresso, Thinking Particles or MoGraph."
Watch the making of movie here:
www.vimeo.com/75140487
Munk Studio Website:
www.munk.co.uk